It's the start of a new year and that means a new planner! I've always loved paper calendars and datebooks to jot down events and reminders. And even if everyone has gone digital, I'm staying loyal to my planner.
Specifically my Bullet Journal.

In this post, I mentioned how to use a bullet journal.

And in this post, I detailed how I made the bullet journal my own.
And now, there's a book written by the inventor of the Bullet Journal, Ryder Carroll.
I even got to meet him at the launch last October.

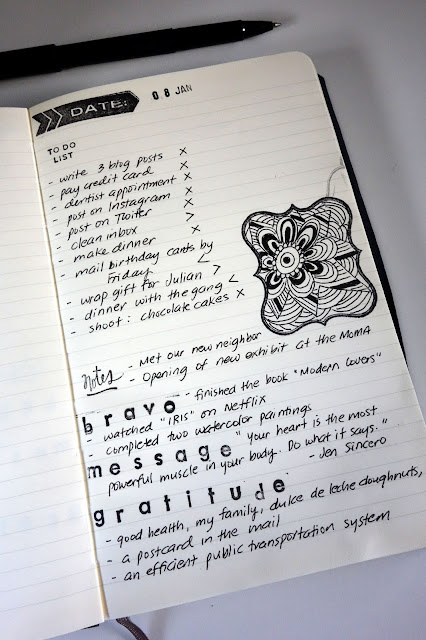
I love this method because everyday starts with a blank page and there's enough room to write down a To-Do list, a gratitude list, a list of accomplishments (no matter how small), and reminders on how I made that day meaningful.
My version is minimal and straightforward. It changes depending on my needs and I've updated it to include:
Page Numbers for quick reference
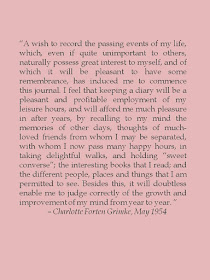
And monthly cover pages where I write down my goals at the beginning of each month. At the end of the month, I use it to reflect on what I've accomplished.
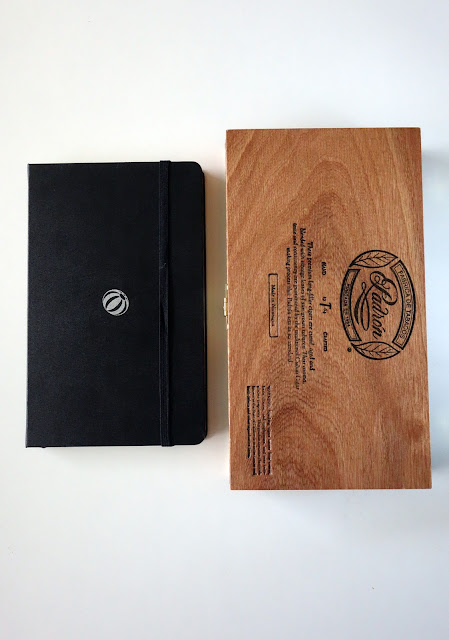
I'm currently experimenting with different notebooks. The only criteria? It has to be black.
I've tried the ones made by Moleskine and Shinola (both were tokens from work). And I'd like to try the Bullet Journal, Leuchtturm and Blackwing journals, too.
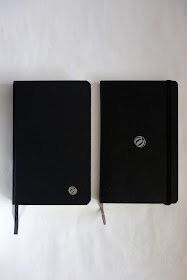
Right now, I'm using this one from Muji:
It's very inexpensive (only $6) compared to brands I mentioned above which range from $15 to $25 each.
I like that it opens flat and it's slightly bigger. However, it has a cardboard cover (not leather or hardbound) and only 160 pages (not the usual 240 pages).
It also lacks a few accessories. But instead of complaining, I'm turning this situation from blah to TADA!
First I made a ribbon page marker:
It quickly finds the current date.
I used ribbon from a spool. The elastic is for the pen holder:
I measured the circumference of the pen, cut the elastic to size (it shouldn't be too tight or too loose), and glued the ends together. Then I glued this on the inner back cover of the notebook.
Now my pen has a permanent spot on my journal...TADA!
And I added a paper pocket, too:
It's shaped like an envelope and is made of card stock. It's attached to the notebook with hot glue.
I can easily put receipts, post-its, and a ruler in it...TADA!
Maybe you can use these ideas for the journals and notebooks that you own.
If someone were to accidentally rifle through my journal, I hope they perceive me as someone who was grateful, who paid attention to mundane things, and that I made the most out of every day...TADA!


Happy new year, Claire. Nice job on the bullet journal. I too still keep a daytimer in paper format, but it's not meant as a journal - just a reminder for events and deadlines.
ReplyDeleteI like your last thought above... you have no worries on that. :-)
Thank you Rochelle! Hooray for old school planners!
DeleteOf course you would personalize your journal with a satin book mark and other details . . . that's a blah-to-tada kind of Claire thing to do. I love your pages and the quote!
ReplyDeleteYou know me too well, Priscilla! Thank you ;-)
Delete