Thank you for keeping me company today!
This week, I am inspired by these embroidered shoe bags:
I got these embroidered shoe bags at a craft fair. They are very practical to use at home or for travel. I thought, why not make my own?
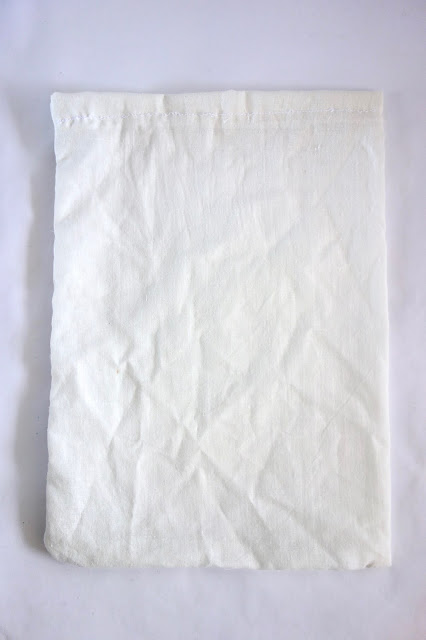
I found some plain white fabric in my craft stash. I sewed the two edges together to form this bag. The side with the open end was folded to itself and sewn to keep the fabric ends from fraying. I also left a small opening where I would later on add a ribbon.
But this bag is looking a little blah, don't you think?
Time to embroider! I follow the pattern using a needle and embroidery thread. I'm using simple stitches like the back stitch, satin stitch, detached chain stitch, and french knot.
Even with just two colors, this shoe bag has turned from blah to TADA!
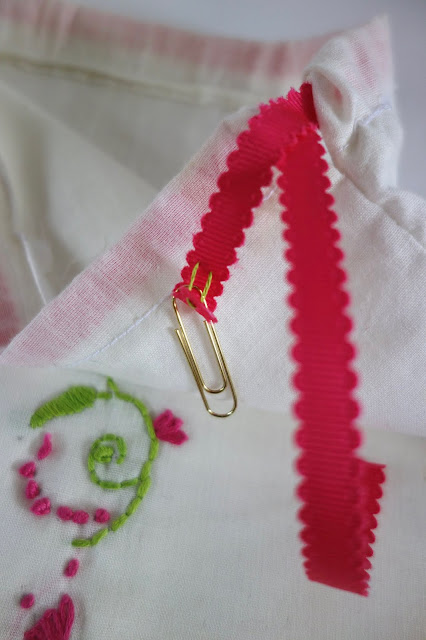
I inserted a ribbon that will allow me to tighten and close the bag. A neat trick is to put a paper clip on one end of the ribbon (loosely sew in place) and use the paper clip as a needle to "thread" the ribbon through the opening until it comes out on the other end. Cut off the thread, remove the paper clip, and trim the frayed ends of the ribbon.
Experiment with different designs and embroidery stitches. You can even give these away as personalized presents...TADA!
Here are a few more shoe bag DIYs: one is made from an old t-shirt and another uses a handmade stencil for added flair.
Here's to shoes and embroidered shoe bags to put them in! Happy crafting and just so you don't miss new crafty ideas, please subscribe here.


It's a beautiful home for a pair of shoes, and what a smart idea to use a paint stencil to trace an embroidery design!
ReplyDeleteYour words are always so encouraging, Priscilla! Thank you!
ReplyDelete