It's so nice to see you today! It's a new month and therefore a new crafty recycling project awaits.
 |
| via Magnolia |
A few years ago, I stumbled upon some cute canisters from this shopping site. They are a pretty way to keep twine, ribbon or yarn neat and tucked away. But why buy when we can D.I.Y.?
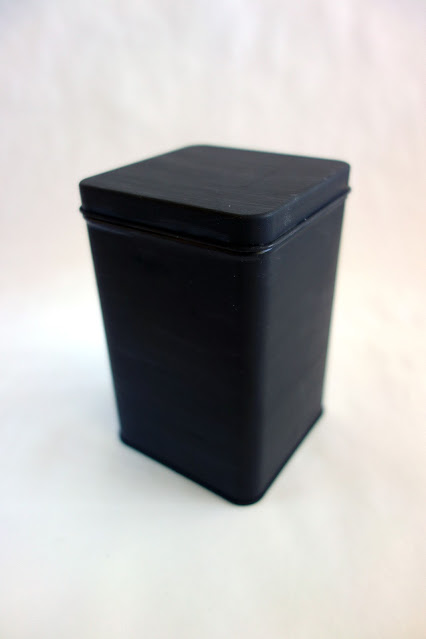
I'm using this empty hot chocolate tin, turning it from blah to TADA!
I disguised the labels with several coats of black acrylic paint. Then I let it dry for a few hours.
I found this piece of leather that I'll use as an accent.
I'm making a label using alphabet stamps and an ink pad. I spelled the word "twine" and wrapped the stamps with washi tape so that I can stamp in one go (instead of using individual letters, just as I did when I made these tags):
That way, I can slip in a small pair of scissors. No need to scramble for one when I need to cut the twine...TADA!
Using a hammer and nail, I made two holes on the lid. You can make one or more holes, depending on how much twine you want to store inside. Take note that all the hammering will leave scuff marks on the lid.
Not to worry! Just add a few coats of paint and let it dry (or begin with making the holes before painting the entire tin).
I use these two most often to tie around packages (I may need to go out and get some more).
Use it at your gift wrapping station, home office, kitchen counter or wherever you often use your twine.
I highly encourage you to find new uses for empty tins. If you need some inspiration, here are a few more ideas: a portable watercolor palette, a storage container or gift box, a jewelry keeper, or a tea storage tin...TADA!
If you want "blah to TADA!" blog posts delivered to your inbox every week, please subscribe here.
Thanks for stopping by!


It was so smart of you to leave the center of the label open and loose so it can store scissors. The end result is fabulous!
ReplyDeleteI appreciate your encouraging words, dear Priscilla!
DeleteI love this idea - a great use of a tin you already have. I will definitely use your tip about taping the letters you want to print - so much easier. Thank you for a lovely post ....
ReplyDeleteThank you Dee! I hope you'll get to use some of the techniques I've shared. Happy crafting!
Delete