24 November 2014

A Beautiful Bead Trivet

Well hello there! Two Sundays ago, I stopped by a thoroughly enjoyable gift market: 

It's called the Renegade Craft Fair. I've written about it here and I think it's a wonderful showcase of handmade talent. Check out this schedule -- there might be one where you live.

Over 200 makers were there selling food, ceramics, jewelry, prints, dolls, clothing, bags, decor, and goodies for gifting.

There were free workshops, too. I was able to attend the one facilitated by Paul Lowe, a.k.a. Sweet Paul.

He showed us how to make wooden bead trivets.

They're very simple to make. All we need are large wooden beads and leather cord. 

Cut two pieces of cord. One should be able to hold 15 beads and another, 9 beads. For both pieces of cord, make sure to add an extra 6 inches before cutting. These are necessary to make knots.

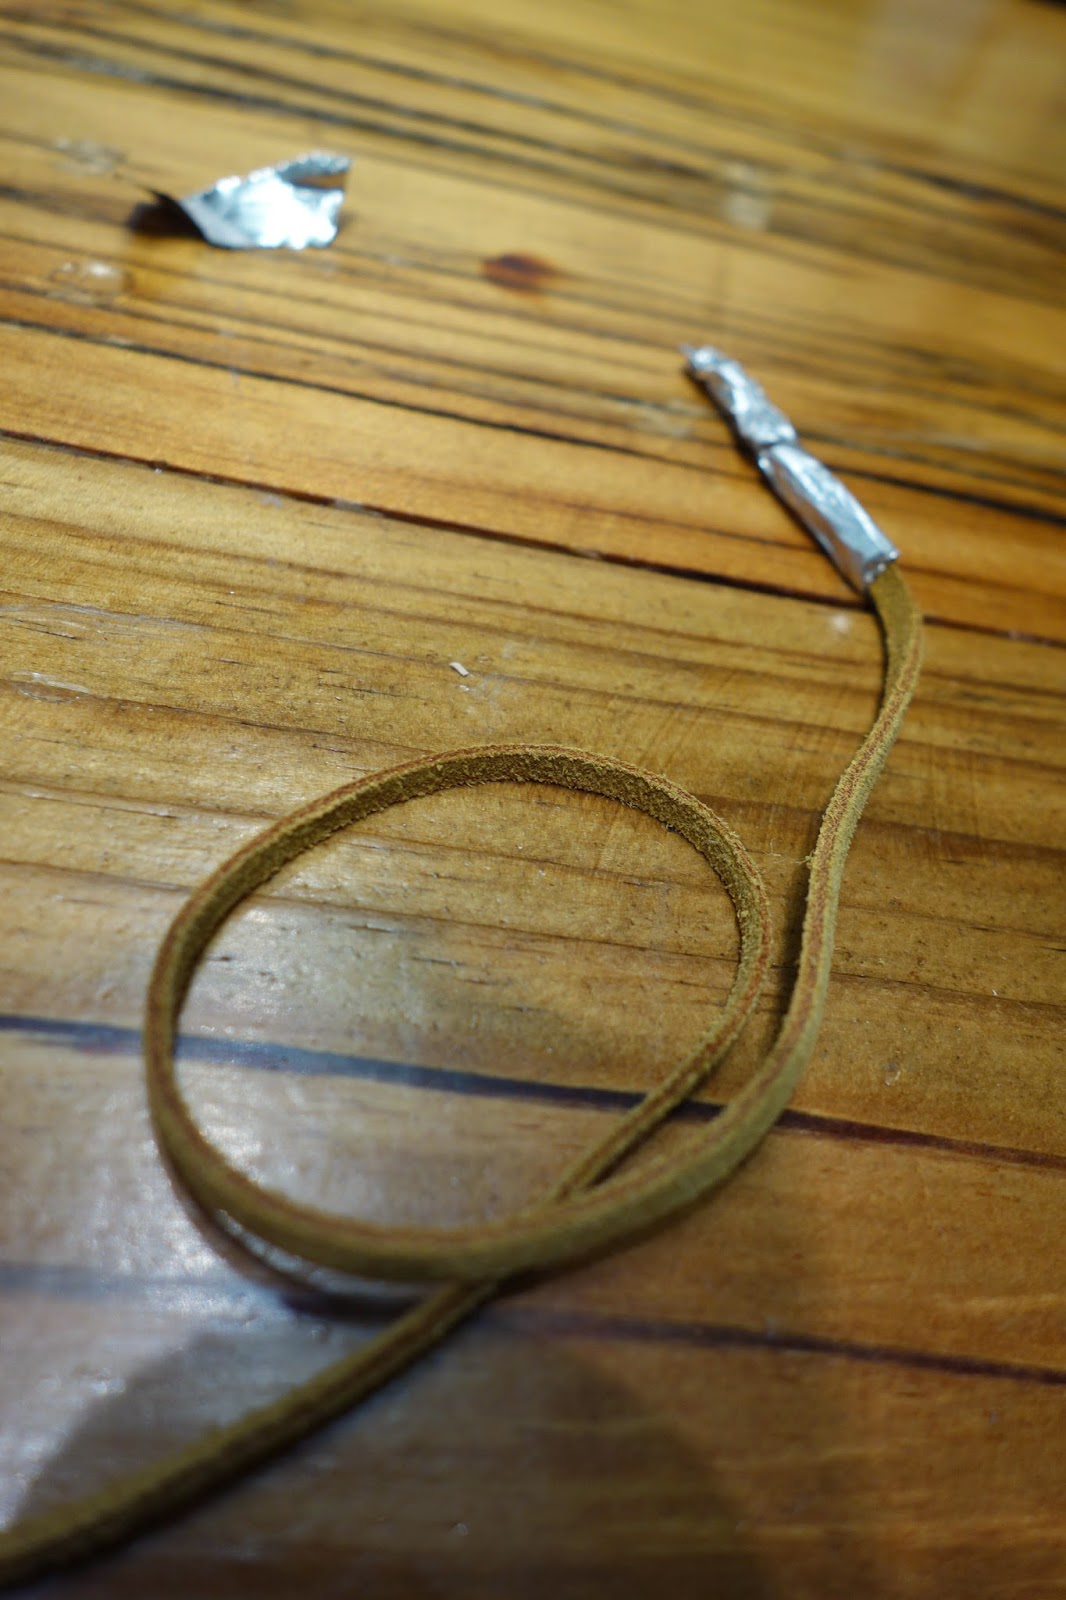
A neat trick to quickly get the beads on the cord is wrapping one end with some aluminum foil. It'll act like a needle.

Then string on the beads. 

The outer ring should have 15 beads and the inner ring will contain 9 beads. To finish, make at least 3 knots on each "necklace".

Nest the smaller one inside the bigger one and we've got a chic and useful trivet. TADA!

It's perfect to rest hot-from-the-oven food for Thanksgiving and the upcoming holidays.

17 November 2014

Crafted from Chocolate

Over the summer, I stumbled upon this warehouse in Redhook, Brooklyn.

I just love its brick exterior! Inside are high ceilings, a small courtyard, and rooms, one leading to another. 

Cacao Prieto is a distillery serving up rums and liqueur made from organic sugar cane and cocoa from the Dominican Republic. 

As a fun learning activity, there are factory tours available on weekends.

On this side of the shop is a chocolate counter.  All the chocolate is made on the premises using single origin cacao, also from the Dominican Republic.

I bought myself this bar of dark chocolate with notes of mandarin and bergamot. Of course I wanted a taste but it's fair to admit that I was seduced by the packaging. 

These are designed in-house. Doesn't it look like expensive gift wrap?

And the label! Another application of calligraphy in this modern day and age. 

Even the fine print shows how much work was put into their products.

A necessary indulgence. 

It starts with a snappy crunch, smooth as it melts in the mouth, ending with the taste of citrus tempering its mild bitterness. 

I just had to save the wrapper. I can foresee many crafting opportunities with it.

For now, I'll use it to dress up this blah bag hanger. I got it from here.

I made a circle with the help of a craft punch. But tracing a round object, like a coin, and cutting it out with a pair of scissors works just as well.

I had to trim it to fit and then applied some glue for it to stick on the bag hanger. Then I sealed the paper with some Mod Podge.

I carry this bag hanger in my purse. When dining out, I just hook it onto the table so my bag is off the floor and close to me at all times. TADA!


10 November 2014

Delightful Daisy

Hello there! I hope you're having a productive Monday. Sometimes, I like to go to the perfume section of beauty shops and try on the newest fragrances. Lately, however, I've been blown away with packaging. Check this one out:

It's covered in daisies! It reminds me of a young lady wearing a lace dress. Or a beautiful spring day. Or crisp linen sheets. Or a morning wedding. 

It's fascinating how packaging doesn't only capture a shopper visually, but also tugs on moods and memories. 

This will be inspiration for some crafting.

I'm turning this empty bottle from blah to TADA!

I'm using crafter's clay to fashion the blooms.

These caking decorating tools are also very handy.

I take a handful of clay which I lightly knead to make it pliable. I put the rest in a resealable plastic bag so it doesn't dry out.

I roll out the clay with this nifty fondant rolling pin (you can use a regular rolling pin or a bottle, too).

The cutters make the flower shape.

I make holes in the center using the tip of a paintbrush.

Smaller flowers made from clay scraps.

Then attach the flowers onto the bottle with all purpose glue.

Allow to dry overnight.

Add some water and your favorite flower.

And here it is, a flower vase with a handmade touch. TADA!

05 November 2014

Uppercase Magazine

After taking a class with Maybelle Imasa-Stukuls a few weeks ago, I'm still on a calligraphy high. I try to practice everyday to further improve what basic skills I have.

Then I came across the current issue of Uppercase Magazine which is "The Calligraphy and Lettering Issue". It got me all giddy. I decided to make a splurge. 

Uppercase Magazine is independently published and is made for the "creative and curious". Each issue highlights beautiful artwork, photography and writing, making it a captivating read.

 
Look, my calligraphy teacher is in this issue!

Pages and pages of graceful handwriting and the people who created them. 

There's also an article on how to make your own crest.

And many lovely essays like the joy of handwritten, air mailed letters.

This magazine has certainly been turning my days from blah to TADA!

04 November 2014

A Calligraphy Nib Organizer

Yesterday, I shared my first lessons in calligraphy.

I took a class with Maybelle Imasa-Stukuls. She's one of the best in the industry and learning from her was an absolute thrill.

This is one of her personal pens that I got to try. She uses it to make smaller letters. I was hoping that by using this pen, a bit of Maybelle's talent would rub off on me. LOL!

Here is the beautiful calligraphy kit that we got to take home with us.

As a bonus, Maybelle also gave away vintage nibs from one of her travels (she's generous like that). The nibs I took home were tucked neatly in a glassine envelope.

As a quick project, I wanted to assign a small case that would hold my calligraphy tools. 

I bought this small plastic box with 8 compartments.

Then I proceeded by making a few labels.

I thought it was a good opportunity to practice my calligraphy, too.

A special name tag for my nib organizer.

A few more labels to put inside. 

I'll use this to store the small number of nibs that I own.

And there's more room to grow my collection.

I know taking care of my tools will reward me in many ways. Don't you think it's blah to TADA!?