Hi guys! How are you today?
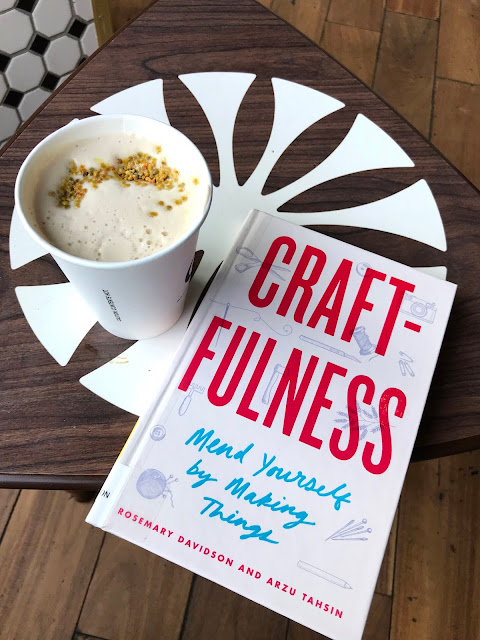
I was at the library and this book presented itself to me:
It's called "Craftfulness" and I absolutely agree with the subtitle, "Mend Yourself by Making Things." Crafting has been a constant anchor for me especially in the lowest points of life. It has helped distract me from loneliness after loss and kept me focused during periods of anxiousness. Even as a child recuperating at home from a long sickness (like the measles), I would turn to crafting and it helped me get better.
"Craftfulness" gives scientific proof that crafting is beneficial to one's emotional well being. It's a form of therapy and the process is as rewarding as the results:
"Process, not product, is the soul of a craft practice. Whether you knit, crochet, sculpt, weave, quilt, tat, draw, or bind books—working toward small, attainable goals gives us a sense of purpose, accomplishment, and control that is proven to positively impact our mental health and happiness."
The book also has a bunch of crafty tutorials like this one for a Stitched Pamphlet Book.
Let me show you how I made it.
I selected some pretty scrapbook paper for the cover.
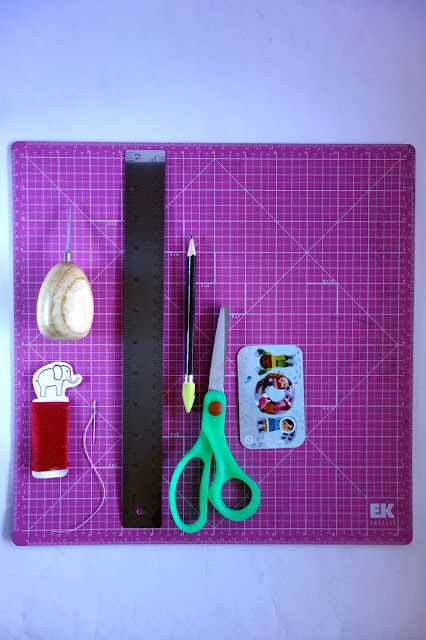
Here are the other tools I used: a self-healing mat, awl (a bookbinding tool used to make holes in paper and leather; a thick needle can do the job, too), thread and needle, ruler, pencil, scissors and a bone folder (this helps reinforce the creases when folding pages; an expired gift card works just as well).
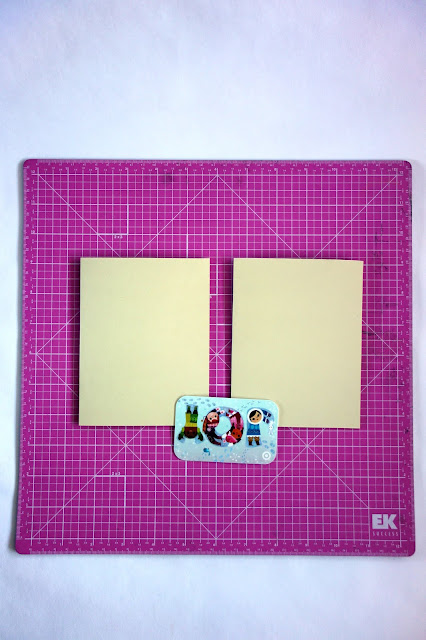
For the inner pages, I chose card stock (this is 8.5 inches by 11 inches).
I folded the card stock in half and ran the bone folder/plastic gift card tightly along the fold to make a good crease.
I cut the paper in half, using the crease as my guide.
Then I folded each one in the middle, and reinforced the crease with a bone folder/plastic gift card.
I kept repeating the process until I had the number of pages I needed (8 pages made from 4 sets of card stock).
I trimmed the scrapbook paper to make the cover. It's about the size of the inner pages with a quarter inch added to each side so that it covers the pages when the book is eventually folded.
Stack the pages on top of each other and end with the cover, neatly lining up the edges together.
Open the book to the centerfold.
Using a pencil and ruler, mark the center and add two more dots on each end, about half-an-inch from the edge.
With the awl or a thick needle, make a hole on each mark, making sure the needle goes all the way through the cover page.
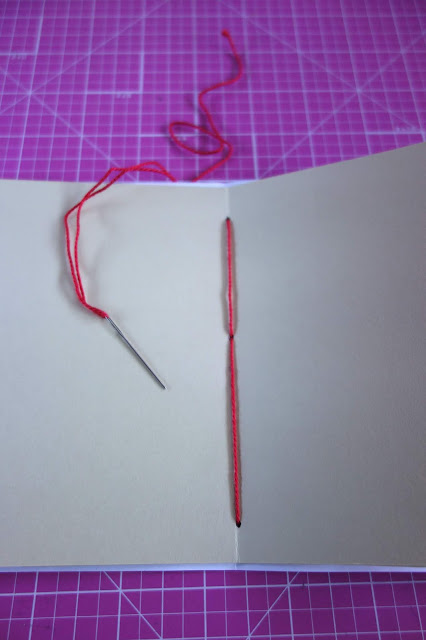
Bind the pages together with a needle and thick thread. Start from the outside (cover page) leaving a long tail on one of the corner holes.
Then bring the needle inside, connecting the dots together with the thread.
Bring the needle back outside, ending in the corner hole opposite where the initial tail can be found. Make a few knots and finish with a bow.
And here is our handmade book...TADA!
This is another version made from blue card stock.
"Advice to people who want to start drawing? Buy a lovely sketchbook, ink pen. This will be your secret place, your special gift to yourself. Perfectionism is not required, make any mark, fill up that book, keep it a secret to yourself. Don't stop 'til you finish that book. Whatever is in your head. Nothing is wrong, no judgement. At the end of the book then ask yourself again what you think about drawing."
I think I'll do just that with my new notebooks -- playfully draw in them!
Here are a few more booklets I made using the paper scraps. I also used empty security envelopes for the covers and played around with the binding patterns.
For the inner pages, I used the leftover empty pages from my notebooks and turned them from blah to TADA!
How about you, have you ever tried your hand at bookbinding? And do you agree that crafting can be healing?
Don't miss my future blog posts! Please
subscribe here.


