I'm excited you are here and thankful that you stopped by! A few weeks ago, I wrote about Indian Block Printing.
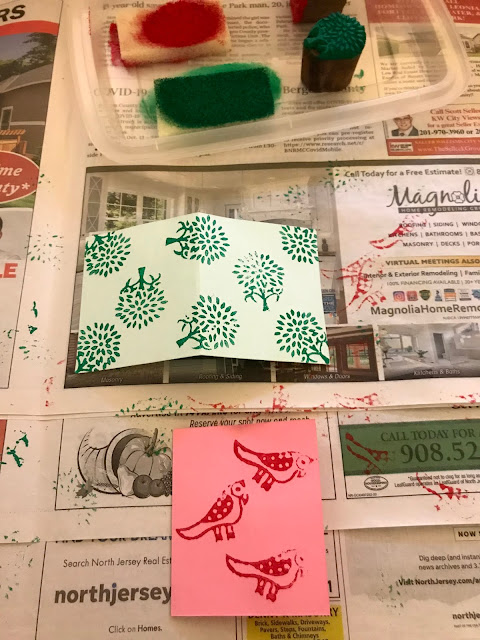
I learned the basics of Indian Block Printing through a virtual class. We were each given a kit complete with paint, sponges, and wood blocks. Initially, we decorated a few gift tags.
Then, when we were confident, we used the block prints on fabric...TADA!
I turned the fabric into gift wrap. The Japanese call this Furoshiki. That way, the receiver of this gift can reuse the fabric in other ways -- as a headband, hair tie, pocket square, or wrap another present.
Then I remembered that I bought this carved wood block a few years ago. I got it from a gift shop in Austin, Texas. I never used it but now I know how.
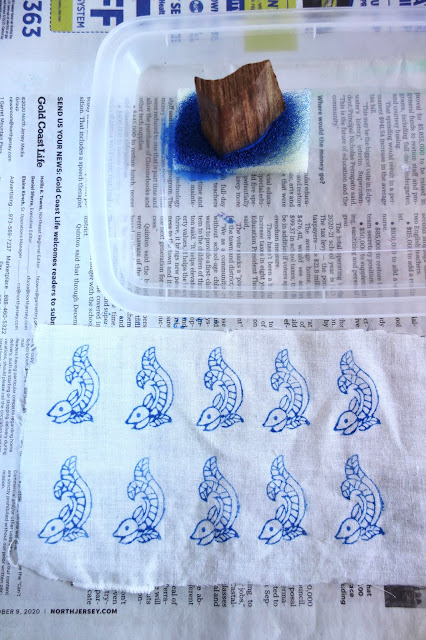
Just like our teacher instructed in the class, I made an ink pad. I put a few drops of paint on a flat surface (this is a takeout container), positioned the sponge on top of the paint, and tapped the wood block on the sponge until the paint lifted to the surface of the sponge.
I kept tapping until the paint transferred to the wood block.
Then I stamped onto the fabric.
I just repeated the design in a straight line, inking the wood block each time after stamping.
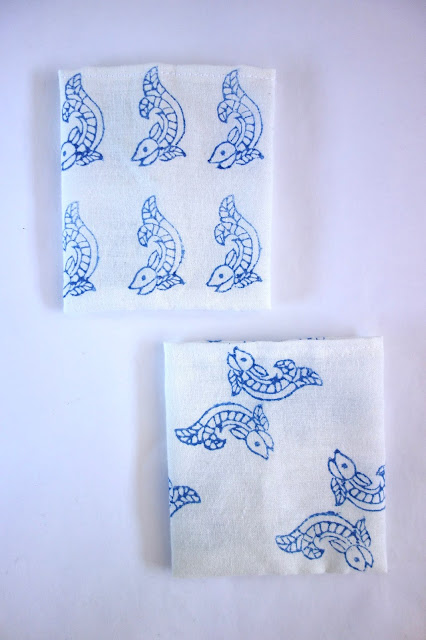
This is another piece of fabric where I experimented with a more playful layout.
Indian Block Printing instantly turns these pieces of scrap fabric from blah to TADA!
I sewed the sides of my block printed fabric together to make small pouches.
These small pouches will become jewelry gift bags...TADA!
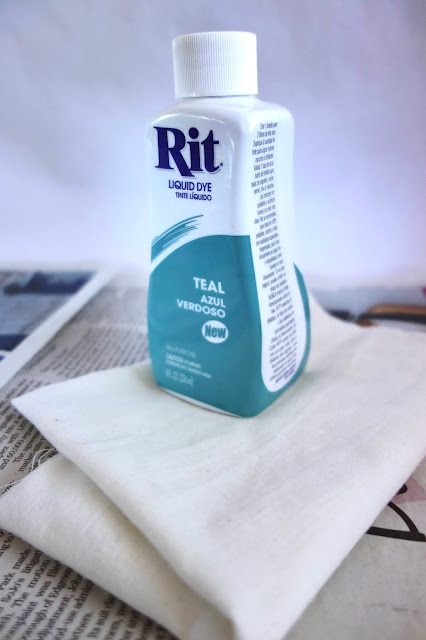
Since I had more scrap fabric on hand, I took out the liquid dye to give it a new look.
I was going for a rough ombre look, mimicking the ocean.
My fish-shaped wood block added some life.
I stamped randomly, as if the fishies were doing somersaults.


These little bags turned out great. They look fun to stamp and sew, too!
ReplyDeleteHi Priscilla! They were so much fun to make!
ReplyDelete