29 June 2020

Treasures from the Trash: A TV Stand

In our apartment building, there's a compactor room where we put our trash and recyclables. Sometimes, my neighbors leave furniture there.

Here's what I found on one occasion: a TV stand!

It was in good shape and I would've taken it home if I had some space to spare.

Then I would turn it from blah to TADA!  Let me borrow some images from Pinterest to show you how:

Made to order - Handmade Rustic Corner Table / TV Stand with Shelf in White. **Please note I currently wont be able to take on any more orders until after Christmas, but please dont hesitate to contact me if you have any questions or enquiries. Kind regards, Remy** Made from 100%
via Pinterest
I would wrap wood around the TV stand to give it a rustic look.

via Pinterest

This one's wrapped in wood, too, but with an added back panel to hang the TV. I like it!

fix for cheap tv stand
via Pinterest
Maybe I can paint it in a uniform shade and add some legs to make it look more classic.

I'll also explore adding doors for hidden storage:

Ikea Restyle: Mid Century TV Stand | A Beautiful Mess | Bloglovin̢۪
via Pinterest

amber interior design
via Pinterest

via Pinterest

I can also turn it into another kind of furniture:
via Pinterest
Like a pillow-top bench with built-in shoe storage...TADA!

office and craft room storage, printer cart
via Pinterest

I can also paint it in a fun color, attach some casters, and use it as an arts and crafts shelf...TADA!

Thanks for dreaming with me!


22 June 2020

Postcard Pen Pals

A few years back, I was reading this memoir about Alice Waters who is a chef, food activist and founder of Chez Panisse


Coming to My Senses by Alice Waters
via Penguin Random House

In the book she says:
"I've always loved postcards, both sending them and getting them. I really believe that the right picture on a postcard tells it all. Plus you don't have to write too much on the back! I felt I could write a few lines, and the picture on the front could convey everything I couldn't express. I have boxes and boxes of postcards I've collected over the years -- I buy them and send them off wherever I go but always come home with way more than I can send. And even in the places where I stay when I'm traveling, I'll take postcards I find and prop them up on shelves of the hotel room, in places that need a little temporary decoration and beauty. It's an inexpensive way to make a room beautiful." - Alice Waters 
I loved this particular piece of information because I could relate! Looking for postcards is still one of the things I do when I find myself in a new city.

I search for them in souvenir shops, drug stores...even thrift shops. And I buy more than I send out. 

In a previous post, I wrote about curating a set of postcards that I sent to friends for their birthdays. The blank postcards came from my collection. I wrote wishes on the back with specific memories with that friend (ex. the summer we went dolphin watching or took an international trip together).

When my parents were still alive, I sent them a postcard from every place I visited. My Dad was always excited to tell me that they received it. This is one of the many things I truly miss now that they are no longer around. I lost my pen pals.

But I found a new one!

She's Kim, my six year old niece. She lives in the Philippines and when I last saw her, we played a hiding game. She would hide under the dinner table after we all had our meal and I would say, "Where's Kim?" Then she would appear and I would tell her, "There you are! I thought you disappeared." And she would say, "I disappeared to Paris" or "I disappeared to Bangkok" or "I disappeared to Antwerp". For a six year old, her list of cities are quite impressive!

Now that we're far away (I live in the U.S.), I hope to continue bonding with her and keep her interested in geography, adventure, and travel. So I sent her this package. Inside are a map of the United States, a bunch of stickers, and a letter saying we are now pen pals.

Every month, I'll send her a postcard from a different State (all from the stash I've collected over the years). When she gets the postcard, she has to look at the map and find the State where the postcard came from and mark that part of the map with a sticker.

I hope this improves her reading and spelling skills, appreciation for geography, and patience (because she has to wait for the next postcard), all while having fun (Ooohhh! A matching game! With stickers!).

Here are the postcards I've mailed to her so far:

New York 

California

Maryland

Connecticut

Washington, D.C.

Massachusetts

I can't wait to look at the sticker-filled map the next time I see her. And that means I have to visit new States when it's safer for all of us to travel. That way, I can send her more postcards.

I hope we get to pursue this activity for the years to come (maybe she'll send me postcards, too) and we can eventually graduate to a world map. 

Living far away may be "blah" but sending and receiving postcards will always be "TADA!"

How about you? How do you keep long distance relationships alive? Please share!

21 June 2020

Dad's Day

Hooray to all the hard working and loving Dads! If you still have a dad, tell him you love him and spend the day with him. Enjoy this day, Dads!

15 June 2020

Earrings with Bows

Today, it's all about jewelry! I love making my own jewelry using just about anything: handmade clay, beads and tassels, empty miniature bottles, and even paper bag handles

earrings with ribbons, earrings, jewelry,
I was really inspired by these earrings that are easy to replicate. Why buy when we can D.I.Y.? 

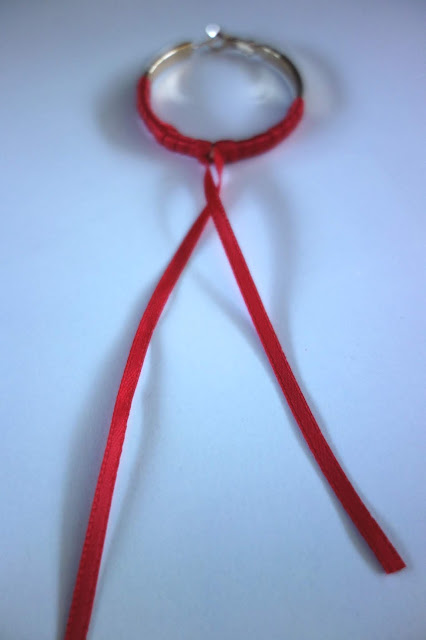
I found some gold hoop earrings that are pretty to wear as is. But adding something simple as ribbon can change it's look entirely. 

I choose a thin ribbon and cut a total of four strips, each one measuring 8 to 10 inches (this will depend on the diameter of your earrings). 

Wrap one strip tightly on one side of the hoop, leaving a tail and knotting the end on to itself to keep the ribbon from unraveling.   

Do the same on the other side of the hoop using a new strip of ribbon.

Make the tails meet at the center and knot them together.

Then, make a bow.

Repeat on the other hoop using the remaining two strips of ribbon.

Presenting a new look for these old hoops...TADA!


08 June 2020

Gift Pendants

Hi guys! If you follow my blog, you know that I don't like letting things go to waste. I'll find a way to turn the smallest scrap from blah to TADA!

Last week, I made this floral frog out of salt dough.

A floral frog is a lid that you put on top of a vase or jar. The holes keep stems from moving around allowing you make a floral arrangement even without a lot of flowers.  

Part of the process is shaping it and adding some holes.

I was left with these little nuggets of salt dough which I didn't want to throw away. 

So I flattened them into little disks, poked a hole at the top (using the end of a paintbrush), put them on a lined baking sheet and baked them in the oven (200 degrees Fahrenheit) for 2 hours.   

I let them cool and stamped on some festive words using rubber stamps and an ink pad:


Aren't they adorable? 

I like to use them to embellish gifts or what I call "gift pendants". The recipient can re-use it for a future gift that they will be wrapping. 

I can add it in tandem with other decorations.  

Or add a gift tag, too. TADA!

Gift Pendants made with Salt Dough

01 June 2020

Tips for Arranging Flowers

Over the years, I've picked up tricks on how to easily arrange flowers. Let me count the ways:

1. Use a flower frog 

You can find something similar on Etsy or in gardening stores.

Simply screw this on an empty jar and insert the stems in the holes...TADA!


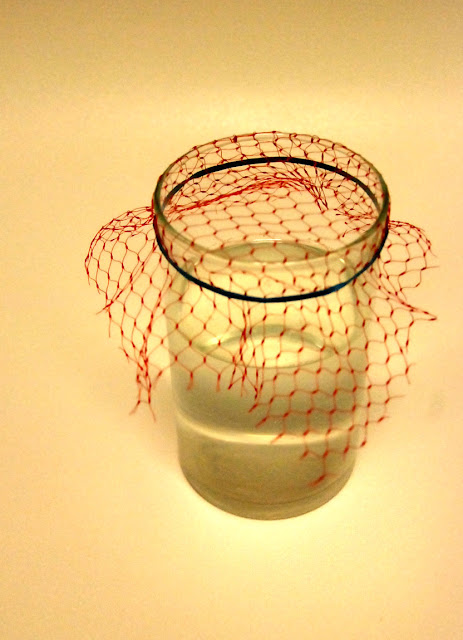
2. Make your own flower frog using a mesh bag

This used to be packaging for a pound of onions. Use it to cover the mouth of a jar or vase and secure it in place with a rubber band.  

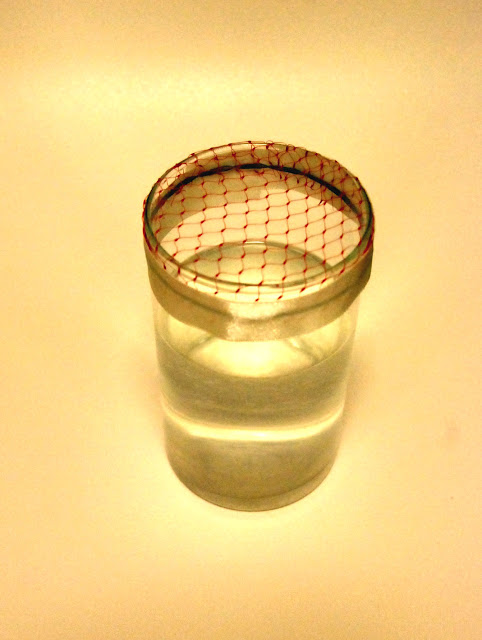
Trim the loose mesh and tape the edges neatly in place. 

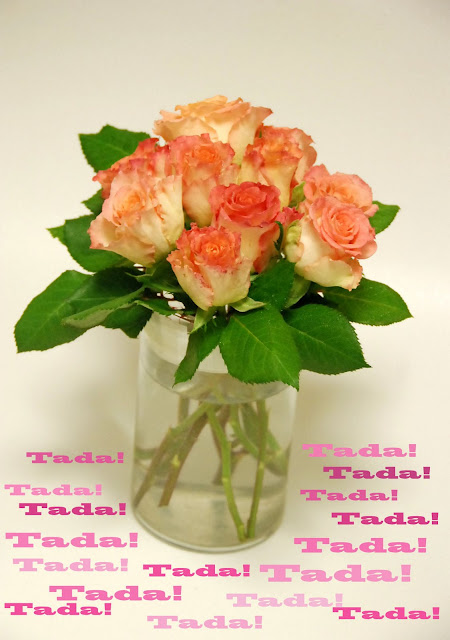
Add the flowers and leaves inside the holes to make this compact arrangement...TADA!


3. Make a grid on the mouth of the vase using clear tape

Pour in some water... 

And add your flowers and fillers...TADA!


4. Find a unique vase that has these holes:

You can make a "minimalist" arrangement with just a few buds or leaves or you can fill the holes with as many flowers as you like for a more verdant centerpiece.


5. Make your own "ceramic" flower frog


I'll show you how:

This is made from salt dough: In a bowl, put 1 cup of all purpose flour, 1/2 cup table salt, and 1/2 cup water. If you like, add a light tint using 4 drops of food color. Mix them together until it forms a dough. If it's too sticky, mix in more flour, a teaspoon at a time.  

Take a handful of dough and flatten it into a disc using your palms. It should be about 1/4 inch thick. Put it on a baking tray (lined with parchment paper or a silicone baking mat) so it doesn't stick to the tray.  

Use a round cookie cutter or an empty can to make a neat circle. Take note that this circle should be a little bigger than the mouth of your vase so that it can sit steadily.

Make smaller holes inside the salt dough circle (I used a round piping tip for this). Bake this in the oven (preheated to 200 degrees Fahrenheit) for 3 hours. 

Let it cool and you're ready to use it.

Here's another version using a bigger cutter and two different sized holes:


This makes flower arranging so much easier...TADA!

Tips for Arranging Flowers