How's it going, guys?
Over the past few months, I've been making my own envelopes. It's a challenge I put on myself: how I can turn paper that I no longer need from blah to TADA! So far, I've made envelopes using a grocery flyer, paper bags, chocolate boxes, tea sleeves, scrapbook paper and empty boxes.
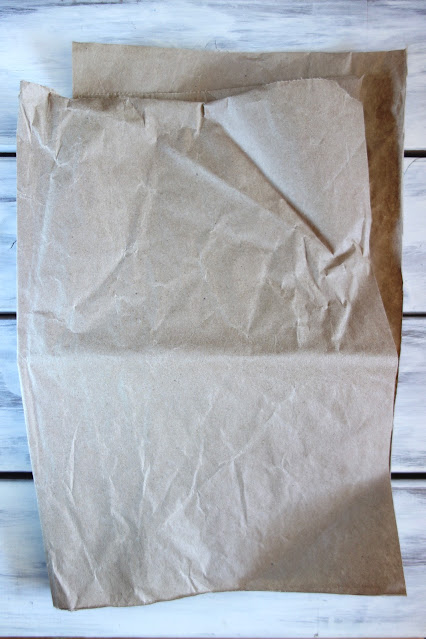
Today, I'm using this brown packaging paper. They arrived inside the boxes when I ordered some items online, as cushioning so the products don't move around as much.
To make the envelopes, I trimmed the paper to measure 7.5 inches (length) by 5.5 inches (height).
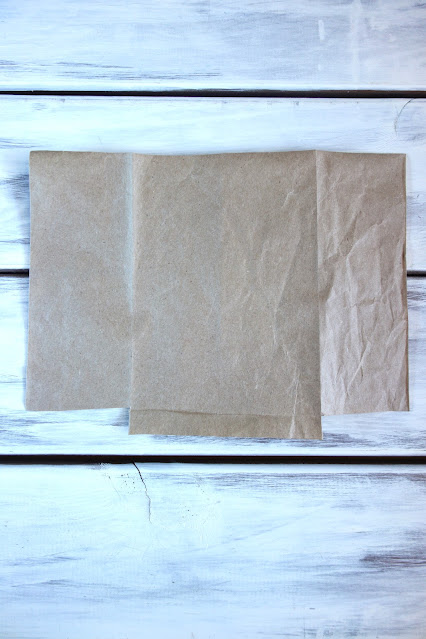
I folded the two sides of the paper so that the ends meet at the center with a little overlap. Crease at the folds. Unfold the paper and cut 1/4 inch by 2 inch strips on the bottom left and bottom right corners of the paper, leaving a tail at the center. Discard the small strips.
Fold the left and right panels so they meet at the center. Glue where the paper overlaps. Fold the tail upwards and glue this to close the bottom. We've now made a tiny paper bag...TADA!
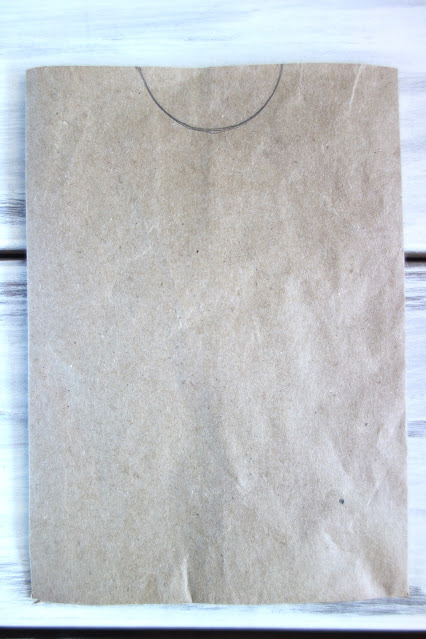
At the top where the paper bag opens, find the center and draw a semi-circle (use a circular object like a paint bottle as a guide).
Cut the semi-circle so that it'll be easier to pull the items that you put inside.
This is a blank canvas ready to be embellished. Here's what I did:
I collaged pages from an old book, intentionally tearing the edges.
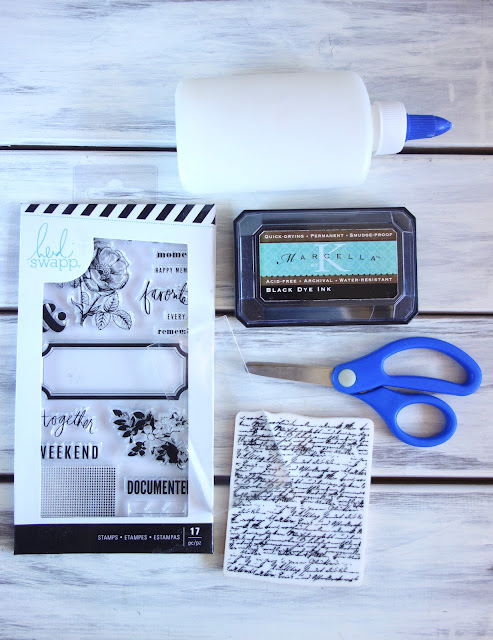
I used some cling stamps, an acrylic block, and ink pad to add another design layer.
Here's what they look like now:
With very few materials, I transformed brown packaging paper from blah to TADA!
Use these envelopes to package crafts if you participate in craft fairs or have a shop. They can also be used for gift giving or pen pal exchanges...TADA!


I love them, Claire. You come up with the best ideas!
ReplyDelete