31 October 2020
26 October 2020
Gift Clips
I hope ya'll are doing well today!
You may have seen these mesh sacks before. They are bags used as packaging for garlic, onions, and lemons. Not wanting to throw them away, I turned them from blah to TADA!
I made them into gift clips...TADA!
Let me show you how:
I cut off the ends where they were pinched together.
I folded the mesh in half.
Then I cut them into two.
I stacked them together.
Next, I gathered the mesh at the center and sewed it in place. After a few stitches, I made a tight knot to keep the thread from unraveling.
I fluffed up the ends to make it look like a flower in bloom.
I painted some wooden clothespins (paint it in any color you want or don't paint them at all).
Then I attached the mesh flower to the clothespin with hot glue and let it dry for a few minutes.
Then I added some color in the form of pompoms (also attached with hot glue).
You can also stick on some small toys.
Or buttons.
Or a crochet heart.
Even wooden beads!
Today, we recycled some mesh, rescued some odds and ends, and made charming gift clips that instantly transform a brown paper package from blah to TADA!
And I hope that whoever receives these gifts will keep recycling the gift clips in the future.
19 October 2020
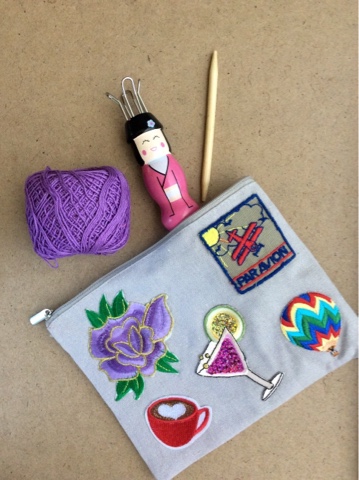
Another Pouch with Iron-on Patches
Thank you for visiting me today! Several years ago, I turned a plain pouch from blah to TADA!

It's a linen bag that I decorated with iron-on patches purchased from my travels. I kept adding patches on both sides, I already ran out of space.
And a lot of patches that I've collected for new crafting projects.
I chose these patches and decided where to position them.
Then I secured them in place with a hot iron.
It's a sassy storage solution for crafting materials. Or make-up. Or tech gear like phone chargers and ear phones.
Just to dial up the cuteness, I added a zipper pull...TADA!
Maybe you have neglected bags at home? Why not give them new life with patches like these.
Wishing you a great day!
12 October 2020
Cards for Baby
We all have relatives and friends expecting babies at some point in their lives. And to celebrate such a blessed occasion, I thought I'd make some greeting cards.
The idea came from these plastic safety pins that I found in my craft stash. They were decorations used at a baby shower I attended.
I gathered some supplies like cardstock, scrapbook paper remnants, scissors and glue to create this:
A friendly rubber ducky to welcome baby's arrival!
I used the safety pin to enhance a cute flag. These are all held together with hot glue.
On to another card. Same materials with felt, needle and thread added.
I made this onesie and diaper out of the white felt. Notice the safety pin as an accent?
A thoughtful note and a sweet gift are all that's needed...TADA!
05 October 2020
Trying My Hand at Jewelry Stamping
Many times, I see something at the store that I really want to buy but I decide to wait until it goes on sale. That's my overall attitude with things that I like but don't need.
I had my eye on this craft kit and every time I was at that store, I would check if the price went down. Well, after a year, it finally did!
Here's what's inside:
Pendants and chains, metal alphabet stamps, a stamping hammer, a stamping block, vinyl tape, pliers, and a practice blank.
The very first time I tried the kit, I made a key chain:
I attached it to a metal key ring recycled from an old key chain...TADA!
On my second try, this is what I made:
I then attached the charm to a hook clasp...TADA!
On my third attempt, I used these:
I stamped on "Be not afraid" that can be a reminder in challenging times.
Here's what's inside:
Pendants and chains, metal alphabet stamps, a stamping hammer, a stamping block, vinyl tape, pliers, and a practice blank.
The very first time I tried the kit, I made a key chain:
I practiced on a metal circle from an old piece of jewelry. I taped it to the stamping block using washi tape. This kept the metal ring in place and acted as a guide so that my letters were straight.
I chose the word "Grace". It's a powerful word that means, "elegance of form" and "the freely given, unmerited favor and love of God."
I attached it to a metal key ring recycled from an old key chain...TADA!
On my second try, this is what I made:
"Love" on a flower charm.
This time, I used a trivet made of cork to minimize the noise when hammering.
I used they vinyl tape to keep the charm from moving around.
I started spelling the word from the center outwards instead of the traditional way of first letter to the last.
This method helps space out the letters evenly.
I used a light hand when hammering and the letters still came out.
I then attached the charm to a hook clasp...TADA!
On my third attempt, I used these:
They are stamp blanks reminiscent of military dog tags.
I'll keep practicing and tell you about my new creations in a future post...TADA!
28 September 2020
Trash to Treasure: A Door
How are you guys today? In my neighborhood, there's always some kind of construction going on. It's quite blah because the old houses are being destroyed in favor of two-family homes. They are taller (three to four stories high) and more modern. They look sleek but lack a bit of soul.
That's also the reason the trash bins will contain this:
Old doors! With a little bit of sprucing up, this door can still be used. If only I had storage space, I would take it home and re-purpose it.
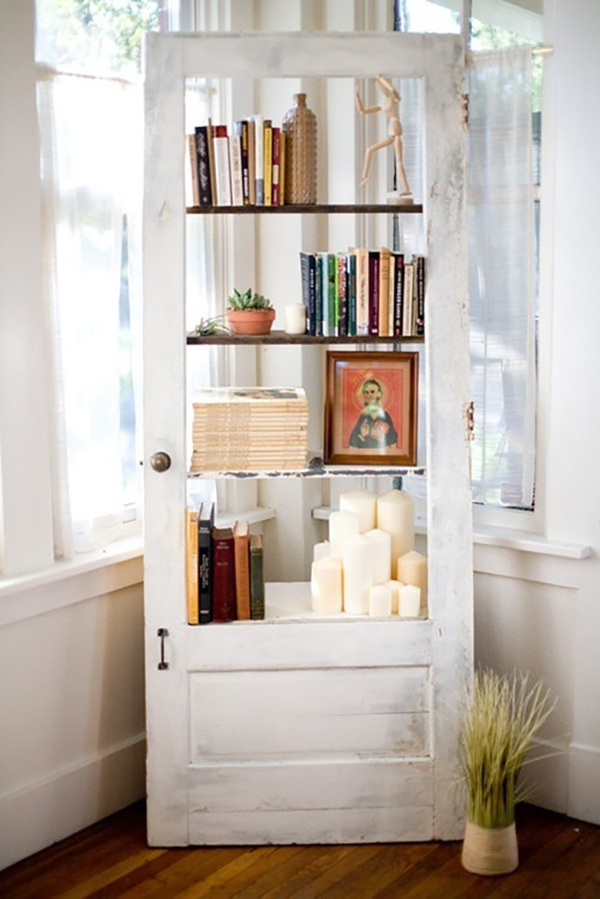
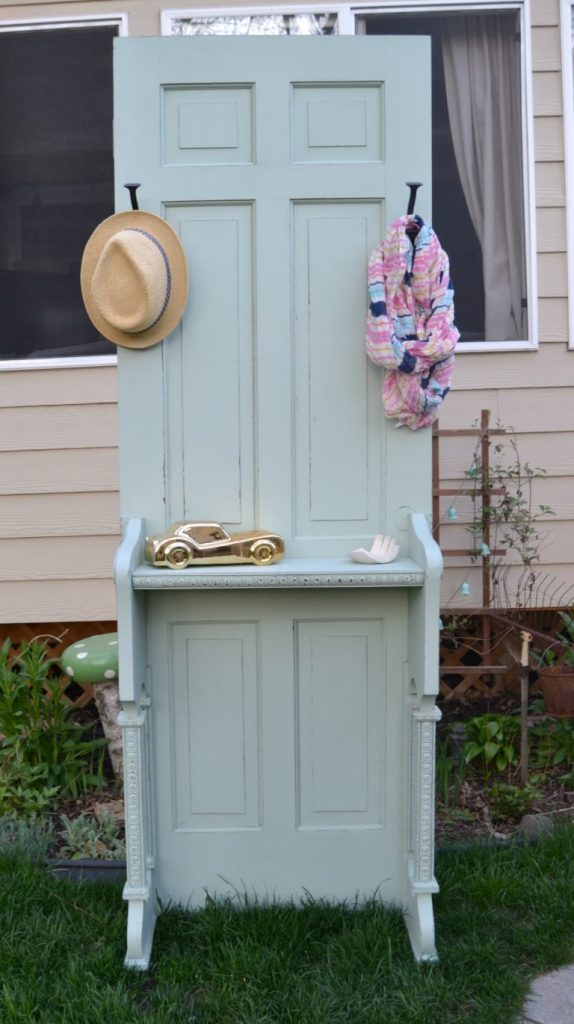
Here are a few ideas:
 |
| via The Cottage Market |
 |
| via Architecture Art Design |
 |
| via My Creative Days |
Transform it into a hardworking shelf for the entry way.
 |
| via Pinterest |
Or a potting shed for the backyard!
 |
| via Apartment Therapy |
Add legs or trestles and the door can become a desk or dining table.
Just like that, an old door can turn from blah to TADA!
Subscribe to:
Comments (Atom)


