23 February 2015

And It Was All Yellow

Happy Monday! How's the weather where you are? It's been terribly cold here, like 2 degrees Fahrenheit cold! There's no other way to survive but to bundle up and think happy thoughts.

My happy thoughts? An island getaway, picnic in the park, a backyard barbecue, a bouquet of sunflowers, banana pudding, and sweet tea.  

Clearly these are all things I associate with warm, sunny days.

As I summon the sunshine, I have the theme of YELLOW in mind. This week, I'll have three blah to TADA! ideas to share with you. Let's begin with this craft:

Here's a box that was once home for chocolate covered raisins. 

It's made of birch veneer, raw and unfinished.

I think a little painting is in order.

I put on several layers of this cheerful yellow, allowing the paint to dry in between coats.

I also painted the inside of the box.

I'm using it to wrap a present. Instead of a ribbon, a colorful strip of fabric scrap.

Then I top it off with this laser cut bird. I'm still undecided whether to paint the bird or not. What do you think?

A whole new look for an old blah box. TADA!

17 February 2015

Chocolatey Spoons

When the temperature registers at single digits, all I can think of is staying in my pajamas under the sheets. But when I have to be outdoors on said days, I like to reward myself with chocolate.

This is a silicone mold that I bought on a trip to London a few years ago. It yields chocolate spoons used to garnish desserts.

All we need to do is melt some chocolate on a double-boiler.

When the chocolate chips have melted into this silky consistency, it's ready to be poured into the mold.

To minimize the mess, use two teaspoons to transfer the chocolate. Allow this to sit in the fridge for a few hours.

When the chocolate has hardened, time to release them from the mold.

Here's how I like my hot chocolate: not too sweet, served French style (in a bowl), and topped with a toasted marshmallow. 

A chocolate spoon on the side makes it extra special. I can take bites in between sips.

Or I can let it melt into the beverage for a double chocolate kick. TADA!

16 February 2015

Hot Chocolate

It's been unbearably cold these past few weeks. Some days there is snow, some days are sunny, but the temperature is always, always below zero. Blah

But it's February -- that time of year when it's alright to reward oneself with chocolate for all the cold weather we have to endure. 

So I braved the blustery weather and made a beeline at City Bakery where they're having their annual Hot Chocolate Festival. TADA!

There's a new flavor for each day of the month.

This one is the Espresso Hot Chocolate. You can't really taste the espresso but it does bring out the chocolate flavor more. You can get a shot just like this one or purchase a regular coffee cup size.

Homemade marshmallows are optional but always a decadent treat.

Tomorrow, please stop by for a craft that's all about chocolate. Have a nice day!

09 February 2015

Sweets for My Sweet

It's Valentine's Day this Saturday! Do you have exciting plans?

I found these conversation hearts at the supermarket.  

They are a gift in themselves but I thought it would be fun to craft with them.


Over the years, new hearts have been added carrying Spanish words and texting shortcuts.

They are like fortune cookies, you'll never know which "fortune" or "words of admiration" you'll get!

Instead of sprinkles, why not put them on cupcakes?


They're sweet, adorable, and they deliver the message to your special someone. TADA!
02 February 2015

Stripey Jewelry

Happy February! Here's a craft that I know little girls or ladies will enjoy making. 

It's made out of these striped paper straws that have been the rage in the past couple of years. They're photogenic and bring a bit of nostalgia to any table. But instead of using them for drinks, let's turn them into jewelry:

This necklace will keep you occupied on a snow day. Make several to give away to classmates, teachers, and BFFs.

I learned how to make this at the Renegade Craft Fair last December. You can find the tutorial here

26 January 2015

Hand-Stamped Tags

Happy Monday friends! Today I'd like to share with you a cool craft tip that you can use for gift tags or labels for your handmade products.

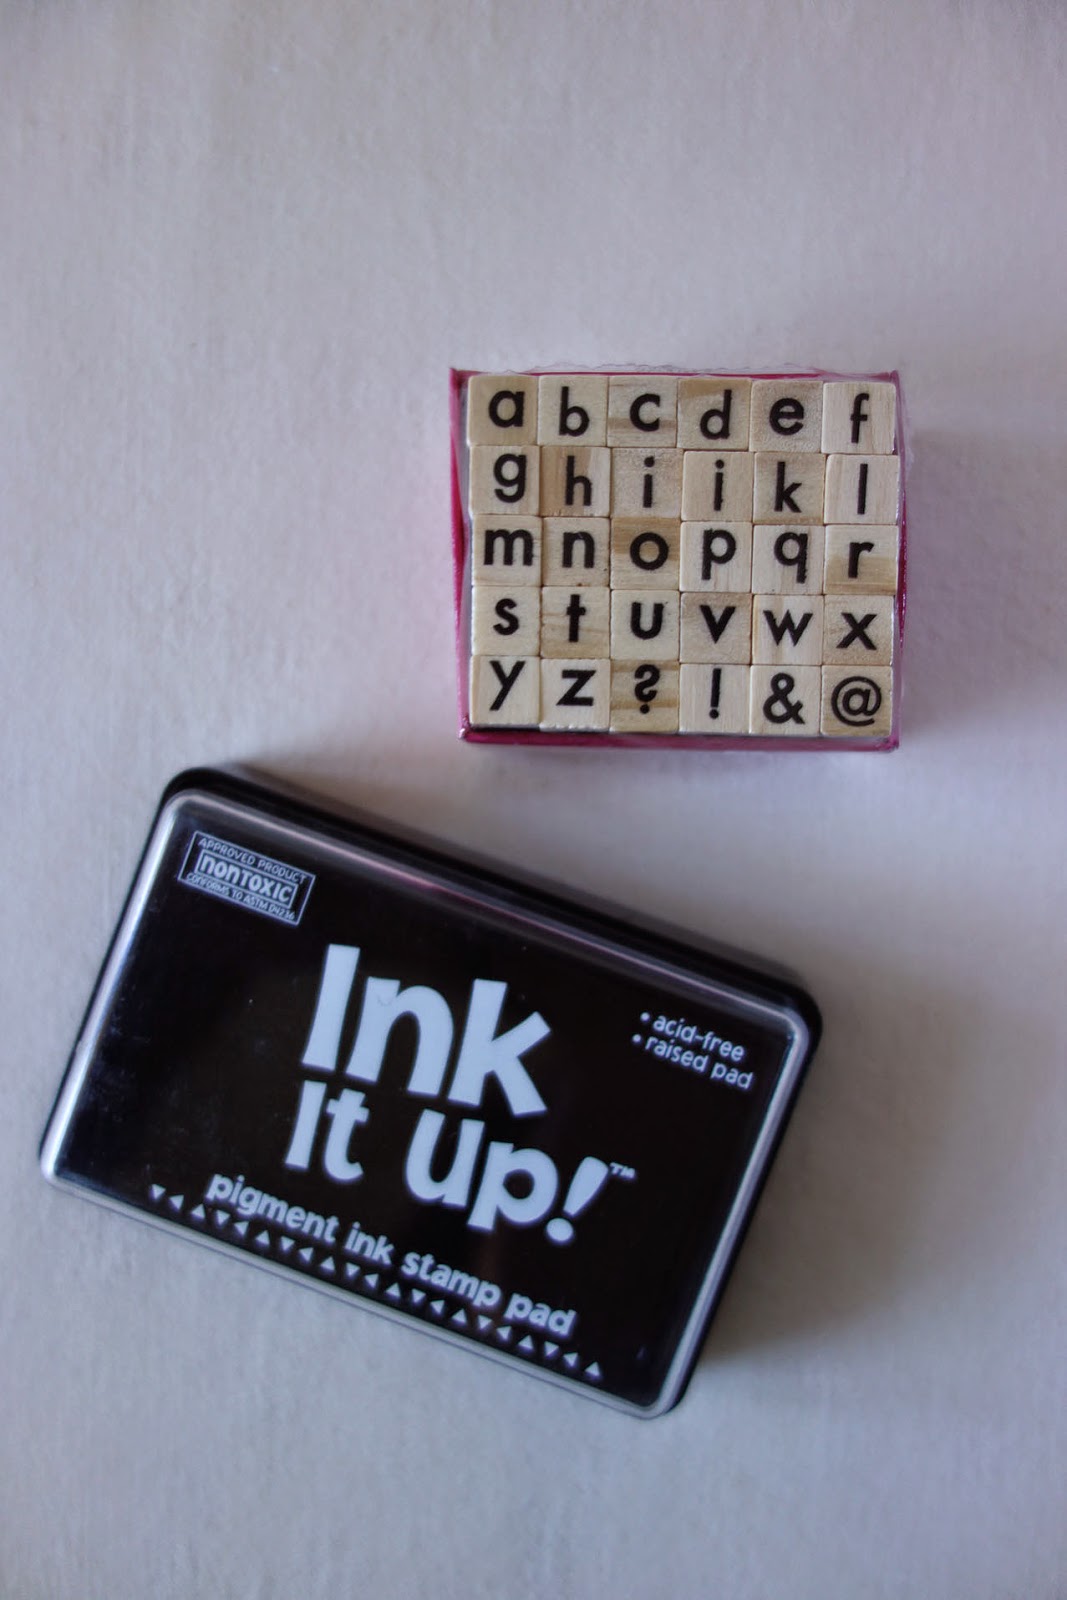
All we need are an ink pad and a set of alphabet stamps.

Well, make that two or even three sets. Sometimes, you'll need two or more of the same vowel in one word. These alphabet stamps are very inexpensive anyway (less than $2 per set at the craft store). 

Using the alphabet stamps, spell out the words you need and secure them together with washi or masking tape.

Add some ink and press it on a paper tag or sticker label.

Instant tags that you can further customize with more stamps or your own handwriting. TADA!

19 January 2015

Colorful Hearts

I'm that type of girl who loves to receive birthday cards and I do love to send them out, too. While it's easy to run to the card section of the department store, I take that extra step of making the birthday cards myself.

Today, I'm turning this blank card from blah to TADA!

I'm using this heart-shaped cookie cutter to trace a pattern.

I'll play around with my favorite watercolor palette.

First, with my paintbrush, I apply a wash of water on the paper. Immediately, I add some color. I like how the pigment gradually spreads and how it bleeds into the color beside it.

This has some magical tie-dye effect.

Here are the designs I came up with. I positioned the heart differently on each card and used colors that each recipient would favor.  

And then, another layer with rubber stamps is in order.


I'll personalize it some more based on the friend who will receive it. 

Maybe this has inspired you to make your own greeting cards -- your own version of blah to TADA!