01 April 2015

Bunny Crafts

Happy hump day! I thought I'd share a bonus craft today, something anyone can do for Easter.

Remember this bunting I made two weeks ago? It was an afternoon of crafting where I taught some adorable kids how to design their own t-shirt.

With some bunny stencils, fabric paint and pompoms, we transformed plain t-shirts from blah to TADA!:


Aren't they cute? This craft technique is so versatile, it can be used on any surface.

The bunny patterns are all from the internet. I printed them on card stock and cut inside the design with a sharp pair of scissors. 

I thought plain table napkins would be something fun to jazz up especially for Easter entertaining. 

If you ever venture into the clearance section of home stores, they'll sell napkins for $1 to $2 a piece. The colors and prints are usually one-offs and don't match. But adding a design surrounding a certain theme (ex. Easter, summer, fall) will provide cohesion.

Here are some other materials we'll need: fabric paint, a foam paint brush, masking tape or painter's tape, and pompoms.

After washing, drying and ironing the napkin, determine on which part you'd like to add the design. Then, put a piece of cardboard underneath the fabric so the paint doesn't seep through the other layers. Tape the edges of the stencil onto the napkin with masking or painter's tape so that the stencil stays in place as paint is applied.

Using the foam paintbrush, add the paint inside the stencil with a pouncing motion.

Use several coats of paint (at least three) and set aside for a few minutes.

Gently peel off the stencil and allow this to fully dry overnight.

Once dry, attach a pompom for the bunny tail by sewing or with fabric glue.

This adds a handmade and festive element to your dining table. TADA!

Wishing you all a Happy Easter!

30 March 2015

Dreaming of Paris

Happy Monday! Let me tell you where my day dreams are taking me lately -- to Paris. I would love to rent an apartment, visit the markets, get lost in the museums, and try out a new patisserie each day. 

I guess I don't have to explain. Paris is magic. 

And while I can't pack my bags and leave, I'll let a crafty session take me there for now. 

I'll turn this blank card from blah to TADA!

I'm using some watercolor...

...and my newly acquired alphabet punch set.

I like it a lot because it gives me neat letters. 

And more importantly, I can use it to recycle scrap paper.


Tweezers are a handy tool to apply glue and place letters onto the card.

"Happy Birthday" in French.

 Fill it with sentiments and lots of amour.

Here's another version in fashionable black and white.

And a cute way to say  "Many Thanks".

In case you're working on a Parisian-themed craft, you might want to join this contest (it ends tomorrow). The prize is a trip to Paris!

23 March 2015

Insta-Bunting

Hi there! I found another way to turn an old book from blah to TADA!

I turned the pages into a bunting:

Over the weekend, I taught a craft class (we made Easter t-shirts). I thought it would be fun to decorate my work space. It not only told participants the venue, it attracted new kids and their parents to sign up for the class.  

I made this with pages from a old book, punched out hearts from construction paper, and letters that I painted on. I used baker's twine to hold them all together.

Maybe this will serve as inspiration for a sign you can use for your next event, craft fair or bake sale.

Have a wonderful week, everyone!

17 March 2015

Look Ma, I'm Weaving!

Yesterday, I showed you a craft that I was working on. I'm proud to say I've finally completed it and so delighted to try it for the first time.

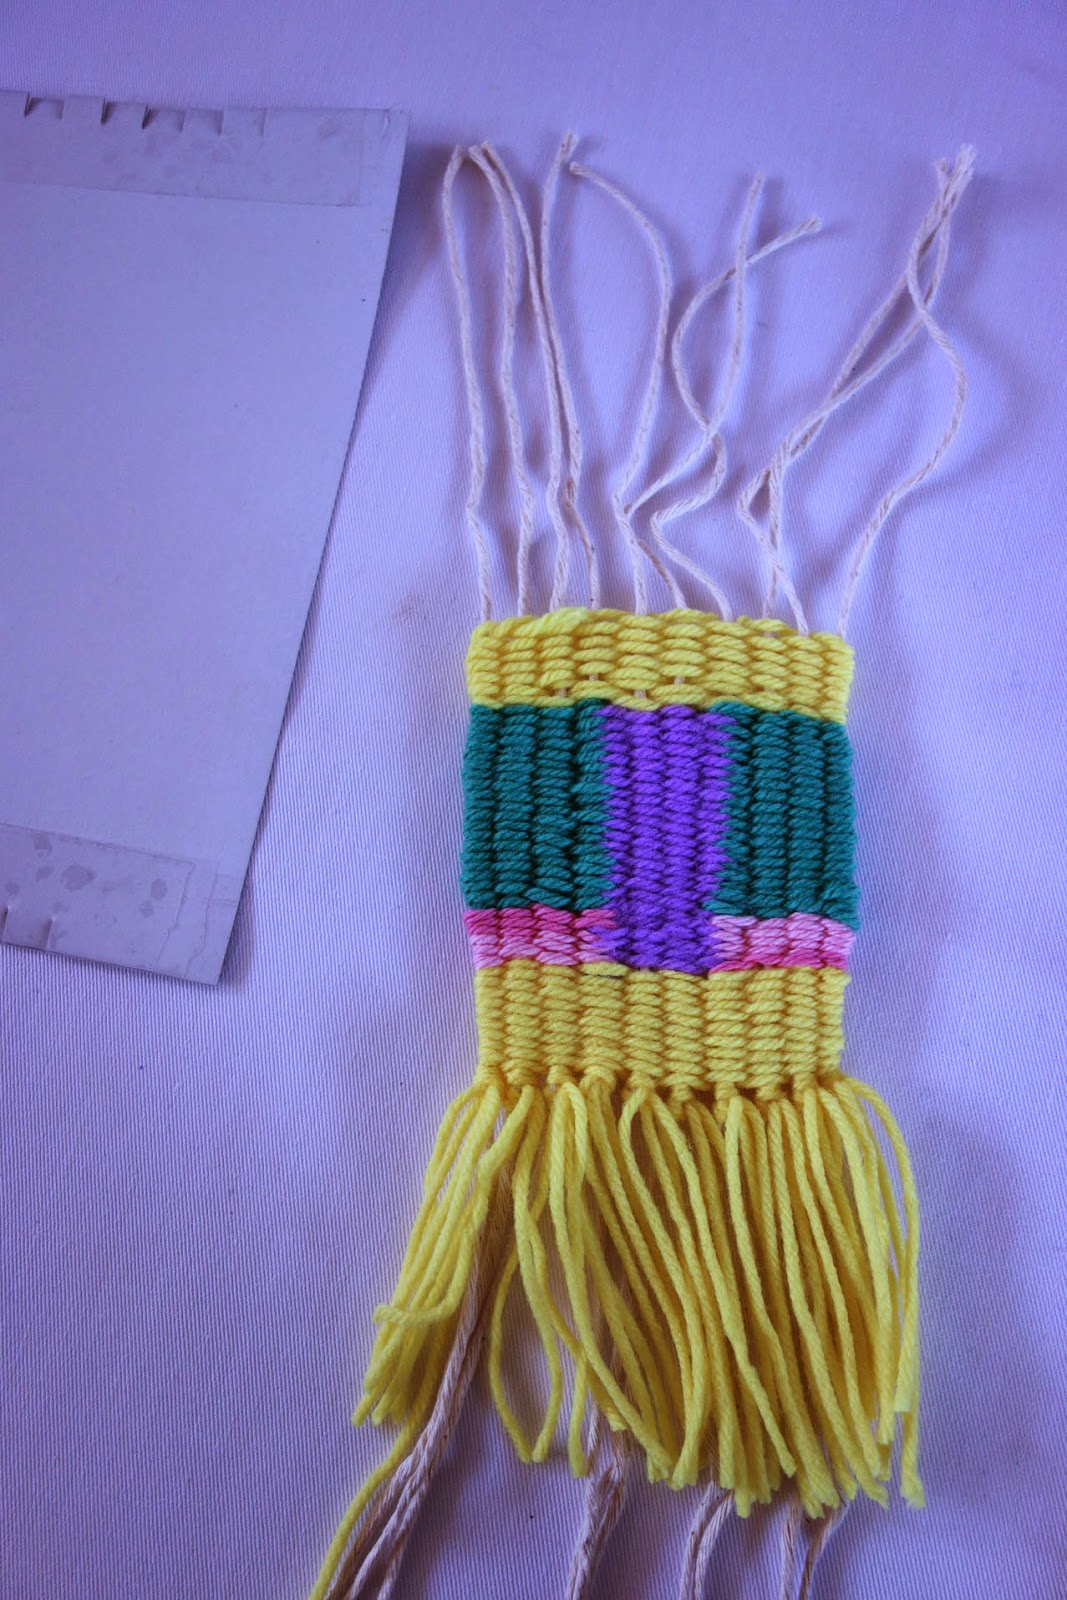
I learned how to weave!

I got the inspiration from the pages of the current issue of Uppercase Magazine. And lately, I've been seeing a lot of weaving projects around the web like here, here and here.

I followed this tutorial on Etsy.

I like the simplicity of materials. I didn't have to buy anything at all. Cardboard turned into a basic loom, kitchen twine, and colorful yarn from my stash...all blah to TADA!

A popsicle stick acted as my needle to weave the yarn up and under the twine.

I used my fingers to secure the loose ends and also to push the rows tightly together.

I secured my handwoven tapestry onto a twig for a more natural look. 

TADA! I can't wait to make more.

16 March 2015

A Work in Progress

Hello there! I hope you had a restful weekend.

Today, a little peek at a craft I'm currently working on:

Can you guess what it is? If you can stop by tomorrow, I'll show you the process and the completed project. Have a happy Monday!

09 March 2015

Books in Bloom

Hello there! Last week, I shared an idea on how to turn blah book pages into TADA! by making inexpensive art.

Along those lines, here's more inspiration:

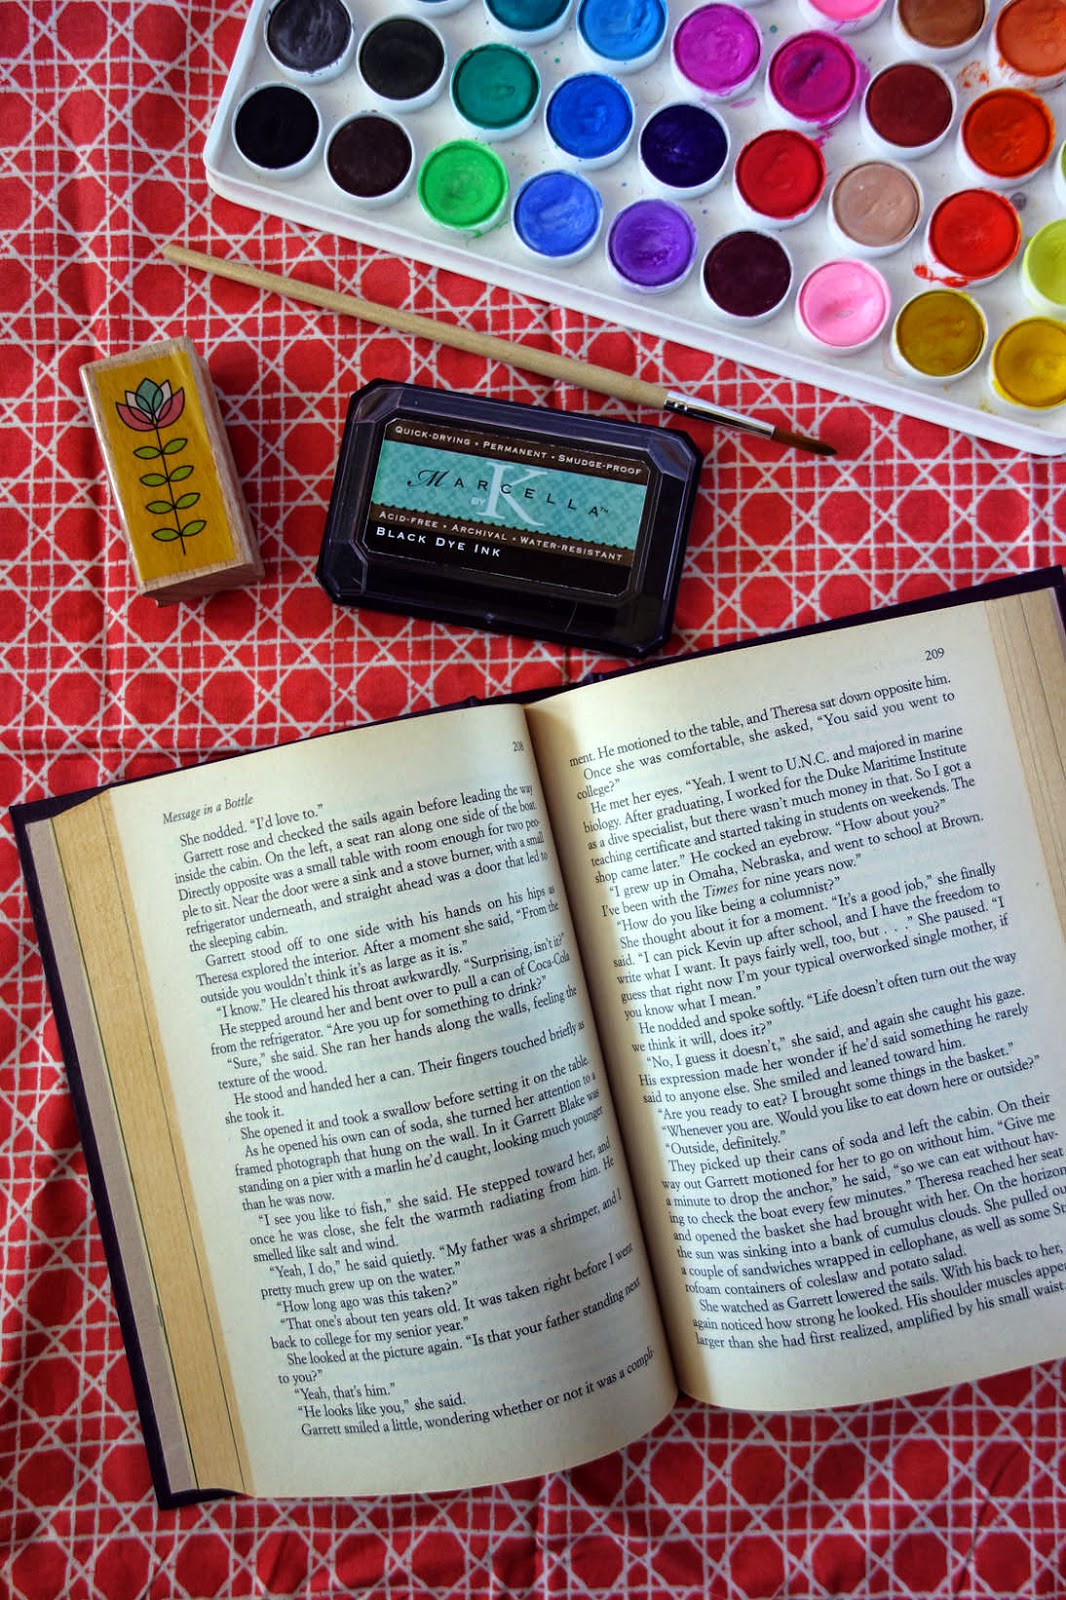
I'm transforming an old book into a gift for a friend. To help me out, I'm using paint, an ink pad, and a rubber stamp.

I'm using the book page as my canvas.

Time to add a design.

And fill in with some color.

Then I drew a collection of flowers, added some color, and defined the flowers' edges with a fine tip pen.

Can you see what I made? It's a blooming letter B for my friend Barbara.

I put my humble artwork in a frame, ready to be wrapped and mailed to her for her new home. TADA!

02 March 2015

Pretty Pages

Happy new week and happy new month!

Here's an idea if you're ready to spruce up your place for spring:


They're images printed on old book pages and then framed. I spotted them in a restaurant and I just had to take pictures for inspiration.

They're easy to reproduce by photocopying, sketching directly on the page, or making a collage. Tuck them into a picture frame and TADA! -- inexpensive art!

25 February 2015

Snack Attack

Today, an easy re-purposing idea.

This is an item from the FEED for Target collaboration two years ago. I'm a big supporter of reusable products and this one fit the bill quite well. I really like the design and happy yellow print. It's light and made of BPA-free material. Plus a portion of the proceeds funded meals for undernourished children.

However, after many months of use, it started to leak. I found a wet spot inside my bag, not just once but a few other times. Yikes.

Instead of exchanging goodbyes, I decided to use it for something else...

I'm now using it to store snacks! Right now, I have chocolate sandwich wafers, but I use it for cookies, trail mix and chips, too. 

It holds a good amount, it has an air-tight seal (at least for non-liquid contents), the handle makes it easy to carry around, and it snugly fits in car's cup holder.

How's that for blah to TADA!?


24 February 2015

Lemon Bars

This week, thoughts of YELLOW fill my mind to get me out of this frosty winter weather. Thus this project in the kitchen: 

I made a batch of lemon bars! I followed this recipe but replaced a few of the regular lemons with meyer lemons resulting in a sweeter pastry

I just love that final dusting of confectioner's sugar. 

 But why cut and decorate them in the traditional way when I've got these to play with?

A cookie cutter and a stencil turns an ordinary dessert from blah to TADA!

They've gone from neighborhood bakery to a patisserie level!

And serving it on a wooden board just adds to the charm. TADA!

23 February 2015

And It Was All Yellow

Happy Monday! How's the weather where you are? It's been terribly cold here, like 2 degrees Fahrenheit cold! There's no other way to survive but to bundle up and think happy thoughts.

My happy thoughts? An island getaway, picnic in the park, a backyard barbecue, a bouquet of sunflowers, banana pudding, and sweet tea.  

Clearly these are all things I associate with warm, sunny days.

As I summon the sunshine, I have the theme of YELLOW in mind. This week, I'll have three blah to TADA! ideas to share with you. Let's begin with this craft:

Here's a box that was once home for chocolate covered raisins. 

It's made of birch veneer, raw and unfinished.

I think a little painting is in order.

I put on several layers of this cheerful yellow, allowing the paint to dry in between coats.

I also painted the inside of the box.

I'm using it to wrap a present. Instead of a ribbon, a colorful strip of fabric scrap.

Then I top it off with this laser cut bird. I'm still undecided whether to paint the bird or not. What do you think?

A whole new look for an old blah box. TADA!