03 February 2012

A Birthday Card in 3-D

Happy Friday!

I like to shop for crafting supplies such as these tiny fabric flowers.

I use them in many different ways like embellishing this heart-shaped ornament made from a cereal box and yarn.

When I used up all the flowers, I thought about using the cardboard backing and plastic circle too. Blah to TADA! baby!

I wrapped the cardboard in gift wrap, punched a hole on top and inserted a luxurious ribbon.

I made a birthday message with rubber stamps, collected some sequins and handmade confetti. I put these in the center of the card...

...and tucked them inside the plastic circle that I eventually secured in place with hot glue.

I like the 3-D effect that's going on.

It's interactive too!

I wish you a relaxing weekend!


02 February 2012

A Series of Stripes


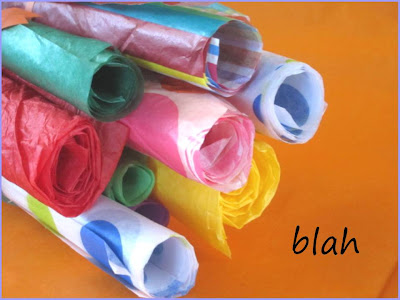
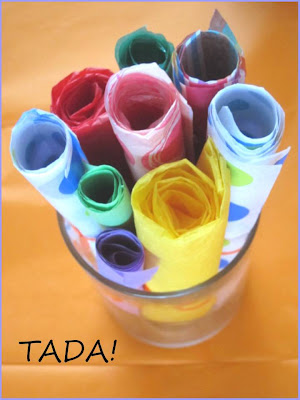
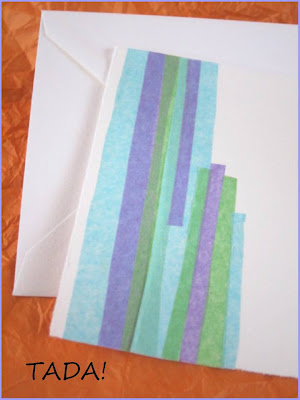
Do you like to use decorative tissue paper? I like to use them to line gifts before I put them in a gift box or bag, as an extra layer before the surprise is revealed. I sometimes use them as the actual gift wrapper too. That's why I have a few left overs just waiting to be used.

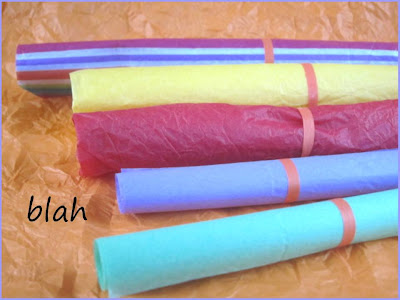
To avoid creases and tears, roll them up. Secure the ends with tape or tie a ribbon around it. Keep them in an empty jar or inside a properly labeled box.

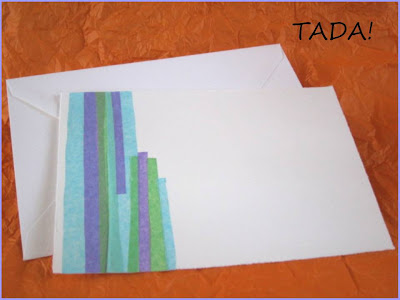
The tissue sheets are fun for crafting. Turn them into lanterns, flowers, mood lighting, votive holders or placemats. Today, we'll use them to dress up a blah piece of card stock.

TADA!: Pastel stripes made of tissue paper

Use it for someone's birthday or
for any occasion!

01 February 2012

Let's Get Dotty


Happy First Day of February! We're making unique, handmade cards this week and I'd like to invite you to make a few as well. It's for a good cause called the Special Delivery Project. Etsy is partnering with City-Meals-on-Wheels to deliver nutritious meals and handmade Valentine cards to over 18,000 elderly New Yorkers on Valentine's Day. Isn't that a nice way to share the love?

Last year, I made these Valentine cards for the Special Delivery Project and boy did I have a ball making them! Etsy needs our help by making the cards and writing a sweet message inside. Make as many cards as you want and mail them by February 7, 2012 to:

Attn: Katie Rose Crosswhite
55 Washington Street, Suite 512
Brooklyn, NY 11201

You can find more information here.

Now, here's another idea to turn left over tissue paper used from gift wrapping.

I chose this one with the polka dots. I'll cut around them.

Then I'll attach these randomly on plain card stock with a glue stick.

You can cut out circles from single color tissue paper too.

A blah sheet of paper is now a TADA! greeting card!

31 January 2012

Joyful Birthdays


Howdy everyone!

This week is all about handmade birthday cards made out of colorful tissue. I keep some tissue handy to wrap gifts. I even saved some from packages that I've received, especially the pretty ones.

blah: tissue remnants

TADA!: Use ink & rubber stamps
to make your own prints

Spell out short & cheerful wishes

Cut out the circles to make confetti

Put them inside an envelope, seal & send

Scatter joy!

30 January 2012

Birthday Cards


Happy Monday Friends!

Do you still receive birthday cards? I'm ecstatic to say I still do. And because I love that feeling of being remembered and knowing all the trouble a friend went through to send that birthday card, I enjoy giving out birthday cards too. This week, I'll show you some of the ones I made, starting with this one:

blah: tissue paper remnants

blah: CD envelopes left over from this

Using a butterfly craft punch, I made a
symphony of butterflies out of
the tissue paper.

Then I put them {make a lot} inside the envelope. From this view, you can't quite decipher that the blue background -- they're butterfly cut-outs.

Adding a single, contrasting butterfly begs
the question, "Why only one?"

But when the envelope is opened,
this is the desired effect.

A bit messy, but doesn't the birthday girl deserve a
shower of confetti on her special day?

Add a small note in the flurry flutter and tell me if
that doesn't make anyone smile!

27 January 2012

Pinterest!

Have you heard about Pinterest? It's an on-line pin board where you can organize images that you find from all over the web.

Like the mood boards I featured all week, Pinterest allows you to gather together pictures to help you design, decorate and dream.

You can check other people's pin boards, and if you are fascinated with what they pinned, you can "like" or comment on the image and even re-pin it on your own pin board, provided that you have an account. To do this, you have to request for an invitation {I'm still waiting for mine...sigh}. Another cool feature -- the source {ex. blog post} where the photo came from appears with the photo/pin, giving credit to the person who thought of it! So to my dear readers who found blah to TADA! through my projects posted on Pinterest, thanks for visiting me here.

It's also a social networking site and like blogging or Twitter where you can "follow" someone {subscribe to their posts} or they can "follow" you.

I can spend hours just looking through various pin boards! In fact, let me go and do that now. Have a fun Friday and a glorious weekend!

26 January 2012

Pages Upon Pages of Inspiration


Since the start of the week, I've been raving about mood boards and illustrating how they aren't strictly the bulletin board variety. Many people who design for a living use mood boards. Yes, even chefs. In creating a menu, plating a dish or making a cookbook, a series of sketches and pictures contribute in making the food look beautiful. After all, we eat with our eyes first.

Organic baker Sarah Magid, in her cookbook Organic and Chic, showcases the beginnings of a luscious cake with a few drawings.

Like a dress or a piece of furniture, the initial design is the direction in which the cake comes to life. It will also be the basis of approval for the person requesting it.

So have I convinced you that mood boards are they right way to begin any project? Mood boards keep you organized!

blah: a stack of magazine clippings

TADA!: assemble an inspiration book
using a three-ring binder

Add some dividers, paper & some plastic pockets.

Fill the pockets with pictures or fabric.
Make lists & floor plans on the paper.

You can also punch holes on actual tear sheets
and add them to the binder.

Watch your binder grow thicker as the
project progresses.

And use it as a guidebook for all the people involved.

Enjoy your Thursday!