28 July 2014

Scenes from My Summer

It's the end of July and how quickly the time flies! I remember, during the dead of winter, I retreated to a place in my head filled with long summer days and sunshine on my face. And now I'm living it. Summer is here and I'm basking in its glory!

Henry James once said, "Summer afternoon -- summer afternoon; to me those have always been the two most beautiful words in the English language." 

How could I not agree? So today, let me share what an ideal summer weekend afternoon looks like:

Seeing the ocean, being embraced by salty air, the sound the rolling tide makes, bare feet on the sand, and the faint scent of sunblock.
 
This is a day trip to Rockaway Beach in Queens, New York.

 
It's so close to the JFK Airport that planes getting ready for landing is typical. I wonder if the passengers will see me if I wave at them? 

The board walk is clean and modern.


One of the reasons people are drawn to this beach are the food stalls on the boardwalk. 

Out of curiosity, just like these folks, we tried Rockaway Taco. It's main shack is located just off the boardwalk.

These are the fish tacos (battered tilapia with a tangy slaw topping), chorizo tacos and a side of a pineapple and mint cooler. Mmmmm.

A walk by the beach after lunch was on the agenda.

And maybe finding a souvenir.

I took home this smooth rock...

And added it to my growing collection of "Found Objects". TADA!

I hope all of you are enjoying your summer (or whatever season it is in your part of the world)!

21 July 2014

A Sweet Peach

I hope you're having a good start to the week!

If you'll recall, I tried my hand at needle felting a few blog entries ago. I made this teacup ornament from a little kit. I didn't want to stop there so I did a little research.

I picked up this book from the library with the intention of making something three dimensional.

I thought a small piece of fruit like a peach would be a simple challenge.

I assembled everything I needed: a felting needle and a pack of wool roving.

A foam block is also necessary to protect the needle, your work surface, and your precious fingers.

The first step is to make a core by rolling a bit of wool stuffing into a ball, then needle felting it until it feels moderately firm. I didn't have any wool stuffing on hand. Instead, I used the same wool roving.

The next step is to wrap a strip of wool roving to cover the core. 

Needle felt it in place (make sure to keep the needle straight to avoid it from breaking and always work on the foam surface). The finish should be smooth and tight. 

Next is to add an indentation to make it look like a real peach. Simply concentrate the needle felting in one spot on the bottom of the fruit. Then repeat this same technique on the top of the fruit.

To make a tiny stem, wrap a small piece of wool roving in another color around a wooden skewer or, in my case, the end of a paintbrush. Form it into the shape of a small sausage. 

Pull this off the skewer/paintbrush and needle felt it until it is firm.  

Here they are -- the stem and the peach.

Needle felt the stem into the indentation made on top of the fruit. But if kids will be playing with it, it's best to stitch the stem in place.

As an added detail, I glued on a leaf made from fabric scraps.

And I'm proud to say, "I made this sweet peach!" TADA!

14 July 2014

The Gracious Guest

One of the people I follow on Instagram is the lovely Barrett Prendergast of @valleybrinkroad. She's a chef, party planner, and blogger. She also makes and sells these beautiful gift boxes:

via Valleybrink Road

via Valleybrink Road
What a delightful gift to give or to receive, don't you agree? 

It was these gift boxes that I had in mind when I came across this blah clementine crate. 

 I thought it had the potential to be TADA!

So I painted the outside with a few coats of white acrylic paint (I used an old shower curtain as a work surface).

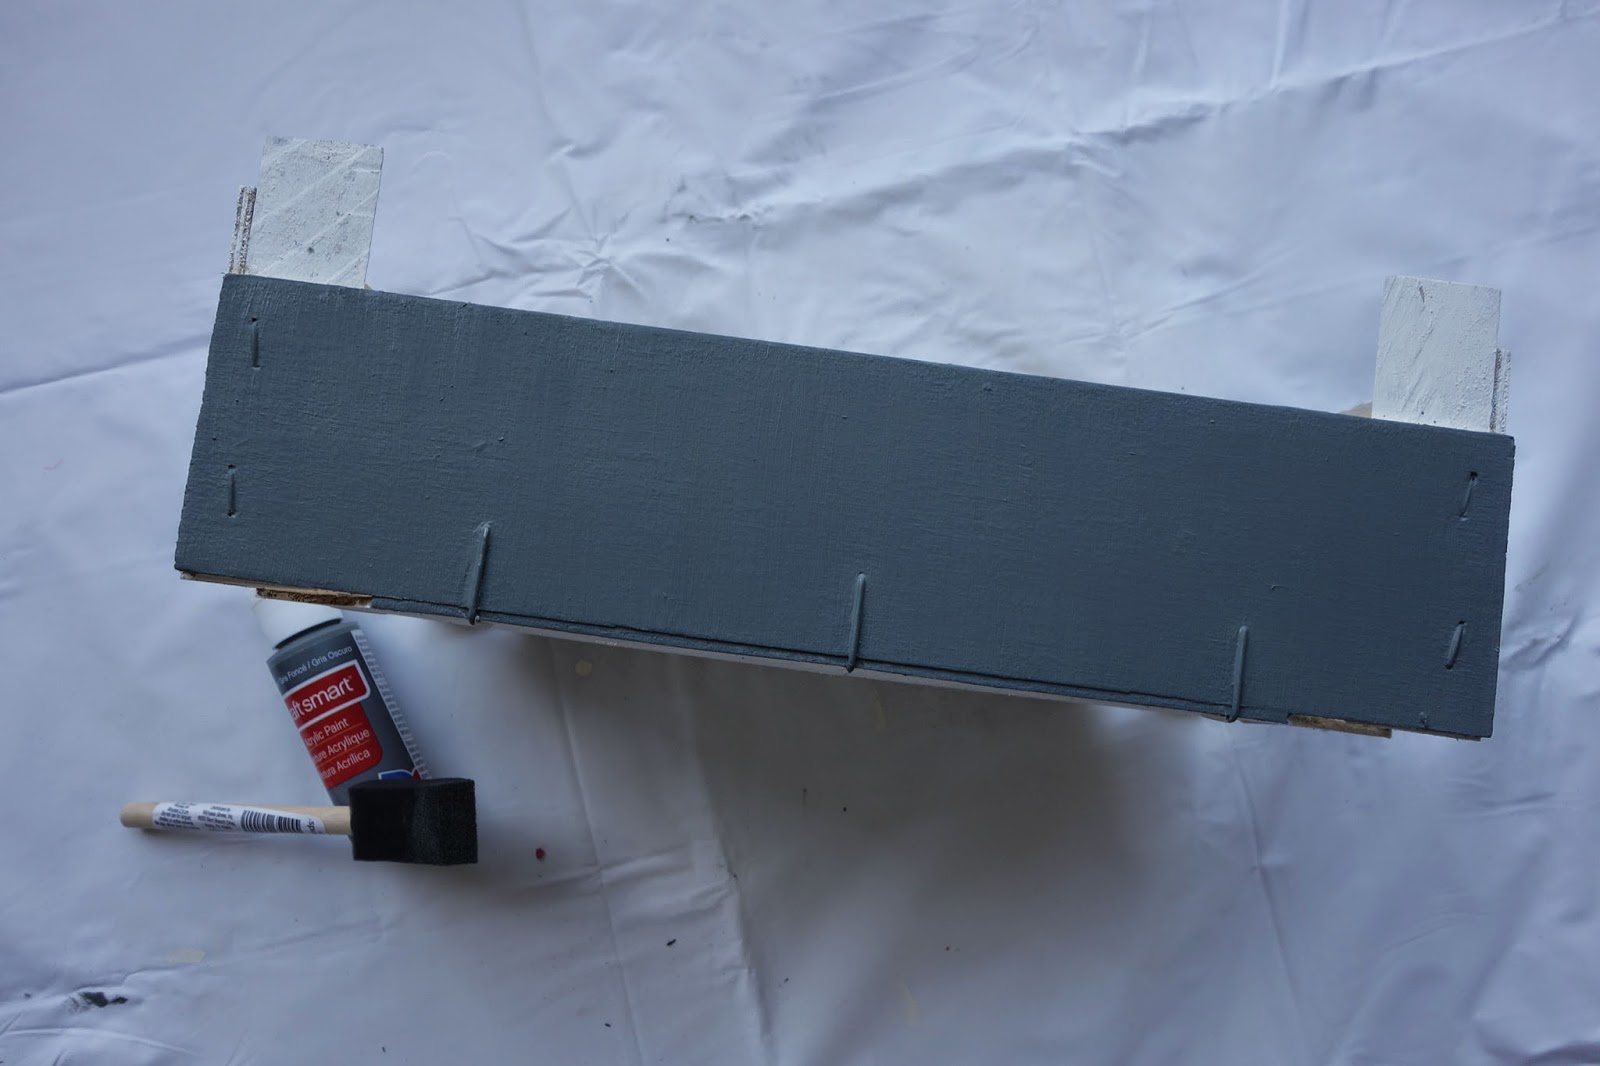
 Once dry, I painted a few layers of gray paint on the front side.

Here's what it looks like now that it's all dry.

I added the French line for "Thank You Very Much" in brush calligraphy. I made an outline using pencil and inked it with some white paint and a No. 6 watercolor brush. Then I put it aside to dry.

Then I added some clear grass. Shredded kraft paper or crumpled tissue paper are other options. 

The mission of this gift box is to thank a couple for hosting myself and my husband in their home for a few days.

I'm filling the box with treats that I'm sure they will like: a scented candle, some tea and honey, plus chocolates!

I also added some kitchen towels and a handmade flower (fresh flowers, if easily available, is always a better option).

Then I finished it off with a sumptuous bow and a handwritten note. TADA!

I really believe in expressing gratitude especially to those who have generously opened their homes to you, whether they're a family member or friend. I think it's TADA! when the guests are as equally gracious.

07 July 2014

New Life for Expired Cards

Happy Monday! When I clean around the apartment, I'm bound to find things that need to be thrown away. But my compassionate heart will always find a way to give them a second chance.

Take these for example. They are expired medical insurance cards. Credit cards past their expiry date, empty gift cards, old IDs...they're all part of the same gang. So blah

But here's the TADA!:

I covered both sides of each card in several coats of paint (I used left-over enamel paint from this project, but spray paint works just as well). Once dry, I punctured a hole at the top using an awl


I'm using these cool stencils.

I like them a lot because they're adhesive -- no need for tape! And they can easily be re-positioned to most work surfaces.

I chose to use the numbers. I put the stencils in the middle of each card.

Then I gently dabbed on some paint using a foam brush or pouncer. I did about 5 coats.

I let the paint sit for a few minutes and gingerly peeled off the stencil while the paint was still wet. I immediately washed off the paint on the stencil and dried them off with a towel.

Once the cards were dry, I looped cord through the holes. And I now have numbered tags! TADA!

They come in handy when you need to be extra organized:

For keys to rooms, lockers or closets.

Or as luggage tags (just print out your contact information and stick it on the flip side).

I hope you liked this idea. Here's a similar one using decorative contact paper. Have an awesome week!

04 July 2014