02 October 2017

Hoopla Over Hygge

Hi Everyone! Have you heard of the word "hygge"? I first learned it early this year and read more about it from this book:

It's written by Meik Wiking who works at the Happiness Research Institute 
(I didn't know such organization existed and he must have a really satisfying job!).

"Hygge" is pronounced "Hoo-ga". It finds its origins in a Norwegian word that means "well-being". The other ways to desribe it:
  • the art of creating intimacy
  • coziness of the soul
  • the absence of annoyance
  • taking pleasure from the presence of everyday things
  • cozy togetherness
It's about being with the people that we love. It's a feeling of home. A feeling that we are safe and sheltered from the world. It allows ourselves to let our guard down.

And here is how to achieve it:


With these descriptions alone, I'm all in. 

Tommorow I'll show you how I've incorporated hygge into my life. See ya then!

26 September 2017

Urban Sketching

One of the things I'm determined to learn more about is urban sketching. Instead of just taking pictures, I would love to illustrate what catches my fancy. Oh how awesome it would be to fill travel journals with drawings! 

And so I am on my quest to improve.

Serendipity led me to the Urban Sketching Meetups. They were held in Herald Square, just by the Macy's flagship store in New York City.

It's led by the Art Students League of New York.  Students were readily available for questions and tutorials.  

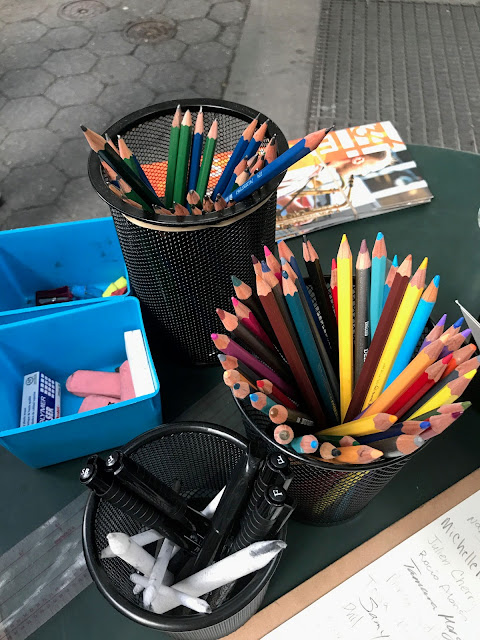
Drawing paper and materials were provided. 

With my chosen tools, I found a seat and observed the environment for potential things to draw.

I wanted to practice detail. I picked out some items that were not too overwhelming to copy.

I drowned out the noise of the traffic and the salsa dance class across the street. Before I knew it, one hour flew by!

I've got a long way to go but I'll keep practicing. The Urban Sketchers motto is “We show the world, one drawing at a time” and I can't wait to do that!

25 September 2017

A Travel Journal

Hi guys! Have you visited new places recently? Like most people these days, we show off our travel photos on social media. It's immediate and we get comments right away.

As an alternative, do you keep a travel journal? I always have. Here's what they look like:

It's filled with checklists like landmarks to see and delicacies to try. I also write down my thoughts and highlights of the trip. But mostly, it's just words in these pages.

Do you know what some people do? They illustrate their trip! Let me show you:

via JR Sketches

The story of my red lines: pencils, setup lines and early work
via Liz Steel

Gurney Journey :: Mini Moleskine
via James Gurney
What sorcery is this? They're highly talented and I became jealous.

I want to be like them! So I'm learning more about this art. In my travel journals this year, I'm attempting to be more visual. I think it's a productive way to practice my brush letting and watercolor while telling a story.   

First, I gathered together my journaling kit. I keep it light and compact so it's easy to take anywhere.

I keep everything in a zipper pouch. Here's what's in it: 
  • Sketchbook - watercolor paper is my preference and this measures only 3.5 inches x 5 inches, making it less overwhelming to fill the page
  • Pencil - a mechanical pencil is ideal; no need for sharpening!
  • Eraser - I like using the pen eraser because it easily clips onto the sketchbook
  • Technical drawing pens in different point sizes - Micron, Le Pen and Sharpie are some of the brands I use
  • Paintbrushes - I have regular brushes and a nifty waterbrush (just press for water!) 
  • Ink pad and date stamp - these are not necessary but nice to have
  • Watercolors - an inexpensive set with primary colors suit me just fine

I like pan watercolors because they're less messy compared to tube watercolors. Did you know that you can remove the little pans from the tray? Yeah! You can customize a smaller set depending on what you'll be painting (ex. ocean blues or woodsy greens). I store mine in recycled mint tins...TADA! 

A sturdy, water-repellant envelope is a handy way to stash ephemera like tickets, receipts, coasters, and small keepsakes that you want to include in your journal page. It's a place where all these can hang-out while you await the next journaling opportunity. 

If you're travelling to many places (ex. different states across the US, or countries around Europe), use binder clips or an accordion envelope to segragate souvenirs.   

Here's a photo of my "work space" on a bench at the New York Botanical Gardens.

And here is another on a bench by the Hudson River.

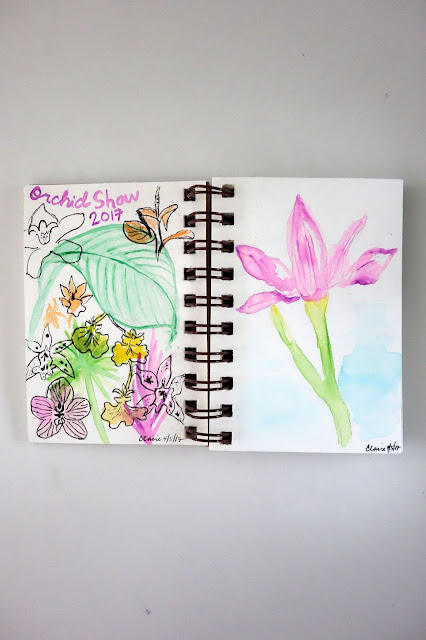
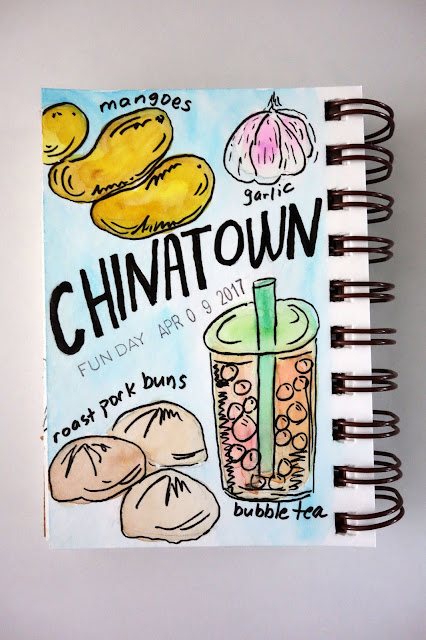
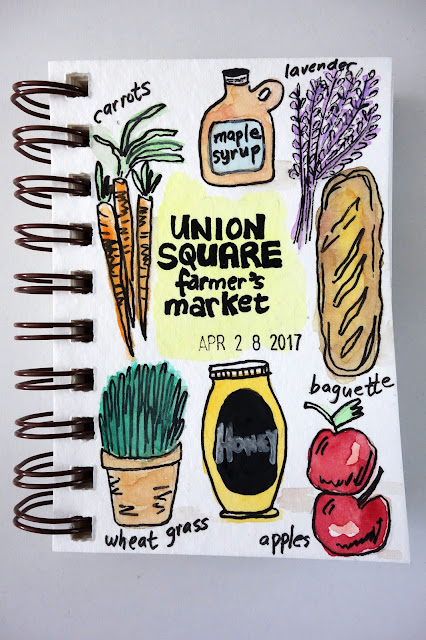
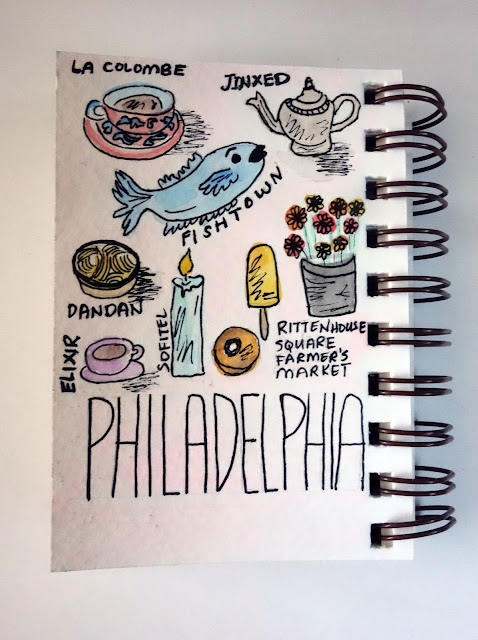
Here are some attempts at illustrating my adventures:
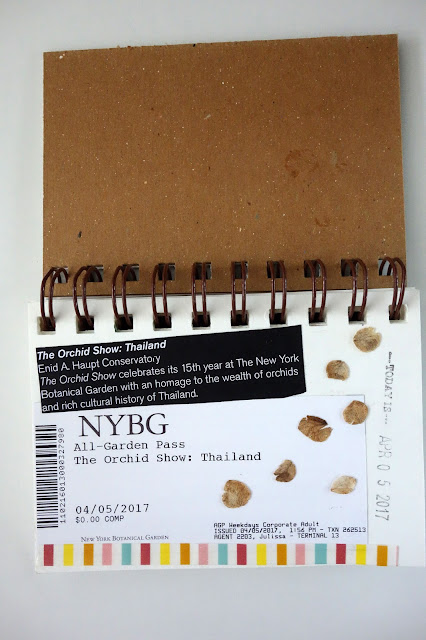
New York Botanical Gardens exhibition

New York Botanical Gardens exhibition

New York City's Chinatown

Union Square Farmer's Market, New York City 

Philadelphia, Pennsylvania

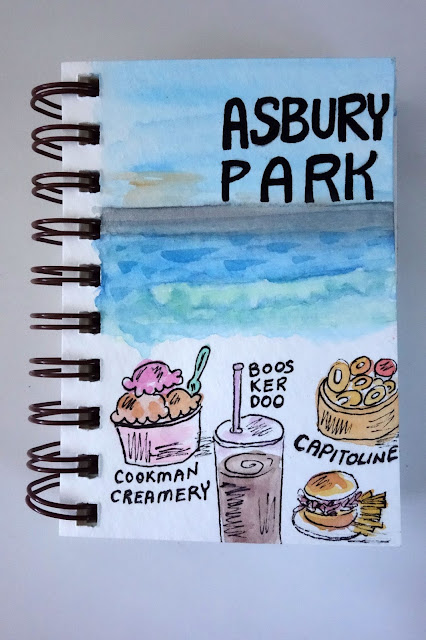
Asbury Park, New Jersey

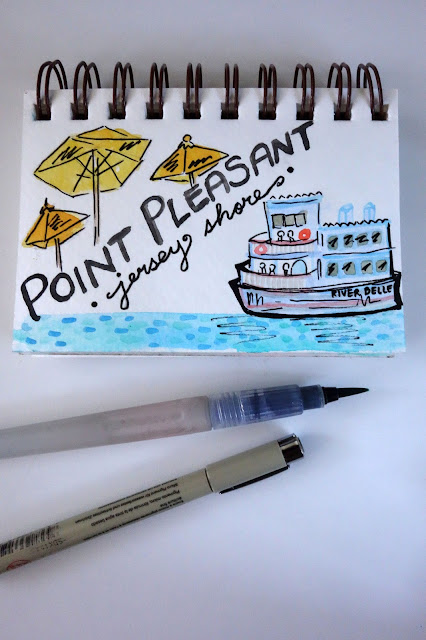
Point Pleasant Beach, New Jersey

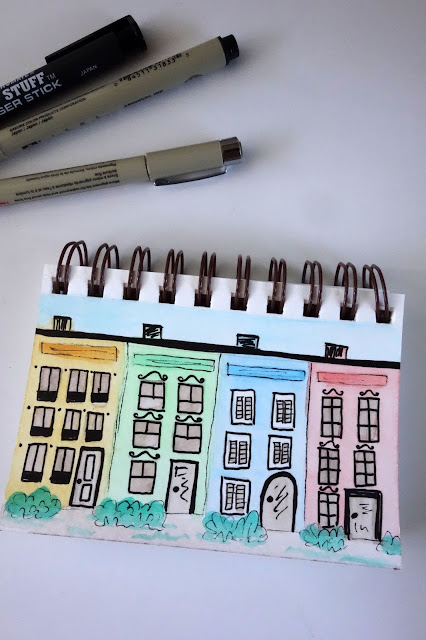
Portland apartments

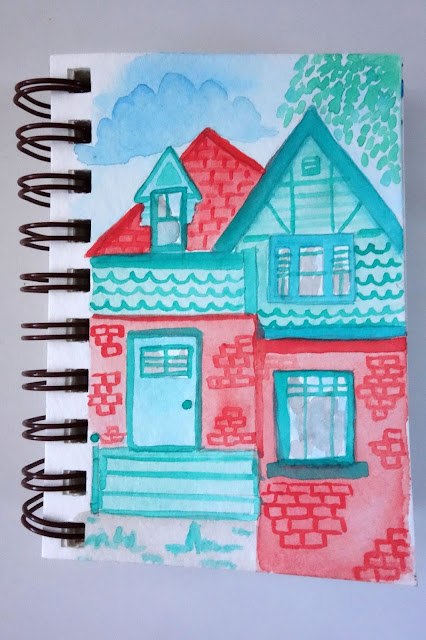
The house on Vaugh Street

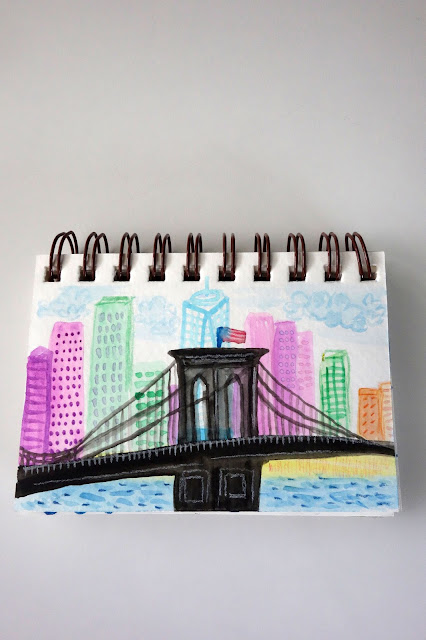
The Brooklyn Bridge, New York City 

These are my baby steps...TADA! 

Please stop by tomorrow. I'll show you another way how I practice this art.

19 September 2017

Sartorial Snoopy

I stumbled upon something so adorable, I just have to share it with you!

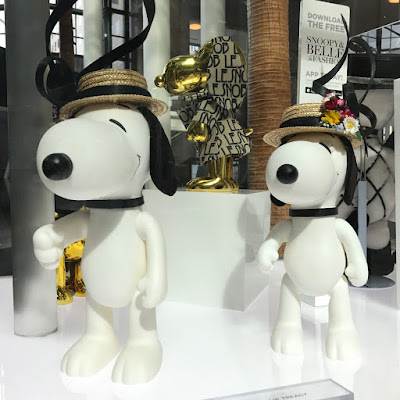
The star is Snoopy and his sister Belle in an exhibit called "Snoopy and Belle in Fashion", just in time for New York Fashion Week.

They're dressed by 50 big name fashion designers/celebrities. Here are some of my favorite looks:  

 Babesta

Paul Tazewell (Snoopy as Alexander Hamilton, 
Belle as Eliza Schuyler Hamilton) 

Oscar dela Renta 

Oscar dela Renta 

 Monse

 Swarovski

Hermes (those leather accessories!) 

 Diane Von Furstenberg (Belle in the iconic wrap dress!)

 Isabel Marant

Jenna Dewan Tatum x Danskin 

 Chanel

 Philip Treacy's gorgeous hats

Gucci 

 Rachel Zoe

 Betsy Johnson

Karl Lagerfeld 

Ocean Pacific 

Zac Posen 

Tokidoki

Snoopy was a beloved part of my childhood. I've got a soft spot for Snoopy and Peanuts Gang! If you'd like to check out this exhibit, it's in New York City's Brookfield Place until October 1, 2017.

18 September 2017

Framed Fabric

Hi guys! Thanks for your visit today.

Four years ago, I made this project to add life to our balcony at home. It's basically a piece of fabric that I framed.  

Because it was hung outdoors, the colors eventually faded and my inexpensive art piece started to look blah

And that means only one thing. Time to go shopping!

Did you know that Ikea has a line of fabrics? There's a wide assortment for any home improvement venture.

I chose this one in black and white with a culinary theme (even the husband approves). 

As with most things associated with Ikea, you do it yourself. And that includes measuring, cutting, and preparing a label for the register.

When I got home, I cut the fabric to fit the frame (with extra inches to allow it to fold over the wood backing). I pulled tightly and secured the fabric to the backing with lots of packaging tape. Then I added the frame.

Here is my new art piece. TADA!

It's nifty for dorm rooms or kid's rooms. Low commitment and budget-friendly! 

If you can, please stop by tomorrow -- I went to a fun exhibit and I have pictures to share.