February is always associated with Valentine's Day. While some think it's just a commercial holiday and others don't celebrate it at all, I have always believed in expressing your love, even in non-romantic ways.
I got this rubber stamp from the craft store at a deeply discounted price (last year's end-of-Valentine's Day sale...TADA!). I love all the angles, a heart that's not typical.
 |
| via Terrain |
I dabbed the rubber stamp on my ink pad (I've had this for years and I revive it using this ink applicator) and stamped it on a piece of white cardstock.
Then I tinted the different triangles within the heart using colored pencils. With a pair of scissors, I cut off the excess paper surrounding the heart.
I found a readymade envelope but we can also make our own using this tutorial or this tutorial. I marked the center of the envelope with a ruler and a pencil. This is where the pop-up element will go.
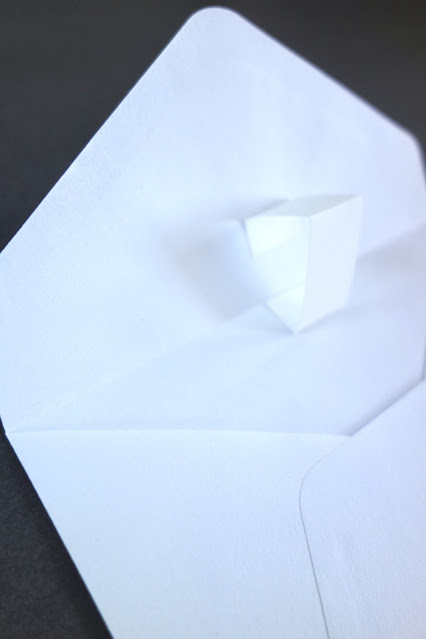
I cut a small piece of cardstock. This one measures 2.8 inches long and 3/4 inches tall. I folded the cardstock in the center, and then folded both ends, about 1/2 inch.
I attached one end of the cardstock to the center of the envelope. I applied glue to one of the folded ends.
I took the other end of the cardstock and glued it on the opposite side of the envelope. The cardstock should look like this, the folded center facing you. When the flap of the envelope is closed, this part should not be sticking out. Once attached securely, erase any visible pencil marks.
Then I took my paper heart and glued it to the bottom part of the cardstock.
I also added a few hearts using my colored pencils, transforming the background from blah to TADA!
See how it now resembles a pop-up card?
Here's another angle...TADA!
You can put these little love notes inside. Words of encouragement never go out of style.
You can put whatever your heart desires inside the envelope: a handmade card, a gift card, or a small gift...TADA!
This is what the envelope looks like when it's closed (and sealed with washi tape). The surprise is just waiting to be revealed.
And that is how I turned plain cardstock and a regular envelope from blah to TADA!
*****
You may subscribe here if you'd like my future blog posts delivered straight to your inbox and you can follow me on Instagram for more crafty ideas.


No comments:
Post a Comment
Your comments are very much appreciated!