22 December 2014

Packages Tied up with String

Hi there! I know you're busy with the rush that comes with the holidays, so I appreciate that you came over today.

I'm sharing a cute yet quick gift wrapping idea.

All we need are red paper bags (purchased at Target's food storage department), adhesive gift tags, and baker's twine or yarn.

Make holes at the top of the bag using a hole punch.

Attach the labels any which way you want.

Now, all you have to do is put in the gift and write a short message.

Tie on some twine and you're ready for some Christmas giving!

Wasn't that blah to TADA!?

15 December 2014

Fun Felt Ornaments

I enjoy making Christmas ornaments as you've seen the past two weeks. The holidays are always busy but crafting is a moment of "me time". Besides, new ornaments contribute to the personal history of our tree.

Today, I'm turning some felt sheets from blah to TADA!

I'm using these miniature cookie cutters as a pattern for the design. I just trace around them with a pencil, always making a pair.

With embroidery floss and a needle, I embellish the felt ornaments.

Then I fuse both sheets together with some hand stitching and finishing with a few knots.

I left an opening on one end so I could stuff it with fiber fill (or clean cotton balls).

Then I close the hole with a few more stitches and knots. Add a piece of thread as a hanging device.

Here is my little mitten. 

And here is my mini tree.

And a red Christmas ball.

More ornaments make it merry! TADA!

08 December 2014

Do You Want to Build a Snowman?

Good day lovelies! This week, another idea for a tree ornament.

I'm transforming this from blah to TADA!

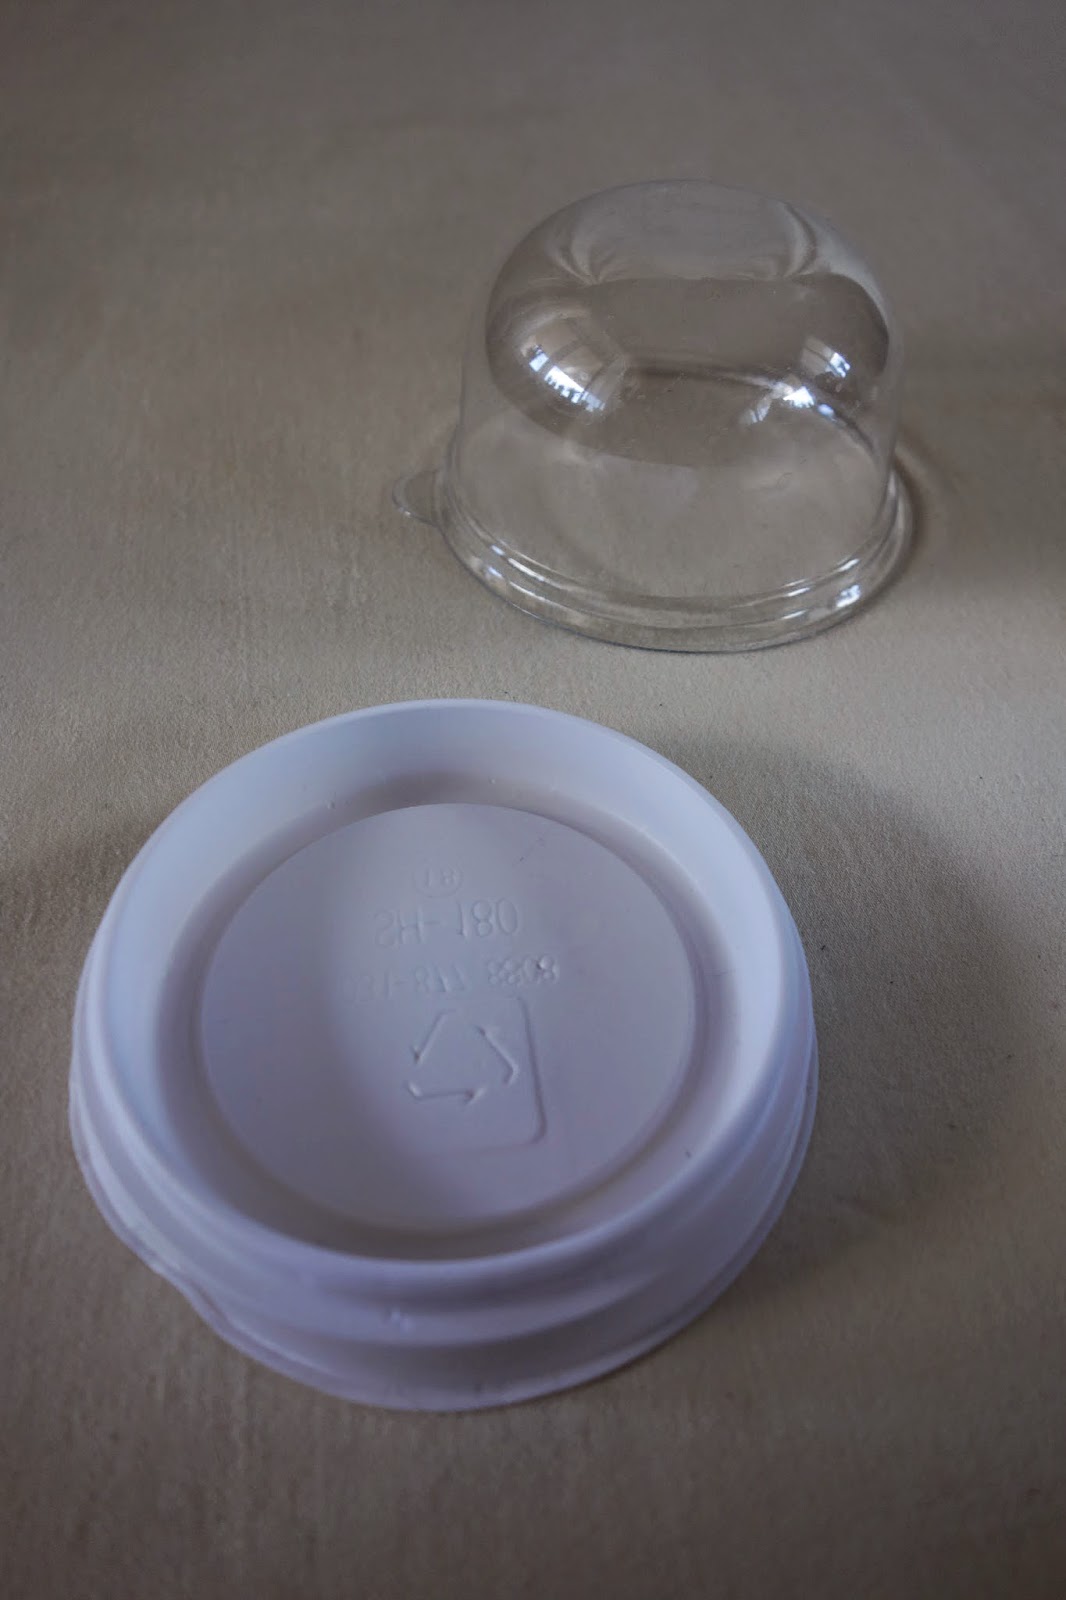
What is this, you ask? It was a container for a bite-size cheesecake from one of my favorite neighborhood bakeries. The cheesecake is all gone but I saved the packaging. 

Doesn't it look like a snow globe? I'm turning it into one!

First, I fashioned "snow balls" out of crafter's clay, glued each ball together making a snowman.

I drew on some body parts with a black pen.

Then I made him a scarf out of felt.

On the base of the snow globe, I put a generous amount of glue and a shower of glitter.

With more glue, I attached my snowman to the base.

Plus a little shout-out to snow.

On the plastic dome, I made a hole using a needle, inserted some string and made a few knots. This will be the handle for my ornament.

Attach both parts together, and here it is -- a handmade ornament. TADA!

It's ready for a place on the Christmas tree.

Wishing you all a terrific week ahead!

01 December 2014

Hand-Painted Ornaments

December is upon us and Christmas indeed is a few days away. 

Out in the shops, as early as September, holiday decorations were already up and ready for purchase. I'm not sure if that put people in a holiday mood or got them frustrated.

Christmas is my favorite time of the year. But Christmas in December (not August or October).  I managed to put blinders on to avoid all the shiny trim and blinking lights to focus on what's important.  Today, I'll show you what Christmas means to me with a little blah to TADA! 

This is a page I ripped off from last year's Crate and Barrel catalog. I thought it was a cool craft to recreate.

I bought these birch rounds from my favorite craft store when they went on sale.

They're natural, rustic, and bring a bit of the outdoors inside. 

I sanded each one, wiped down any dust, and painted them white.

After letting the paint dry, I made some sketches. 

I thought a little whimsy was the way to go.

Then I added some color.

And here are what I love about Christmas:

It's Jesus' birthday. Really, he's the star of the show.

Going to church and reliving the story of Jesus. 

Coming home and being with family. 

Putting up decorations at home and admiring the lights around the neighborhood. 

 Listening to Christmas carols -- plus points if it's a real choir!

Writing, sending, and receiving Christmas cards.

An abundant feast, ideally with some bubbly and lots of dessert. It's a good excuse to indulge while exchanging stories with people I love.

Thoughtfulness and generosity through simple, yet beautifully wrapped, presents.

I finished these off by attaching picture hanging hooks and baker's twine. Now, they're ready for the tree. TADA!

How about you, what do you love about this season?

27 November 2014

Thank You!

It's a special holiday here in the US and I wanted to wish you and yours:

One of the things I'm grateful for is this blog where I can share my passion for crafting, treasure hunting, and culinary adventures. Thank you for all your visits and comments, I truly appreciate them!


24 November 2014

A Beautiful Bead Trivet

Well hello there! Two Sundays ago, I stopped by a thoroughly enjoyable gift market: 

It's called the Renegade Craft Fair. I've written about it here and I think it's a wonderful showcase of handmade talent. Check out this schedule -- there might be one where you live.

Over 200 makers were there selling food, ceramics, jewelry, prints, dolls, clothing, bags, decor, and goodies for gifting.

There were free workshops, too. I was able to attend the one facilitated by Paul Lowe, a.k.a. Sweet Paul.

He showed us how to make wooden bead trivets.

They're very simple to make. All we need are large wooden beads and leather cord. 

Cut two pieces of cord. One should be able to hold 15 beads and another, 9 beads. For both pieces of cord, make sure to add an extra 6 inches before cutting. These are necessary to make knots.

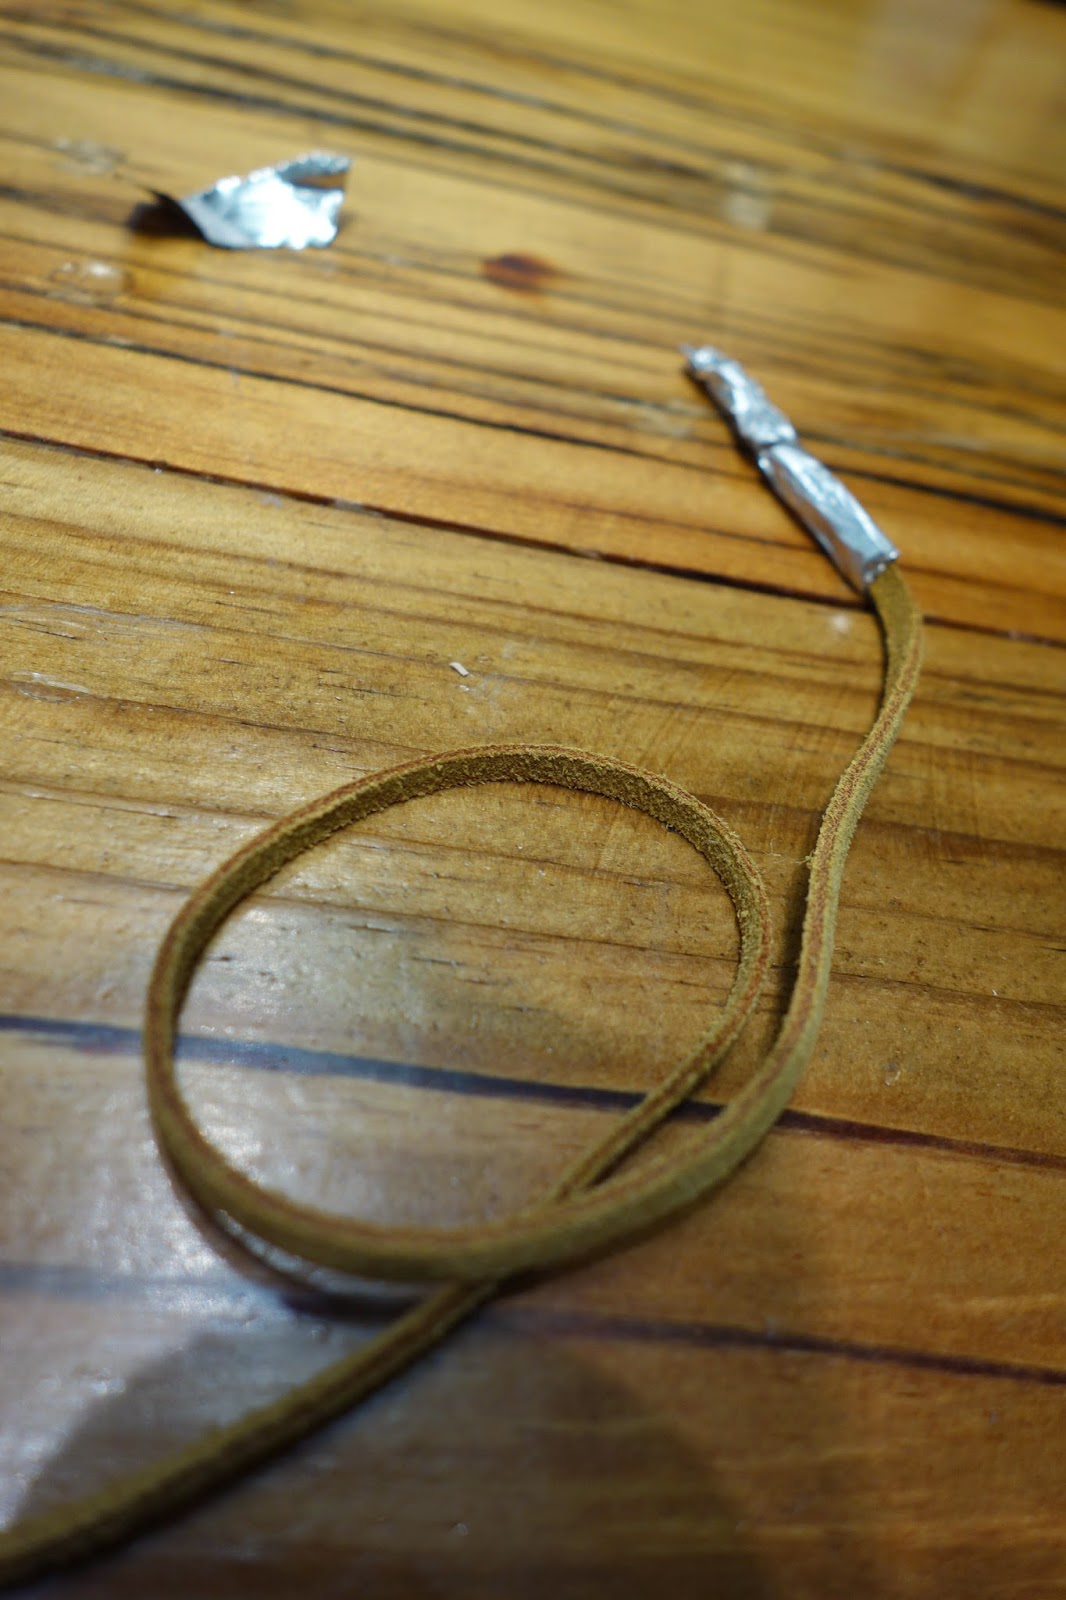
A neat trick to quickly get the beads on the cord is wrapping one end with some aluminum foil. It'll act like a needle.

Then string on the beads. 

The outer ring should have 15 beads and the inner ring will contain 9 beads. To finish, make at least 3 knots on each "necklace".

Nest the smaller one inside the bigger one and we've got a chic and useful trivet. TADA!

It's perfect to rest hot-from-the-oven food for Thanksgiving and the upcoming holidays.