28 January 2019

Treasures from the Trash: A White Shelf

Hi there guys! I live in an apartment building and there's a common room where we put our trash and recyclables. Sometimes people leave furniture that they no longer need. 

Here is the most recent one that I saw:

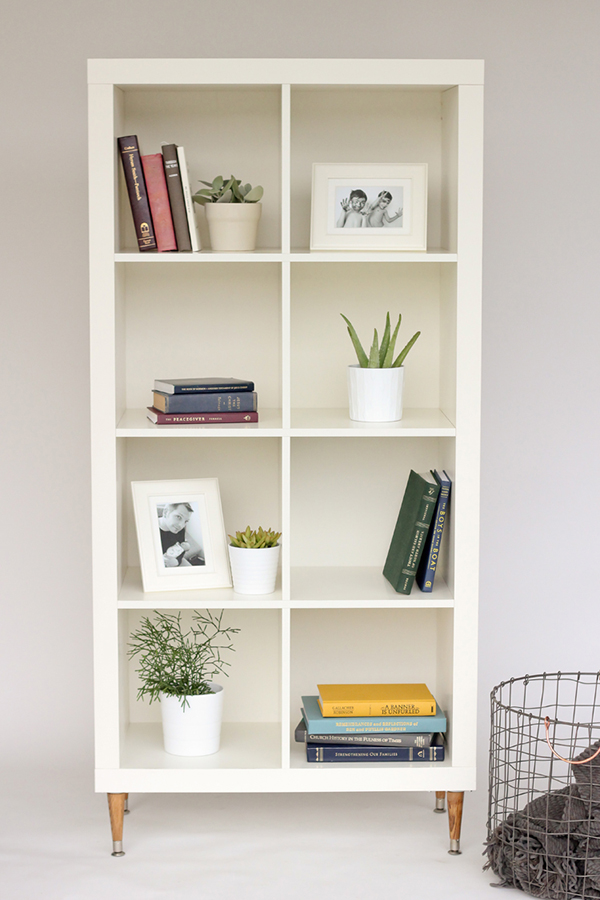
It's a hefty white shelf that's versatile for any room and can be positioned vertically or horizontally depending on how it's used.

If only we had room in our apartment, you'd see me hauling it and claiming it as mine. But our space is limited. Sigh. 

I did spend a good amount of time thinking of how I would use it.  I'm borrowing some images from the web to describe what I have in mind.  Here goes:


1. I would add "drawers" in the form of removable boxes or baskets

via Pinterest
I really like these square baskets with the white shelf. It's a modern country look and each member of the family can have a basket or two to store things like mail and gadgets.

via Limmaland

Here's a similar one for a child's bedroom. The addition of a wood plank on top gives the shelf more character.


15 Cool and Clever IKEA Bookcase Hacks
via Pinterest

File boxes are a good fit, too! I would use this in the home office with a current project assigned to each box (ex. craft projects, book research, etc.).


2. I could also use it as a music corner

via Pinterest
I would put our record player and speakers on top and our records on the shelves (separated by genre).

Vintage vinyl collection at Jenni Kayne president Julia Hunter's LA home.
via Remodelista
And since we don't have that many records, I could include books and other decorative pieces just like this shelf.

3. It can work as a dining room console


-
via Pinterest
A versatile piece that can be a bar, buffet table, and storage for dinnerware.


via Buzzfeed
Or inside a home office or craft room...TADA!

4. I could also add feet

furniture feet, feet for furniture, legs for furniture
via Pinterest
The feet add height and make the shelf look more grown up.

furniture feet, feet for furniture, legs for furniture
via Delia Creates
This shelf-and-tapered feet combination gives it a mid century modern vibe. 

Here are some options for furniture feet that I might use:
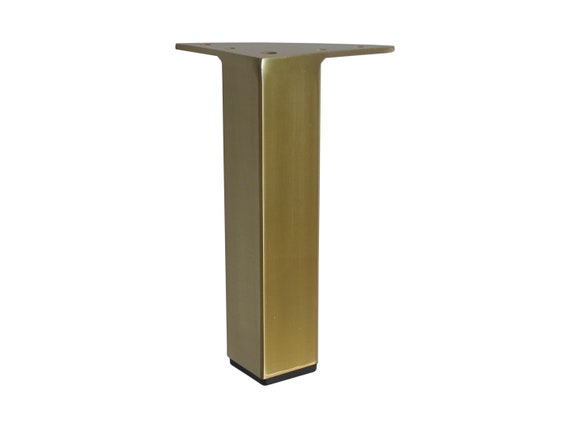

feet for furniture, furniture feet, legs for furniture, Etsy furniture accessories
via Etsy
Gold feet that look like jewelry for furniture.
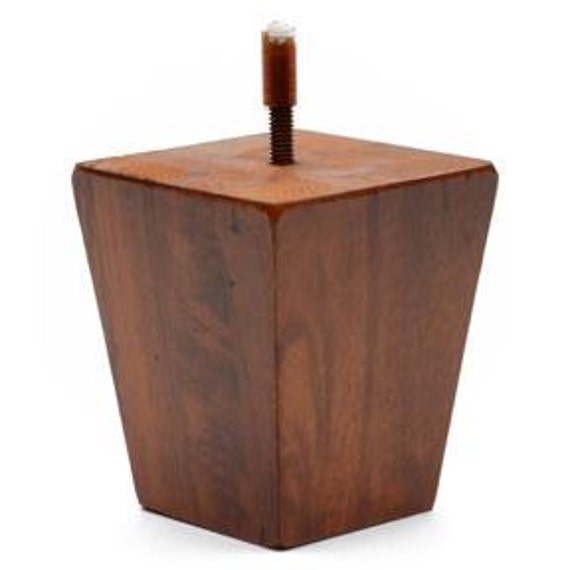
furniture feet, feet for furniture, legs for furniture, Etsy furniture accessories
via Etsy
Or chunky feet in dark wood. 

Lowes Waxman 2-Pack 1-5/8-in Plastic Swivel Caster, feet for furniture, furniture feet, movable casters,
via Lowes
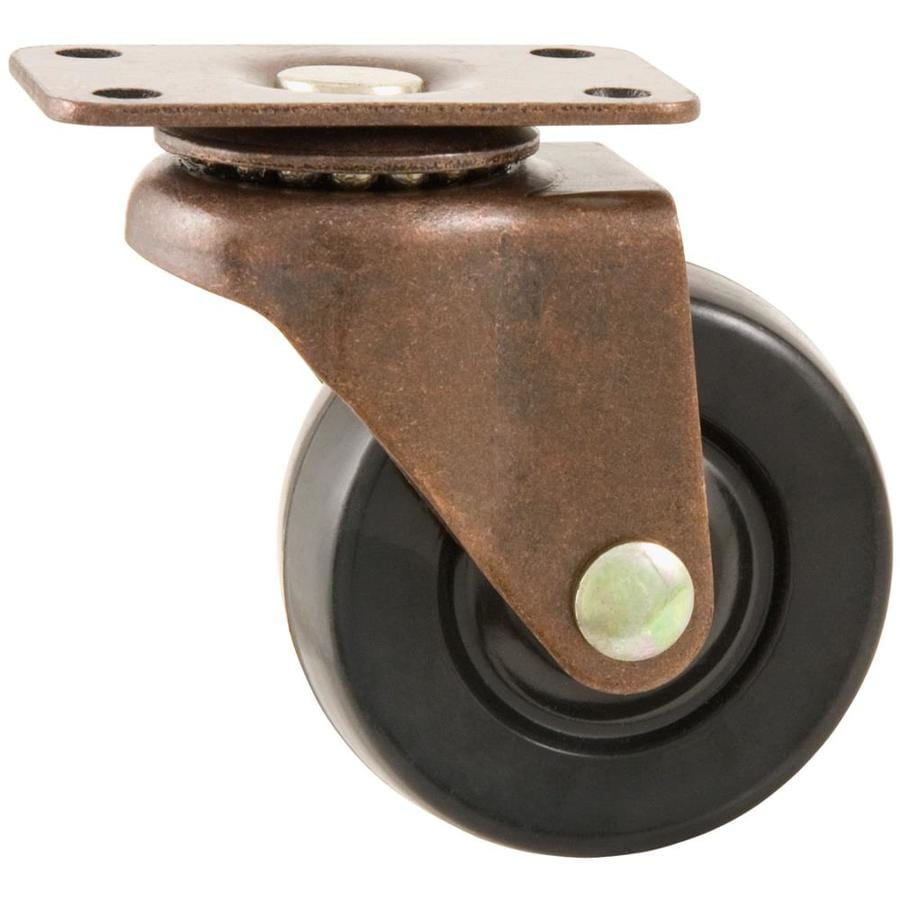
And maybe even casters so that I could easily move the shelf around.


While I was looking for images, I chanced upon this one:

Ariane Brand
via Ariane Brand
Isn't this the most adorable play grocery/market stand/patisserie a child could have? I want one for myself!

I hope these ideas have inspired you to turn your old furniture from blah to TADA!

21 January 2019

Watercolor Paints in a Mint Tin

How is your Monday coming along? I'm quite excited by our blah to TADA! project today.

I've seen a lot of people reusing a mint container as a watercolor paint palette and I thought it was a clever idea.

I gathered all the materials required and here is how I made mine:

I always have mints in my bag so I've amassed a number of these containers. 

365 Whole Foods Peppermints
There are many ways to change of the look of the container like covering it with washi tape or stickers. It's important to do this because we don't want to confuse our mints with our crafting materials.

I decided to use spray paint. It's not the most eco-friendly option but this method provides a clean, smooth finish compared to painting with regular paint and a brush. It's a good idea to add a coat of rust preventive spray since the tin will be exposed to water.

Don't paint the area where the lid locks to the body of the tin. It'll be a struggle to open and close it. Trust me -- I learned the hard way. I had to remove the paint using sandpaper! 😒

watercolor paints in a mint tin, watercolor pan in mint container, reuse Altoid mint tins as watercolor paint box, recycle mint tins, blah to TADA!, spray paint a mint tin
I found these half pans at an art store. They're easily available on-line like Etsy shops, with or without paint in it.

I used magnets, too. This one is flat and self-adhesive, but you can also use button magnets (just attach with double sided tape or super glue).

watercolor paints in a mint tin, watercolor pan in mint container, reuse Altoid mint tins as watercolor paint box, recycle mint tins, blah to TADA!, spray paint a mint tin
I cut the magnets small enough to fit the bottoms of the half pans.

watercolor paints in a mint tin, watercolor pan in mint container, reuse Altoid mint tins as watercolor paint box, recycle mint tins, blah to TADA!, spray paint a mint tin
They'll stick to the container, keeping the half pans from moving around.

Watercolor half pans, pans for watercolor paint, plastic cubes for paint
Put the half pans inside the mint container.

Watercolor half pans, pans for watercolor paint, plastic cubes for paint, watercolor paint, gouache paint
Then add the paint from the tubes that you already have. I only filled it half way but you're welcome to fill it up to the top.

Watercolor half pans, pans for watercolor paint, plastic cubes for paint, watercolor paint, gouache paint, paint swatch
Make a paint swatch.

Watercolor half pans, pans for watercolor paint, plastic cubes for paint, watercolor paint, gouache paint, paint swatch
Then attach the swatch to the inside of the lid.

Watercolor half pans, pans for watercolor paint, plastic cubes for paint, watercolor paint, gouache paint,
If I wanted to pack really light, I can move the half pans into smaller mint tins...TADA!

This is what they look like when the mint tin is closed. 

art kit, watercolor kit, travel journal
They're so compact and not bulky at all!


art kit, watercolor kit, travel journal
One flaw I have to point out is that there is no place to mix paints to create new colors. I'll have to bring a separate plastic palette or palette pads in my kit.

art kit, watercolor kit, travel journal
I'll use my art journals and take my watercolor paints in a mint tin for a test run. I'll report back to you as soon as I can.

Thanks for visiting!

14 January 2019

Noteworthy Notebooks

It's all about notebooks today!

Even if we have the technology to go all digital, I still prefer old school pen and paper. There's nothing like the joy of filling blank pages and the feel of cursive handwriting.

Here are some of the notebooks that I use on a daily basis:

My Bullet Journal which I told you about last week.

This notebook is for blog ideas. The pages are filled with an editorial calendar, sketches and lists, and a pocket for magazine clippings that I use for inspiration.

This is a date book that I like to use as a birthday calendar. I like to keep it for quick reference and as a back-up if digital reminders fail (ex. Facebook alerts me of friends' birthdays but not everyone publishes their birthdays and not all of my friends are on Facebook).   

One of my favorite authors, Curtis Sittenfeld, mentioned a smart tip: use an address book to keep all your passwords. You can write your G-mail password under "G", your Instagram password under "I", and your Twitter password under "T". And because the idea of a paper "Address Book" feels outdated, no one will think this is where you keep your passwords (but I recommend that you still hide this in a safe place)!     

It's not easy to find Address Books these days. They still have it at Barnes and Noble and Rifle Paper Co. makes really cute ones. 

Peter Pauper Press, Barnes and Noble
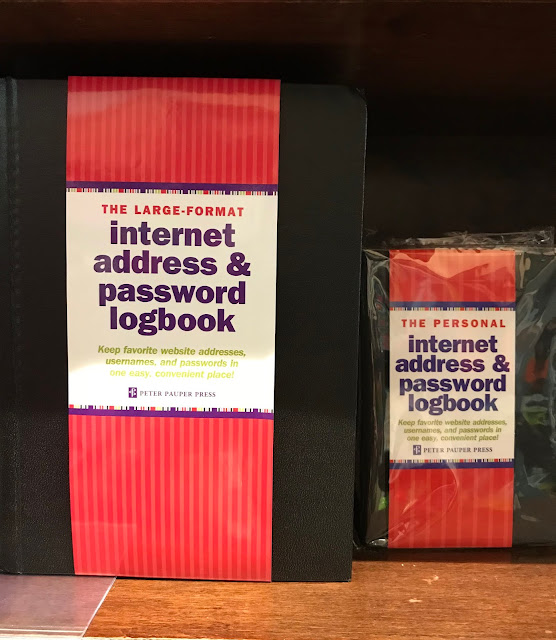
But look, there are special address books for all our digital addresses now! Like a traditional address book, it has alphabetical tabs on the side.  

Peter Pauper Press, Barnes and Noble
Here's what it looks like inside...lots of space for the password because we have to change them often for our security. Just remember to update them here, remove the label from the book, and hide it in a secure drawer.

I also like to keep sketch journals and watercolor pads so I can practice my drawing and painting. This is my low commitment way to "do something creative everyday", the promise I made since I did the "100 Day Project".

I hope to continue filling the pages with these:

Painting ordinary things that I often overlook.

Positive words as I practice my brush lettering and calligraphy.

And using it as a travel journal for journeys near and far.

These are just some of the ways to turn blank notebooks from blah to TADA!

07 January 2019

My Bullet Journal

It's the start of a new year and that means a new planner! I've always loved paper calendars and datebooks to jot down events and reminders. And even if everyone has gone digital, I'm staying loyal to my planner.

Specifically my Bullet Journal.

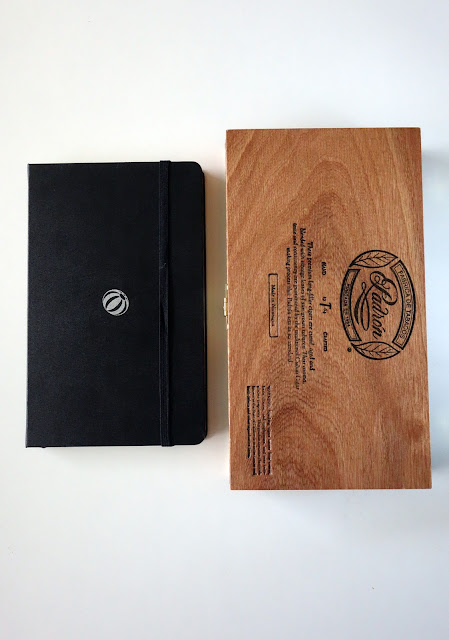
Cigar box, craft stamps, crafting box, planner, journal, Moleskine, wooden box
In this post, I mentioned how to use a bullet journal.

Moleskine notebook, planner, 2018 calendar, craft stamps
And in this post, I detailed how I made the bullet journal my own.

And now, there's a book written by the inventor of the Bullet Journal, Ryder Carroll.

I even got to meet him at the launch last October.

Moleskine, craft stamps, ink pad, planner, journal
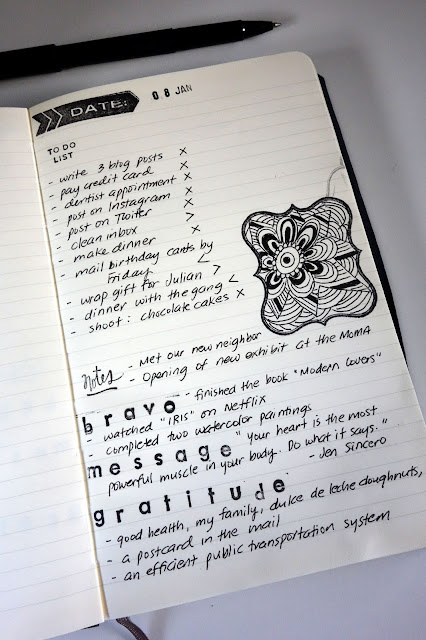
I love this method because everyday starts with a blank page and there's enough room to write down a To-Do list, a gratitude list, a list of accomplishments (no matter how small), and reminders on how I made that day meaningful.

My version is minimal and straightforward. It changes depending on my needs and I've updated it to include:

Page Numbers for quick reference

And monthly cover pages where I write down my goals at the beginning of each month. At the end of the month, I use it to reflect on what I've accomplished.  

I'm currently experimenting with different notebooks. The only criteria? It has to be black.

I've tried the ones made by Moleskine and Shinola (both were tokens from work). And I'd like to try the Bullet JournalLeuchtturm and Blackwing journals, too.

Right now, I'm using this one from Muji:

It's very inexpensive (only $6) compared to brands I mentioned above which range from $15 to $25 each. 

I like that it opens flat and it's slightly bigger. However, it has a cardboard cover (not leather or hardbound) and only 160 pages (not the usual 240 pages). 

It also lacks a few accessories. But instead of complaining, I'm turning this situation from blah to TADA!


First I made a ribbon page marker:

It's a strip of ribbon that I attached to the back page with hot glue.

It quickly finds the current date.

I used ribbon from a spool. The elastic is for the pen holder:

I measured the circumference of the pen, cut the elastic to size (it shouldn't be too tight or too loose), and glued the ends together.  Then I glued this on the inner back cover of the notebook.  

Now my pen has a permanent spot on my journal...TADA!

And I added a paper pocket, too:

It's shaped like an envelope and is made of card stock. It's attached to the notebook with hot glue.

I can easily put receipts, post-its, and a ruler in it...TADA!

Maybe you can use these ideas for the journals and notebooks that you own.

bullet journal, bullet journal ideas, journaling, planner, planner accessories, blah to TADA!, uses for blank notebooks, school and office organization ideas, Muji notebook, DIY paper pouch for journals
If someone were to accidentally rifle through my journal, I hope they perceive me as someone who was grateful, who paid attention to mundane things, and that I made the most out of every day...TADA!