17 July 2017

The 100 Day Project Round-up Part One

Can I just say "Whew" and "Wow" at the same time? I just completed "The 100 Day Project"! It's both a relief and a proud moment.

The 100 Day Project is a free, yearly global art project that anyone can participate in. It had participants choose an action and do it for 100 days like "100 Days of Shoes" or "100 Days of Flowers". The other rule was to document it on Instagram with the tag #the100dayproject and your chosen hashtag (ex. #100days of shoes). 

I chose to do "100 Days of Crafts and Confections". Here is a recap of the projects I completed:

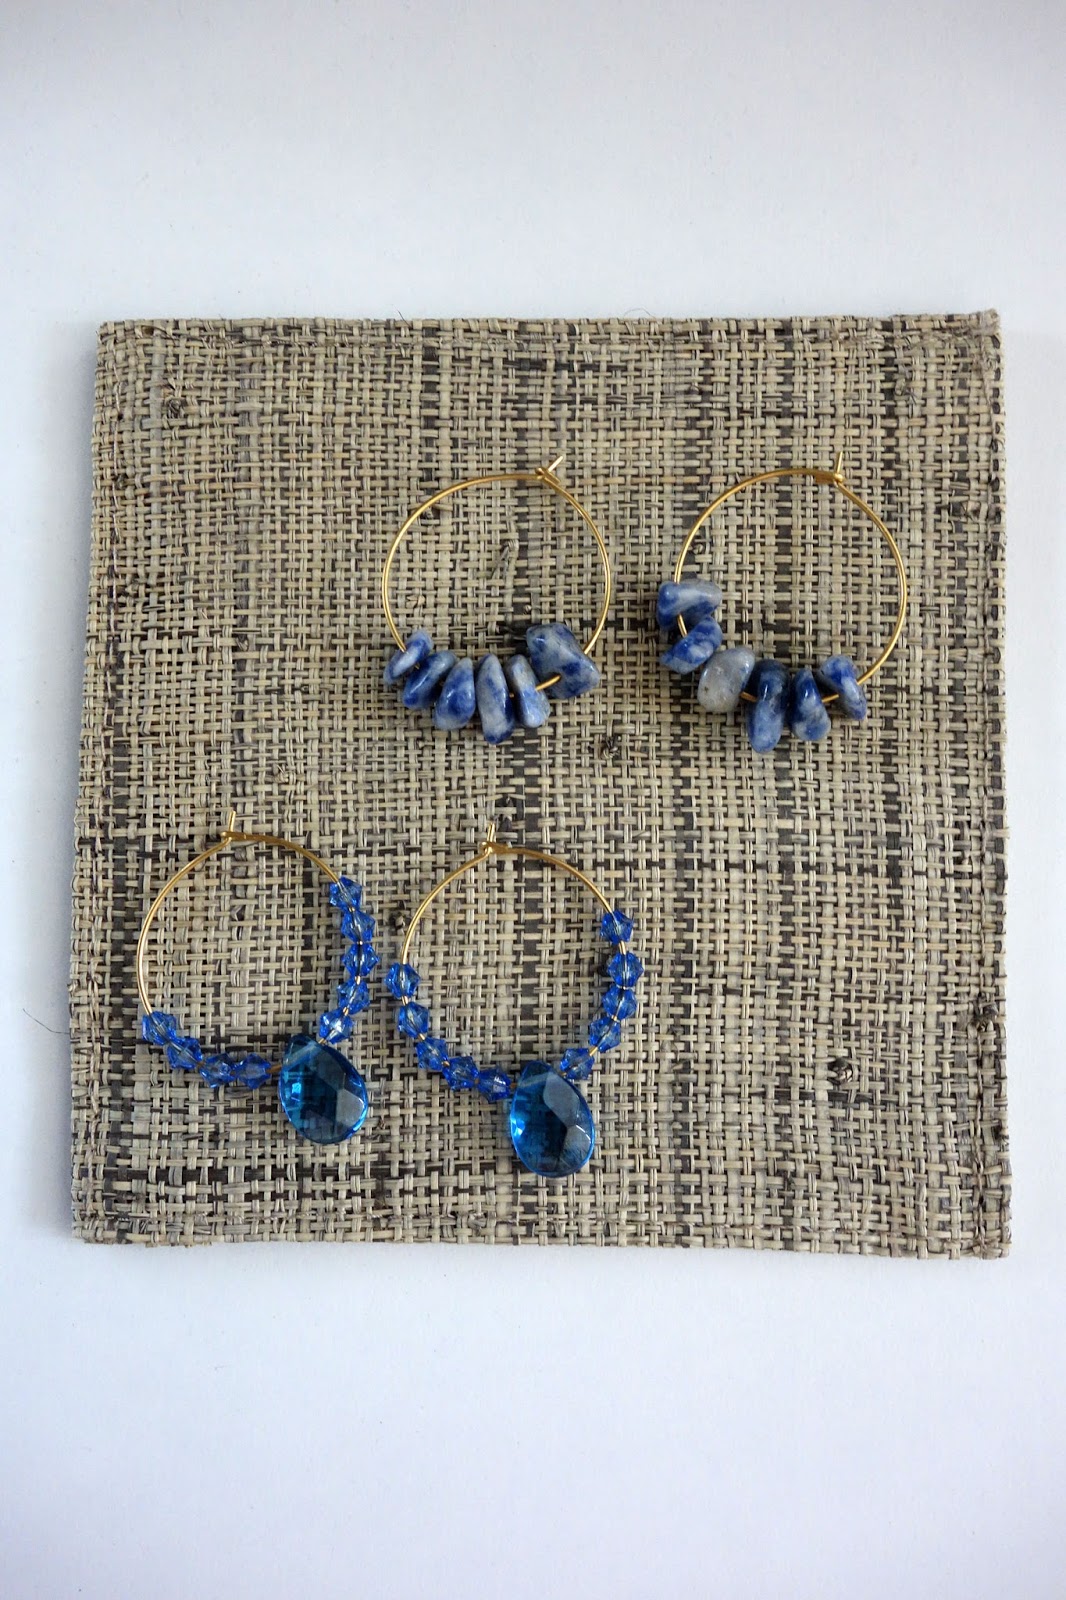
Week 1 (April 4 - 9): Blackout poetry, bounce calligraphy, earring making, baking a chocolate cake, a watercolor inspired by the orchid show

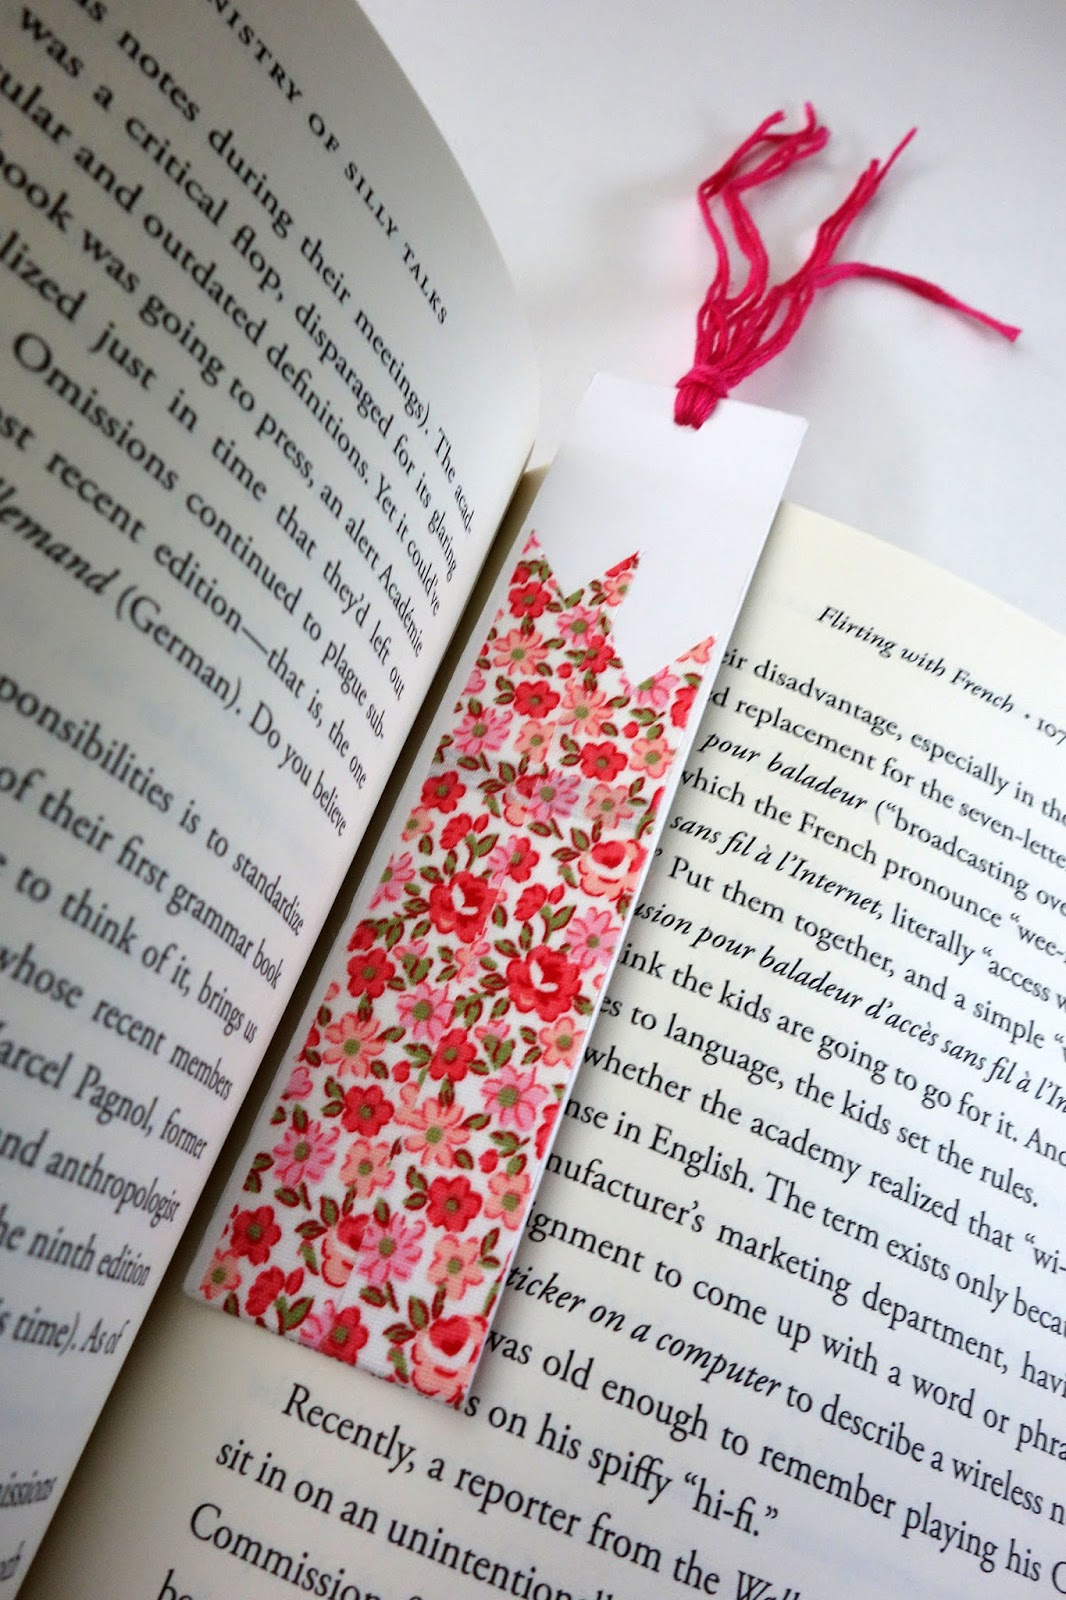
Week 2 (April 10 - 14): An entry in my travel journal, a pompom zipper pull, a bookmark made from Washi tape, blackout poetry, an Easter greeting card
  
Week  3 (April 15 - 19): Playing with sun prints, a bunny ear headband, ribbon rose hair clips, updating an old necklace with a tassel, a spring-inspired painting

Week 4 (April 20 - 24): My take on mangoes with sticky rice (my favorite Thai dessert), homemade macarons with pistachio ice cream, mini pain au chocolat, gift tags made with white pen on black sticker paper, pressing flowers

Week 5 (April 25 - 29): A leather tassel, a pair of earrings, art inspired by cherry blossoms

Week 6 (April 30 - May 4): Blackout poetry, a paper airplane using an old map, bookplates, a vanilla pound cake using my newly-acquired loaf pan, an entry in my travel journal

Week 7 (May 5 - 9): a pendant made from a pressed flower, lemon poppyseed bread, watercolor flowers, and a trinket tray made from ovenbake clay

Week 8 (May 10 - 14): more bounce calligraphy, experiments with wood burning tools and beechwood tags, a greeting card, brownies from Dorie Greenspan's "Dorie's Cookies" book, a page from a coloring book 

Week 9 (May 15 - 19): a watercolor inspired by the irises growing outdoors, blackout poetry, handmade silver earrings, carving a stamp, inking my stamp on stationery

Week 10 (May 20 - 24): blackout poetry, papercutting, a coloring session (using illustrations on a paperbag), folding paper boats from old bill envelopes, turning a Metrocard subway/bus pass into a notebook (just add scrap paper!)...TADA!

Tomorrow, I'll share what I did for Weeks 11-20. See ya!

10 July 2017

A Polymer Clay Project

Hi guys! Have you crafted with oven-bake clay? 

I tried it for the first time. It was quite exciting!

Except for baking time and temperature, the package didn't really give instructions on how to use it.

 I kneaded the clay to soften it and leveled it out with a rolling pin. 

I used this leaf-shaped cutter/punch that's handy for cookies and pies. 

I transfered the cutouts in a mini muffin pan to achieve a bowl-shape. To avoid the clay from sticking, I put a little cornstarch in the grooves of the pan (which, after baking, I realized you don't really need).

I put the muffin tin inside a pre-heated oven (275 degrees Fahrenheit) and baked for 22 minutes (the length of time depends on the item's thickness).  

After letting the leaves cool, I painted them with watercolor. This kind of paint doesn't adhere well but this was the look I was envisioning -- uneven and streaky (like pottery baked in a kiln).

If you want a solid color, acrylic paint maybe a better option or use colored clay. 

I allowed the paint to dry and here's how I used my polymer clay leaves: 

As a chopstick rest for an Asian-themed dinner. TADA!

It can also function as a paintbrush or pen rest. Double TADA!

03 July 2017

Let Your Hat Do the Talking

Sunshine and time outdoors are two things I absolutely love. And many times, I like to wear a hat for both protection and fashion.

Maybe you've seen this hat in different versions: 

via Pinterest

via Eugenia Kim

via Shopbop
Aren't they cute? They are quite pricey, but why buy when I can DIY?

All we need is a hat.

We also need pipe cleaners/crafting stems, needle and thread, and a pair of scissors.

After deciding what word or phrase to use, I spelled it out with the pipe cleaners/crafting stems. They are easy to bend and I cut them with a pair of wire cutters.

Attach these in place with needle and thread.

It wasn't so hard to make.

This hat is ready for a vacation! TADA! and aloha!

26 June 2017

Oh Beautiful Bookmark

Happy Monday guys!

Today, I'm on a mission to rescue this:

It's a label that came with my husband's new pair of jeans. It's made from thick and sturdy cardboard. Time to turn it from blah to TADA!

I thought it was a good excuse to use my newly acquired Washi tape. I love this because it has a darling print and the texture is like fabric!

Just a few strips at the front...

...that runs all the way to the back.

Don't forget to add some embroidery thread!

Now I've got a pretty bookmark for all my summer reads. TADA!

19 June 2017

Jewelry Packaging Ideas

Very nice to see you today! If you tuned in last week, I made an assortment of earrings from my collection of beads:

 Today, I'll show you an idea on how to package them.

First off, we need cardstock. This a printed kind but nothing too loud or busy that can take the attention away from the earrings. I'm also using a circle craft punch and a hole punch. 

Punch some circles on the cardstock. If you don't have a craft punch, you can make circles by tracing around a can and cutting it with a pair of scissors. Or you can opt for other shapes like a square if that's an easier option. 

With the hole punch, make two pairs of holes on the cardstock circle.

This is where you'll attach the earrings.

Do this for all the earrings you have. If you'll be selling these, you can put your shop information on top or at the back of the cardstock circle. Maybe you have a stamp or a sticker label that will make labelling easier. 

As a little extra, I made this envelope using rubber stamps and an ink pad.

Put in the earrings and they are ready for your customers. TADA!

12 June 2017

Handmade Earrings

So I was looking for my pliers and found them in my jewelry making supplies box. Then I realized how much of a mess it was.

I organized it right away and seeing all the beads gave me the urge to make some earrings.

With pliers and wire hoops, I quickly turned blah into TADA!


It was very therapeutic and I have new pairs to share. TADA!