15 June 2020

Earrings with Bows

Today, it's all about jewelry! I love making my own jewelry using just about anything: handmade clay, beads and tassels, empty miniature bottles, and even paper bag handles

earrings with ribbons, earrings, jewelry,
I was really inspired by these earrings that are easy to replicate. Why buy when we can D.I.Y.? 

I found some gold hoop earrings that are pretty to wear as is. But adding something simple as ribbon can change it's look entirely. 

I choose a thin ribbon and cut a total of four strips, each one measuring 8 to 10 inches (this will depend on the diameter of your earrings). 

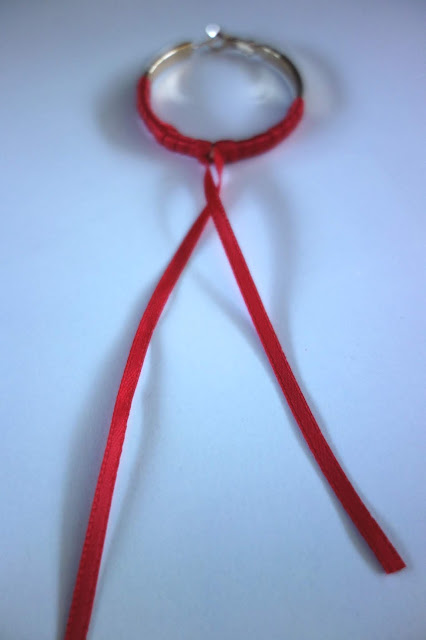
Wrap one strip tightly on one side of the hoop, leaving a tail and knotting the end on to itself to keep the ribbon from unraveling.   

Do the same on the other side of the hoop using a new strip of ribbon.

Make the tails meet at the center and knot them together.

Then, make a bow.

Repeat on the other hoop using the remaining two strips of ribbon.

Presenting a new look for these old hoops...TADA!


08 June 2020

Gift Pendants

Hi guys! If you follow my blog, you know that I don't like letting things go to waste. I'll find a way to turn the smallest scrap from blah to TADA!

Last week, I made this floral frog out of salt dough.

A floral frog is a lid that you put on top of a vase or jar. The holes keep stems from moving around allowing you make a floral arrangement even without a lot of flowers.  

Part of the process is shaping it and adding some holes.

I was left with these little nuggets of salt dough which I didn't want to throw away. 

So I flattened them into little disks, poked a hole at the top (using the end of a paintbrush), put them on a lined baking sheet and baked them in the oven (200 degrees Fahrenheit) for 2 hours.   

I let them cool and stamped on some festive words using rubber stamps and an ink pad:


Aren't they adorable? 

I like to use them to embellish gifts or what I call "gift pendants". The recipient can re-use it for a future gift that they will be wrapping. 

I can add it in tandem with other decorations.  

Or add a gift tag, too. TADA!

Gift Pendants made with Salt Dough

01 June 2020

Tips for Arranging Flowers

Over the years, I've picked up tricks on how to easily arrange flowers. Let me count the ways:

1. Use a flower frog 

You can find something similar on Etsy or in gardening stores.

Simply screw this on an empty jar and insert the stems in the holes...TADA!


2. Make your own flower frog using a mesh bag

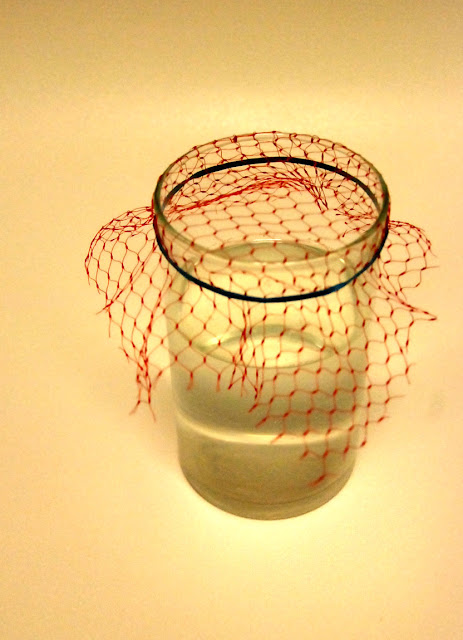
This used to be packaging for a pound of onions. Use it to cover the mouth of a jar or vase and secure it in place with a rubber band.  

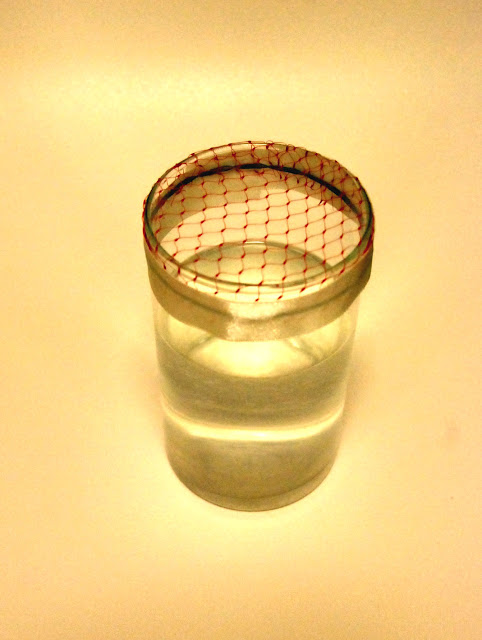
Trim the loose mesh and tape the edges neatly in place. 

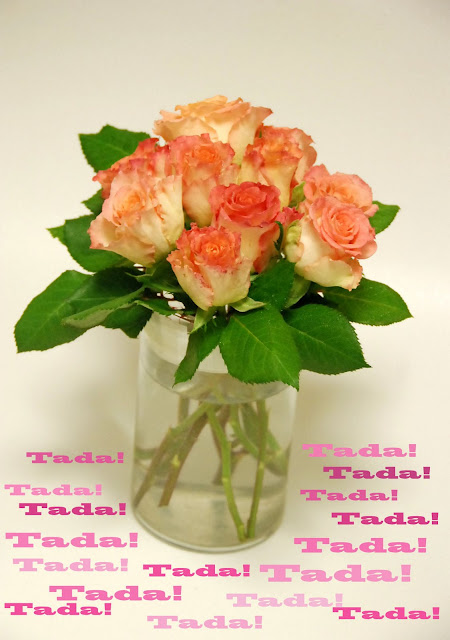
Add the flowers and leaves inside the holes to make this compact arrangement...TADA!


3. Make a grid on the mouth of the vase using clear tape

Pour in some water... 

And add your flowers and fillers...TADA!


4. Find a unique vase that has these holes:

You can make a "minimalist" arrangement with just a few buds or leaves or you can fill the holes with as many flowers as you like for a more verdant centerpiece.


5. Make your own "ceramic" flower frog


I'll show you how:

This is made from salt dough: In a bowl, put 1 cup of all purpose flour, 1/2 cup table salt, and 1/2 cup water. If you like, add a light tint using 4 drops of food color. Mix them together until it forms a dough. If it's too sticky, mix in more flour, a teaspoon at a time.  

Take a handful of dough and flatten it into a disc using your palms. It should be about 1/4 inch thick. Put it on a baking tray (lined with parchment paper or a silicone baking mat) so it doesn't stick to the tray.  

Use a round cookie cutter or an empty can to make a neat circle. Take note that this circle should be a little bigger than the mouth of your vase so that it can sit steadily.

Make smaller holes inside the salt dough circle (I used a round piping tip for this). Bake this in the oven (preheated to 200 degrees Fahrenheit) for 3 hours. 

Let it cool and you're ready to use it.

Here's another version using a bigger cutter and two different sized holes:


This makes flower arranging so much easier...TADA!

Tips for Arranging Flowers

25 May 2020

Let's Make Some Stamps

Thank you so much for stopping by today! Several years ago, I learned how to make my own rubber stamps. My skills have become rusty, it's about time I freshen up my technique. Would you like to carve some stamps with me?

I'm getting inspiration from this book that I borrowed from the library. It's "Making An Impression" by Geninne Zlatkis.  Ever since I stumbled upon her work, I fell in love with her artistic style.

Geninne starts with a primer on where to get ideas -- hers are from nature, collected while walking outdoors with her dog.

She gives a list of necessary tools.

As well as many, many carving techniques.

At the back of the book, she has some sample illustrations that she used for her stamping applications like stationery, totes, t-shirts, and flower pots.

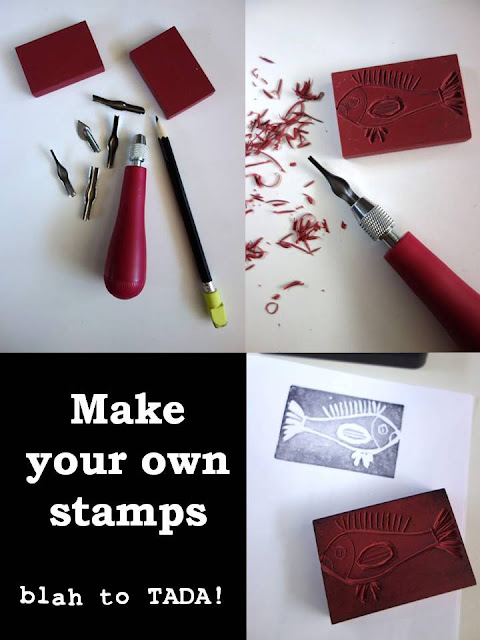
Here are the tools we will need: a pencil, a lino cutter with assorted blades, and carve blocks or rubber erasers (from the office supply store or dollar store). 

Decide on an image and trace this with a pencil and a sheet of tracing paper.

Position the image for transfer: the pencil-side should face the carve block or rubber eraser.

Rub the image onto the carve block or rubber eraser using a spoon. Use even pressure to allow the image to adhere.

Gently remove the paper to reveal the transferred image.

If there are lines that are too light, go ahead and define those areas with a pencil.

Using the smallest blade of the lino cutter, carve out the lines as neatly and as straight possible. 

Rinse the stamp with warm, soapy water to get out the "rubber crumbs" in the crevices.  Dry with an absorbent towel.

Test your new stamp by adding some ink.

Use scrap paper to see your image. It will tell you if your carving needs more definition or cleaning up. But once satisfied, it's ready to use the stamp! 

I made an envelope out of an old book.

crafts from old books, envelope, envelope made from book pages
Then I added the image...TADA!

envelope, envelope from book pages, crafts from old books
I also made this version -- it looks like a Polaroid photo.

envelope, envelope made from book pages, crafts from old books, gift wrapping
Now I've got these little envelopes that I can use for letter writing or gift wrapping featuring my very own stamp...TADA!

Make your own stamp, Make your own stamp using erasers