14 March 2011

Printed Tape


Hello & happy Monday!

In the past year or so, design & craft blogs have been raving
about printed tape. And how could I not join the fan club?
These stickies are adorable!

This week, I'll show you how I use these beauties.
Blah: empty mint tins

Step 1: Cover the top & bottom with blank sticker labels
{these disguise the words on the packaging}

Step 2: Cover the tin with tape, starting from the outside
going in. Fold edges & crease neatly.

Step 3: Tape both top & bottom sides.
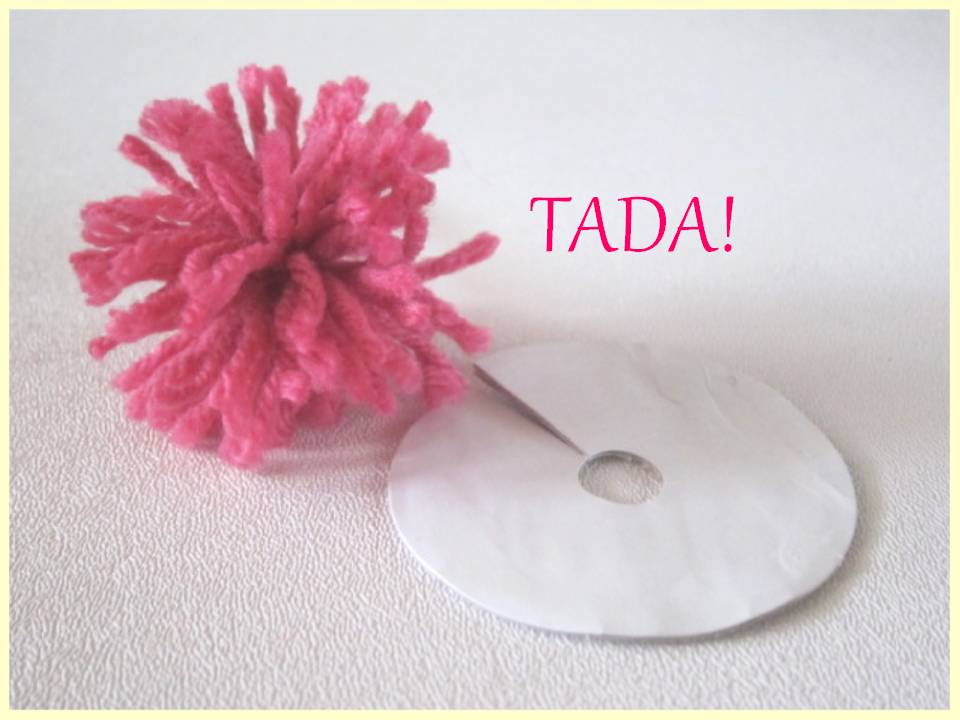
TADA!: Printed tins that can be used for small items like
vitamins/prescriptions, jewelry or hair clips.

Have an awesome day!

11 March 2011

Soft Blooms


Have you been inspired by the many things
you can do with pompoms?

It all began with an empty ribbon spool that I
turned into a pompom maker, plus a stash
of neglected yarn.

Well, now they're ready to paint the town red.

From blah, they're now TADA!

Don't they remind you of freshly-picked flowers
sitting in a vase?

Or more like pens in cup?

Dress up regular office pens with these fun pompoms!
{Attach them to the caps with hot glue.}

Just imagine if these were waiting at
the dentist's office right before
you filled out your forms.

Won't it make your day?

Thanks for visiting and please have
a joyful weekend!

10 March 2011

It's a Wrap!


Happy Thursday!

What do you do with empty ribbon spools?
In the past, I turned them into a

I have a few more and here's
what I used it for:

I made it into a pompom maker!

Today, I'll teach you how to make
multi-color pompoms.

Gather some yarn in your preferred shades and wind them tightly through the cardboard ring, a.k.a "pompom maker".
Distribute the yarn evenly in one row/layer to keep the length of the yarn uniform. Cover a little over half the pompom maker and tuck in the ends.

Insert a new piece of yarn through the yarn already on the pompom maker. Both ends should meet at the bottom.

Make a tight knot.
Then cut the yarn on the outer end.
Cut all the way through.

Your pompom should look like this.
Make the knot tighter. Secure with a second knot, then slip off the pompom from the cardboard, fluff it up and trim any excess yarn.

TADA! A wacky and wild pompom!

Use it as a finishing touch to a housewarming gift,
like this bottle of red wine.

TADA!

09 March 2011

A Little Bit of Whimsy


If you've been tuning in, I'm making pompoms!

All from a blah, empty ribbon spool...

And some yarn scored at a yard sale.

TADA! Look at what I made.
Pretty pompoms all in a row.

They make playful accents to some
flea market-sourced accessories.

Indeed, somebody else's trash is my treasure!

08 March 2011

Warmly Ever After


Thanks for stopping by my blog today!
This week, it's all about an empty ribbon spool...

...that I turned into a pompom maker.
{Details are in yesterday's post}

This pompom project is perfect for my stash of yarn.
{I got a whole box-full at a garage sale for only $2!}

And here's another idea on how
to use the pompoms:

I took an old, blah-looking beanie...

And sewed on a colorful pompom.
TADA!

It's a quick way to update cold-weather hats
owned by any kid or adult.

Have a nice day!

07 March 2011

Pompom Parade


Howdy Friends!

This week on blah to TADA!,
there's a parade of pompoms.

It's been ages since I made pompoms
and I'm reviving this craft
because of these:

I have a bunch of empty ribbon spools.
They're perfect tools to make
pompoms.

First, gently detach the cardboard circles from the center. Then attach both circles together with hot glue to make a sturdy ring. Cut a slit on one end that goes all the way through the center hole.

Get some yarn and tightly wind it through the slit and around the ring. Just make a single row/layer so that the length of the yarn will be uniform all around the finished pompom. Once you have enough yarn {a little over half the size of the ring}, cut off the source of the yarn and tuck in the loose end.
Introduce a new piece of yarn. I'm using red yarn for demonstration purposes only; use the same color as the pompom you're making. Insert the new piece through the yarn on the ring.

The new piece of yarn should end up on the other end of the ring, parallel to the slit. Make a knot with the two ends, as tight as you can.

With a sharp pair of scissors, cut against the yarn on the outer end of the ring. Cut all the way through.

Remember the knot you made? Make it tighter.
Then make a second knot.
Trim any excess yarn.

Release the pompom from the ring and fluff it up.

TADA! You made a pompom!

Attach it to a chain & now you have
an adorable keyring!
TADA!

04 March 2011

Little Lantern Parade


Friday has arrived -- whoopee!

Do you remember this paper chain made
of toilet paper towel rolls?

I used it as a party decoration.
But I want to change its look for
the next party that I'm planning.

I'm bringing in more empty paper towel rolls
to accomplish my mission.
Aren't they so blah?

But look, they're now TADA!

I cut the roll in half. Painted them. Added
some paper tails & flowers, then finished off
with some string to attach to the paper chain.

Tada! Does this say "Party" or what?

Have a great weekend!