07 April 2011

Instant Monogram Tote


Hey there! So nice to see you today.
I'm giving some blah bags a make-over and
today's inspiration comes from here:


These bags are quite expensive and my wallet has no
plans to get one. However, I'm really drawn to the
bright stripe and the initials.

I think these elements would be perfect to
spruce up this old, blah bag:

It's a Nine West bag that was well used because of
the versatility of color, roomy interior and
assortment of pockets inside.

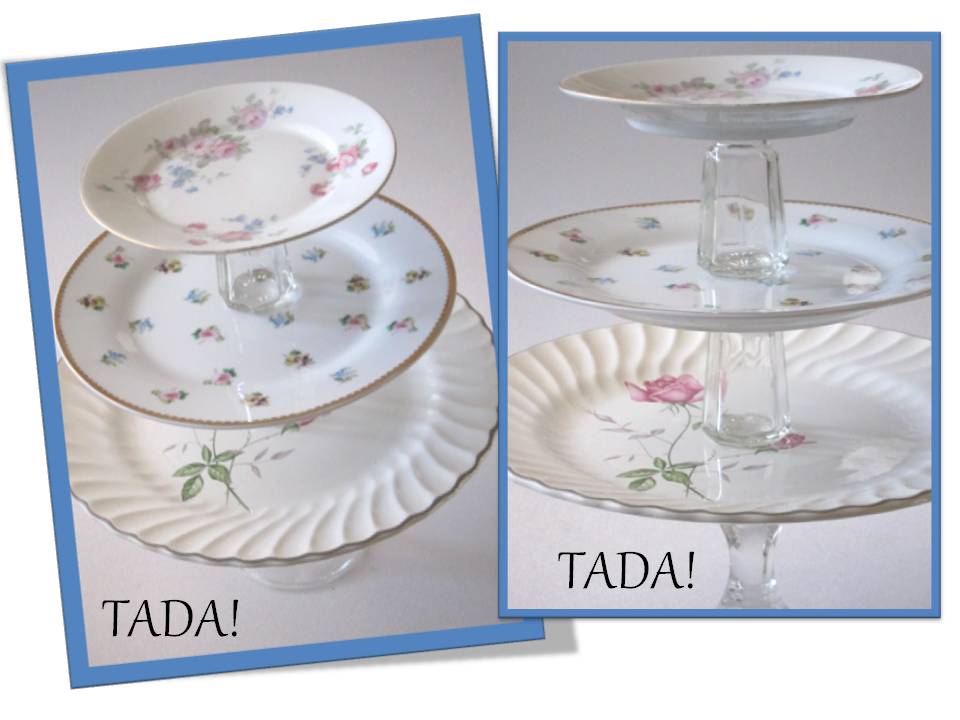
Ready for the TADA!?

TADA!!!

Hot glue a fun grosgrain ribbon, initials made from felt
and a matching tassel!

This bag's ready for Spring!

06 April 2011

This Old Sack


One way to save money & be eco-friendly is to
buy household needs in bulk.

We like to buy a sack of rice & have it handy when
we're in the mood for some Asian or Latin cuisine.
And how cool that the sack is both striking & sturdy:
But I know it can even be more TADA!...

...with some festive embellishments like strands of yarn,
pompoms, sequins, flowers & a cute elephant pin.

Use this to store current craft projects
{ex. scrapbooking, knitting, etc.}
or to carry a bunch of magazines.

Have a nice day!

05 April 2011

Canvas + Leather


It's all about bag make-overs this week.
And let me tell you, I've been obsessing over
canvas bags with leather trim:


Aren't these fabulous?
Pretty yet utilitarian & fashionably laid back.

I found this blah bag at the top of my closet:

It's canvas with a cute print in the inside flap.
I bought it at Target some years ago
and very rarely used it.

Inspired by the above combinations,
here's how I made it TADA!:
I added a leather closure that I bought from the sewing
supplies shop {alternatively, you can re-use an old belt}.
Attach it to the bag by sewing.

I might change the strap to match the closure later on.
But now, the bag has a little bit of attitude,
ready to be used on a regular basis!

04 April 2011

BAGS: From blah to TADA!


How are you dear Lovelies?
Have you welcomed Spring with some closet cleaning?

I have and I found a bunch of bags that need a little love.
You'll see how I transform them all this week.

Today, we begin with this:

It's an amenity kit from a flight a few years ago.
This pouch is quite dapper, reminding me of
fabric used for a man's suit.

But from blah...
It's now TADA!
I thought a bright flower
{made of felt & attached with hot glue}
would add some color & burst of femininity.

I think I'll use the bag for my set of nail lacquers.
So girl-y indeed!

01 April 2011

Appetizer Station


Hooray it's Friday!
We've rummaged through the kitchen
cupboard and ransacked a few thrift stores,
{with a side trip to get some super glue}
all in the name of making our own cake stands.

Here's my final idea for the week:

Blah: a flat basket & a Japanese tea cup.
{Assembled using super glue}

TADA!: An ultra-chic cake stand!

I think this is a modern way to serve appetizers like
cheese & crackers, antipasto or chips & dip.
{Just line the basket with parchment paper or a
smaller plate to keep the grease off the basket.}

Have a major-ly GOOD weekend ya'all!

31 March 2011

Fit for a Tea Party


Here is today's blah:

Pretty plates, a candle stick, salt & pepper shakers.
I found these in my kitchen waiting,
waiting, waiting to be used.

Well I told them, "Today's your lucky day!"
I'm giving them a blah to TADA! transformation.
And super glue was all I needed.

TADA! A gorgeous cake stand if I should
say so myself.

Let's add another layer, using an empty shaker &
a medium-sized plate.
Apply super glue in between & let dry.

Ready for another layer?

Why not?
TADA! A multi-tier dessert stand that
will be your excuse for a tea party!

Whether it's home-baked goodies or
bakery-bought treats, this stand will welcome
each sugar-dusted confection with open arms!

30 March 2011

Sweet Endings


Don't you enjoy it when food is displayed
in a pretty way? I believe that we eat
with our eyes first and what we see
helps tremendously in the whole
dining experience.

That's why I love it when a cake
is served on a cake stand.
It's not done all the time, but
when it is, it makes me smile.

I'm making a few cake stands
this week and just because there's
"cake" in the name, doesn't mean
it can't be used for other things.

Blah: single piece China (made in England & Japan)
that I found on separate trips at the
Salvation Army thrift shop.

Just attach them together with super glue...

TADA! A mini cake stand!

Use this to serve chocolates or biscuits -- the ones
that go well with after dinner coffee or tea.
I promise you, your guests will have
smiles on their faces!