17 April 2012

Jewelry Tray

It's all about jewelry storage and display all this week on blah to TADA!

If you're a ring collector like me, this nifty tray is a wonderful way to keep track of your baubles. Will you believe me if I tell you, it's made of tissue paper rolls?

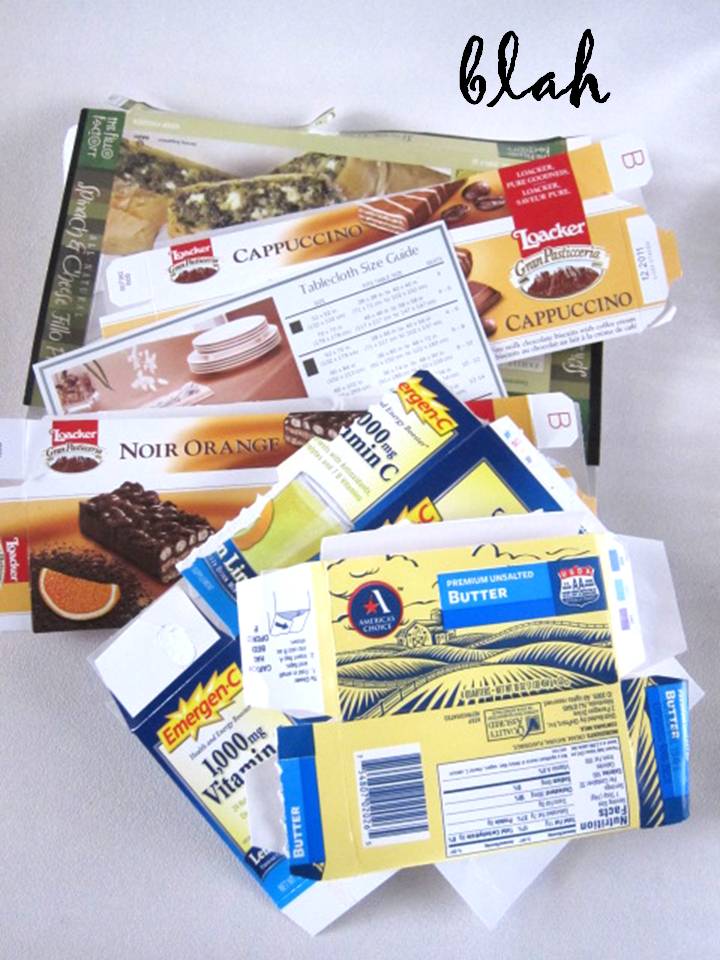
Yep, it's another tissue transformation made up of an empty box and rolls. Here's how it's made:

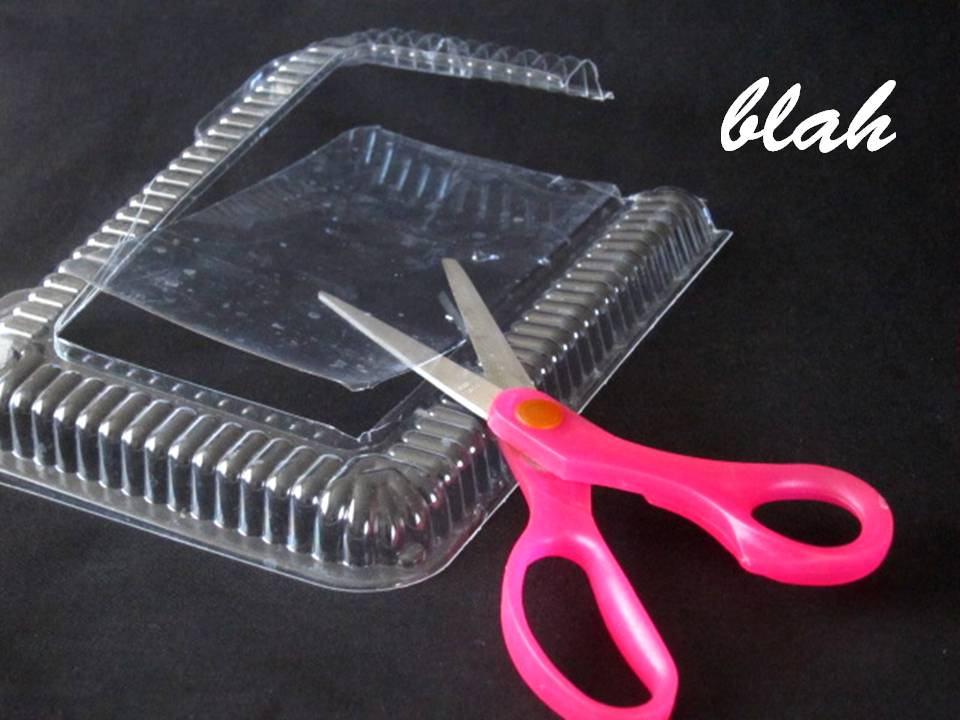
With a pair of scissors, trim the tissue box {about half of its original height size}. Nestle the cardboard rolls inside the box. You'll be able to fit 6 rolls in a standard-sized box. By gently squeezing each roll, the circumference can become smaller. They should fit snugly and not attempt to pop out of the box.

The tissue rolls form the ridges of the jewelry tray.

We'll need these tools to make the tray presentable: sheets of felt {in the same or in contrasting colors}, scissors, a glue gun and glue sticks.

Remove the cardboard rolls from the box. Wrap the box in felt {fabric or paper are your other options} and secure it to the box with hot glue.

Now, it's time to secure the cardboard rolls to the box and wrap them in fabric: 

  • Cut a strip of felt {Width: same as box's/Length: at least 2x the length of the box -- two or three strips of felt may be hot glued together to form a long strip}
  • Using hot glue, attach one edge of the felt strip to the inside of the box.
  • Closest to where the felt is attached, glue one cardboard roll to the bottom of the box. Drape the felt over the roll. At the point where the felt touches the bottom of the box, add some hot glue to keep the felt in place. 
  • Add another cardboard roll and glue this at the bottom of the box. The felt strip is sandwiched between the covered cardboard roll and the newly added cardboard roll. Drape the felt over the roll and add some hot glue where the felt touches the bottom of the box. 
  • Repeat this process until all cardboard rolls are covered and snugly attached.
  • Tuck the end of the felt strip between the final cardboard roll and the inside of the box. Finish with hot glue. 

Use a ruler to aid in aligning and gluing the felt in between cardboard rolls.

TADA! A jewelry tray made of humble materials.

Use it display you products at a craft fair.

Or keep it in a drawer for your personal use.

It's not exclusive for rings -- earrings and 
bangles can hang-out here as well.

Also, experiment with paper towel rolls to make a larger tray. Hope you liked our project today!

16 April 2012

More Craft Fair Ideas

Happy Monday Lovelies! 

One of the most popular posts on blah to TADA! is my craft fair and jewelry display ideas.

This bangle and necklace rack is made of 
tissue paper and paper towel rolls! 

This rack for earrings is made of cardboard and paint. 

If you're an entrepreneur selling your wares at fairs or an organization nut who needs inexpensive ideas to keep jewelry, you can definitely use these.

I have a few more ideas up my sleeve, beginning with this one:

blah: cardboard boxes saved from the pantry

Cut the boxes into squares or rectangles, cover them in pages from an old book or gift wrap scraps, and curve the corners with scissors or a craft punch.

Make some holes with a hole punch, then use these as cardboard backing for the accessories you'll be selling.

Such as brooches or flower pins...

Or earrings...

Also these dainty hair clips.

They can be used for necklaces or bracelets, too.
{Just cut a slit above the hole}

Note: I didn't open a shop; this label is for
demonstration purposes only
It's TADA! to add the name of your shop.

Note: I didn't open a shop; this label is for
demonstration purposes only
And it's even more TADA! to add your website, contact information and write the item's price so it's easy for both you and the customer.

I've got more suggestions and I invite you to visit all this week. It's a date? See you tomorrow!


13 April 2012

A Surprise for my Shoes

Several plastic food containers were fighting for room in my cupboard. Instead of banishing them to the trash, I turned them into stencils. Here's one more project to end the week:

 Clean and dry the blah containers.

I chose a design from the web and printed out a copy. 

Cut around the plastic container to yield a clear, flat sheet. Lay the sheet on top of the design, and trace it with a marker.

 Cut out the stencil with a sharp pair of scissors.
This will be useful to update another blah:

A shoe bag I picked up at the dollar bin of Target
a few years ago.  It's cute as is, but a little
decoration won't hurt.

I positioned the stencil at the center of the shoe bag and kept it in place with tape. I added some silver paint with a small foam brush. 

I applied 3 to 4 coats of paint in a brushing and dabbing motion. Then I let it dry for a few hours before gently removing the stencil.

 As much as I tried to be careful, the final design didn't come out with a neat edge.

To clean up the excess paint, I used some Q-tips and nail polish remover.  Good thing, my shoe bag is made of colorfast plastic.  

Here's a classier version of my original shoe bag.
TADA! 

I think I'm ready to plan a summer escape!

Have a wonderful weekend my dears!


12 April 2012

A Wallet Make-Over

Happy Thursday Everyone!

 If you've been tuning in, I've been turning these 
plastic food containers from blah to TADA!

 Clean it and cut around it so we end up with a flat sheet.
Create a stencil design with a craft punch or 
by drawing on it.

Another option is to trace a pattern. 
The clear material makes this task easy. 

 These images are from a newspaper.
 I used a permanent marker to trace these birds.

Make the stencil by cutting inside the lines, getting every
detail as possible with a pair of precision scissors. 

I'll use the stencil to brighten up this old, blah wallet. 
It's in a charcoal shade.

The inside has many pockets and a logo revealing 
that the wallet's a freebie. 

Position the stencil and hold this in place with tape. 

 Fill in with color using a marker or paint.
{You may have to define/clean-up the edges 
with marker once the stencil is removed.}

 Add a few patterns inside the wallet.

 TADA! Doesn't it have more character now?

A once blah wallet is now TADA!, thanks to some stencils!

11 April 2012

Draw and Wrap

Well hello there!

I found this empty box, and while it's in a happy
yellow shade, I feel it's a little blah.  

I'll spruce it up with TADA! stencils made from a 
blah plastic container and a craft punch. 

I positioned the stencils on the box and secured 
them with masking tape. 

 Since I've got an autumn theme going on, I chose
markers in earthy shades.

Lookie! The box looks different now. 

Put the present inside and finish with a bow...
TADA!a cute and quick gift box!