11 February 2019

Stenciled and Stitched

Today I'm trying out a new craft. Want to join me?

I bought this embroidery stencil kit at discount a few years back and I finally decided to use it.   

I thought decorating a plain notebook would be a good place to start. 

The cover is blank and the inside pages are lined.

The kit includes alphabet and numerical stencils, and a few borders, too. 

They're made of firm plastic with holes to define the points of each letter or number. 

It also came with a self-healing mat, a punch tool, embroidery thread, and needles.

I put the notebook on top of the self-healing mat to protect my surface.  I used washi tape to help me make my letters straight and secure the notebook from moving around.

I also taped down the stencil as I worked.

Using the stencil as my guide, I made holes through the notebook cover using the sharp punch tool.

Then I continued with the next letters.

This is what the punched notebook cover looks like. I know it doesn't make any sense yet.

Wait until we add thread! Instead of the ones in the kit, I used thread that I already have. 

I connected the dots with thread.

Then I switched color for every new letter. 

Can you figure out what I'm spelling?

LOVE! Yes, love!

And this is how I turned a plain notebook from blah to TADA!

04 February 2019

Oil Burners and Sealing Wax Spoons

Thank you for your company today!

I found this at the back of my closet. It was a gift that I used a lot when it was new and then had forgotten about. It's an oil burner. Fragrance oil is poured in the bowl on top and the scent disperses with the heat of the candle.

Scent diffusers have become popular in the past few years to help create a calm, relaxing environment. Instead of buying one, I should just use this again. My favorite scents are lavender and rosemary. Plus I'll get to use the bag of tealights that's also hiding at the back of the closet.

But I found a new use for my oil burner...something to use in tandem with my sealing wax spoon.

"Sealing wax what?", you ask?

This spoon is a tool for sealing envelopes with wax. 

The wax seal is reminiscent of the Middle Ages -- as  a way to close a letter, a decorative touch, and the seal that was pressed on was a signature, indicating who the letter was from.  

The sealing wax spoon has a pouring spout for the melted wax and a wooden handle to keep the handle cool.

I bought this at a gift shop but they are easy to find on-line. You can also try using an inexpensive measuring spoon; just wrap the handle with clay or well-padded cloth to keep your fingers from burning when the metal becomes hot. 

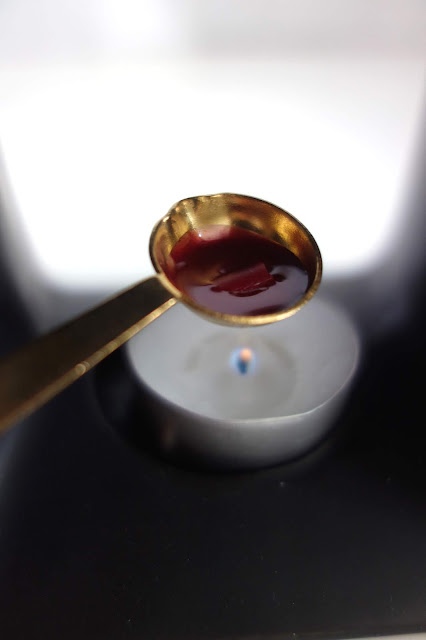
Put small pieces of sealing wax in the bowl of the spoon.

sealing wax spoons, how to use wax seals, wax sealed envelopes, snail mail, letter writing, blah to TADA!
Put the spoon over the flame. 

sealing wax spoons, how to use wax seals, wax sealed envelopes, snail mail, letter writing, blah to TADA!
The sealing wax melts in a matter of minutes.

Pour the melted wax on the envelope flap.

Firmly press your wax seal stamp and let it stand for a few minutes to get a good impression.

This is my "C" seal...TADA!

I use the tea light candle of this oil burner to melt the wax. I use the top part of the oil burner to park my spoon while it cools. It also makes the process mess-free (no wax dripping on my desk). 

I was able to repurpose my oil burner and with my wax seal kit, I turned some plain envelopes from blah to TADA!

31 January 2019

A Pretty Butterfly

Two years ago, my Mom passed away. To honor her memory, I painted this butterfly:

Whenever I see butterflies, especially the Monarch, I know that my Mom is near.

This little clip was taken last summer at the park near where I live...TADA!

I hope butterflies bring you the same joy as it brings me. 

28 January 2019

Treasures from the Trash: A White Shelf

Hi there guys! I live in an apartment building and there's a common room where we put our trash and recyclables. Sometimes people leave furniture that they no longer need. 

Here is the most recent one that I saw:

It's a hefty white shelf that's versatile for any room and can be positioned vertically or horizontally depending on how it's used.

If only we had room in our apartment, you'd see me hauling it and claiming it as mine. But our space is limited. Sigh. 

I did spend a good amount of time thinking of how I would use it.  I'm borrowing some images from the web to describe what I have in mind.  Here goes:


1. I would add "drawers" in the form of removable boxes or baskets

via Pinterest
I really like these square baskets with the white shelf. It's a modern country look and each member of the family can have a basket or two to store things like mail and gadgets.

via Limmaland

Here's a similar one for a child's bedroom. The addition of a wood plank on top gives the shelf more character.


15 Cool and Clever IKEA Bookcase Hacks
via Pinterest

File boxes are a good fit, too! I would use this in the home office with a current project assigned to each box (ex. craft projects, book research, etc.).


2. I could also use it as a music corner

via Pinterest
I would put our record player and speakers on top and our records on the shelves (separated by genre).

Vintage vinyl collection at Jenni Kayne president Julia Hunter's LA home.
via Remodelista
And since we don't have that many records, I could include books and other decorative pieces just like this shelf.

3. It can work as a dining room console


-
via Pinterest
A versatile piece that can be a bar, buffet table, and storage for dinnerware.


via Buzzfeed
Or inside a home office or craft room...TADA!

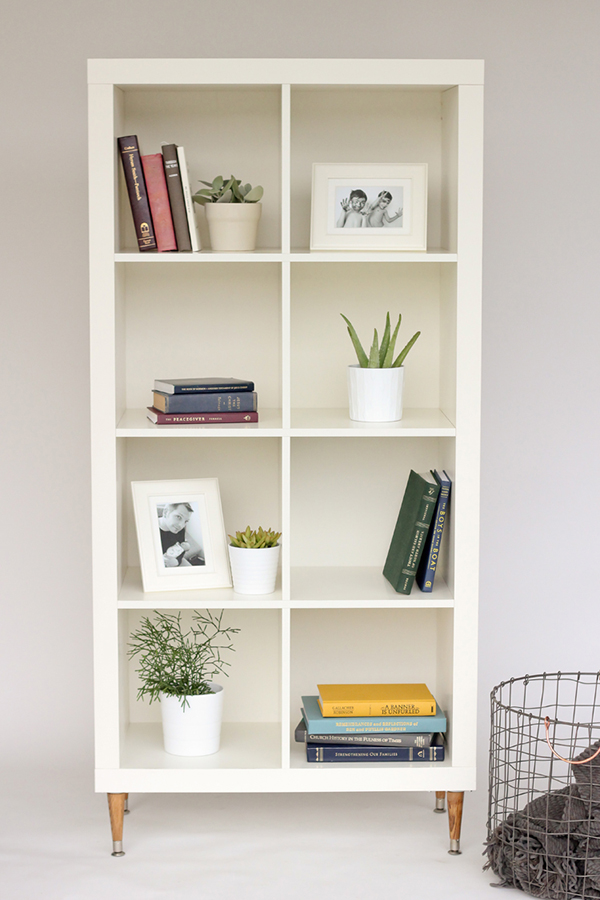
4. I could also add feet

furniture feet, feet for furniture, legs for furniture
via Pinterest
The feet add height and make the shelf look more grown up.

furniture feet, feet for furniture, legs for furniture
via Delia Creates
This shelf-and-tapered feet combination gives it a mid century modern vibe. 

Here are some options for furniture feet that I might use:


feet for furniture, furniture feet, legs for furniture, Etsy furniture accessories
via Etsy
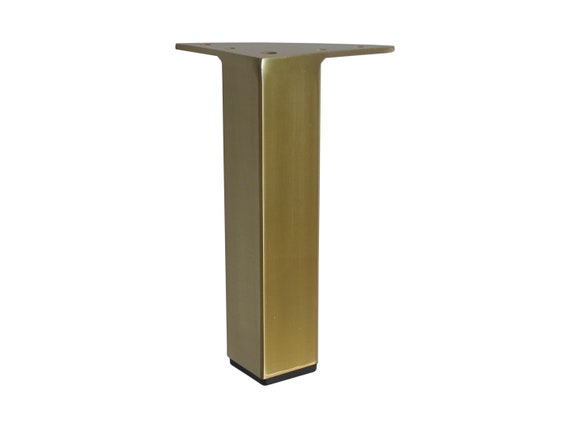
Gold feet that look like jewelry for furniture.

furniture feet, feet for furniture, legs for furniture, Etsy furniture accessories
via Etsy
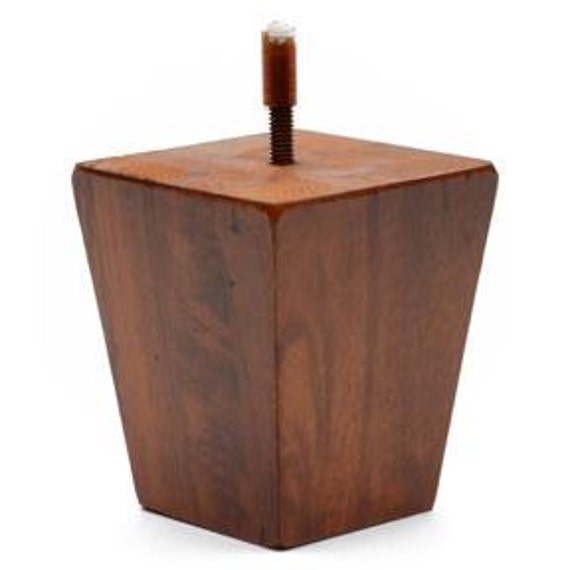
Or chunky feet in dark wood. 

Lowes Waxman 2-Pack 1-5/8-in Plastic Swivel Caster, feet for furniture, furniture feet, movable casters,
via Lowes
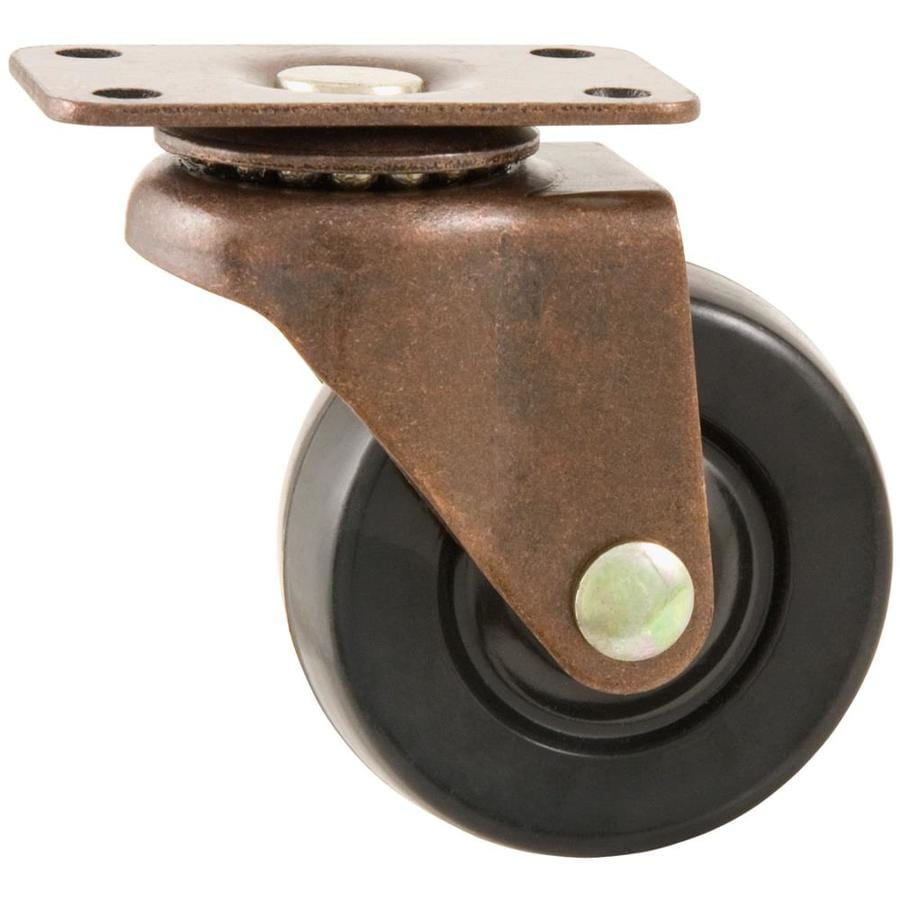
And maybe even casters so that I could easily move the shelf around.


While I was looking for images, I chanced upon this one:

Ariane Brand
via Ariane Brand
Isn't this the most adorable play grocery/market stand/patisserie a child could have? I want one for myself!

I hope these ideas have inspired you to turn your old furniture from blah to TADA!

21 January 2019

Watercolor Paints in a Mint Tin

How is your Monday coming along? I'm quite excited by our blah to TADA! project today.

I've seen a lot of people reusing a mint container as a watercolor paint palette and I thought it was a clever idea.

I gathered all the materials required and here is how I made mine:

I always have mints in my bag so I've amassed a number of these containers. 

365 Whole Foods Peppermints
There are many ways to change of the look of the container like covering it with washi tape or stickers. It's important to do this because we don't want to confuse our mints with our crafting materials.

I decided to use spray paint. It's not the most eco-friendly option but this method provides a clean, smooth finish compared to painting with regular paint and a brush. It's a good idea to add a coat of rust preventive spray since the tin will be exposed to water.

Don't paint the area where the lid locks to the body of the tin. It'll be a struggle to open and close it. Trust me -- I learned the hard way. I had to remove the paint using sandpaper! 😒

watercolor paints in a mint tin, watercolor pan in mint container, reuse Altoid mint tins as watercolor paint box, recycle mint tins, blah to TADA!, spray paint a mint tin
I found these half pans at an art store. They're easily available on-line like Etsy shops, with or without paint in it.

I used magnets, too. This one is flat and self-adhesive, but you can also use button magnets (just attach with double sided tape or super glue).

watercolor paints in a mint tin, watercolor pan in mint container, reuse Altoid mint tins as watercolor paint box, recycle mint tins, blah to TADA!, spray paint a mint tin
I cut the magnets small enough to fit the bottoms of the half pans.

watercolor paints in a mint tin, watercolor pan in mint container, reuse Altoid mint tins as watercolor paint box, recycle mint tins, blah to TADA!, spray paint a mint tin
They'll stick to the container, keeping the half pans from moving around.

Watercolor half pans, pans for watercolor paint, plastic cubes for paint
Put the half pans inside the mint container.

Watercolor half pans, pans for watercolor paint, plastic cubes for paint, watercolor paint, gouache paint
Then add the paint from the tubes that you already have. I only filled it half way but you're welcome to fill it up to the top.

Watercolor half pans, pans for watercolor paint, plastic cubes for paint, watercolor paint, gouache paint, paint swatch
Make a paint swatch.

Watercolor half pans, pans for watercolor paint, plastic cubes for paint, watercolor paint, gouache paint, paint swatch
Then attach the swatch to the inside of the lid.

Watercolor half pans, pans for watercolor paint, plastic cubes for paint, watercolor paint, gouache paint,
If I wanted to pack really light, I can move the half pans into smaller mint tins...TADA!

This is what they look like when the mint tin is closed. 

art kit, watercolor kit, travel journal
They're so compact and not bulky at all!


art kit, watercolor kit, travel journal
One flaw I have to point out is that there is no place to mix paints to create new colors. I'll have to bring a separate plastic palette or palette pads in my kit.

art kit, watercolor kit, travel journal
I'll use my art journals and take my watercolor paints in a mint tin for a test run. I'll report back to you as soon as I can.

Thanks for visiting!