Showing posts with label t-shirts. Show all posts

01 November 2011

Walk for a Cause


I hope you had a fun Halloween!
November begins today...how did that happen?
Even if we're turning over a new page in our
calendar, I hope you don't mind me sharing an
activity I participated in last October 16.

I took part in the American Cancer Society's
in New York City's Central Park.

Here are hundreds of participants at the
starting line (pink balloons).

I've been doing this for the past couple of years
because some people who are near & dear to
me have been touched by this disease.
I know, so blah.

By walking and raising money, we hope to
raise awareness & one day, find a cure.
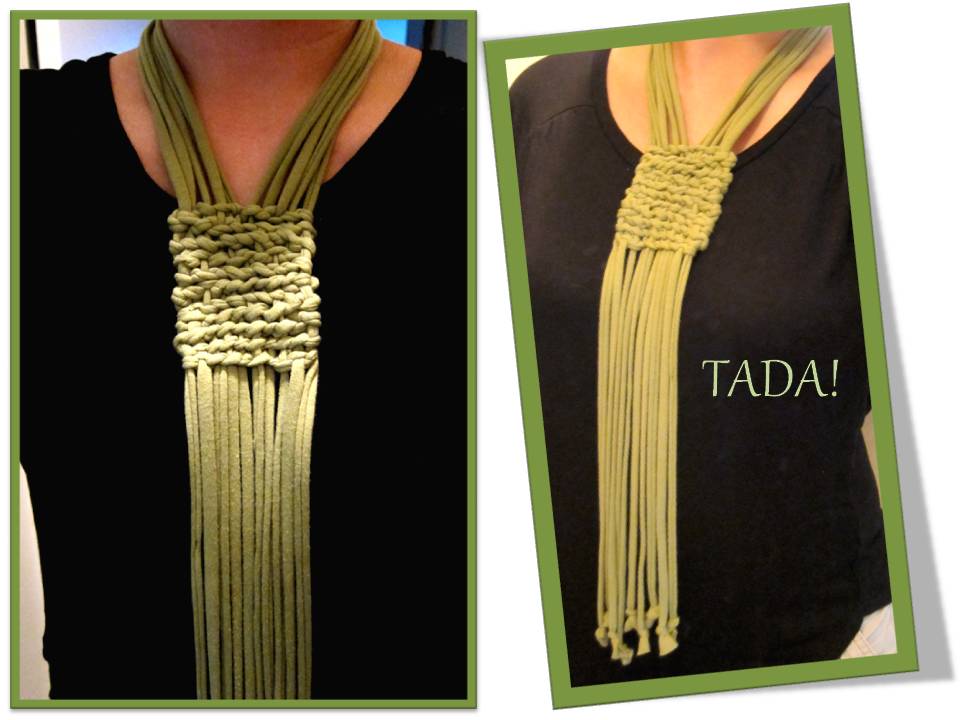
Wouldn't that be TADA!?

Men, women and children in all shapes,
colors and sizes came out to walk.

Look, even the dogs were there!

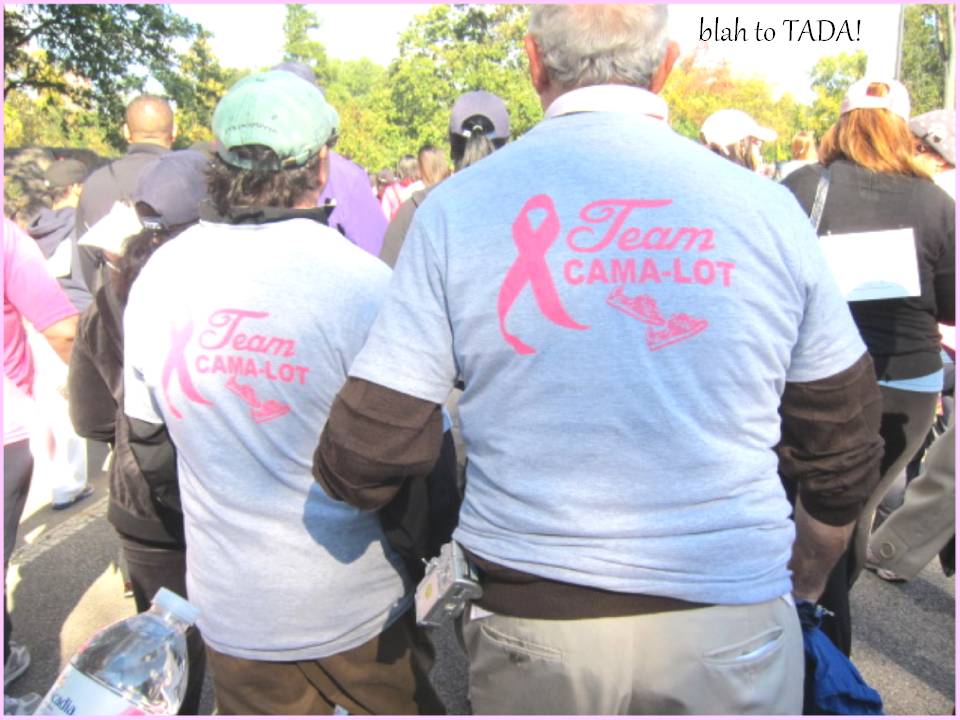
I'm energized by charity walks like this where people
gather for one cause and become a support system
to those battling cancer. They stand united
wearings pink wigs, bandanas,
hats or t-shirts:


What did I wear?

I've been wearing this pink shirt ever since.

It has cute embroidery on different
parts of the shirt.

Well, I've officially made it my Making Strides t-shirt.
I did a little blah to TADA!: I embroidered the
names of my loved ones touched by
breast cancer:

Alma

Edith

Emy

It was an honor to walk for these courageous women.

And it was an even greater honor to walk among
survivors. I applaud them and only hope
that many more can call themselves
SURVIVORS.

07 June 2011

He Loves Me, He Loves Me Knot


It's another week of T-shirt transformations!

Yesterday, I showed you how to make "yarn" out
of on old T-shirt. Simply cut the shirt into uniform strips.

With this "yarn", I'm going to make another necklace.
Here's how:

Gather five long strands, find the middle and secure with
a safety pin. Attach the pin with a binder clip and use
this to hang on a hook or nail.

Make some knots & repeat to make several rows.

Just take a new, loose strand.
Knot once on one of the hanging strands.
Grab the strand beside it and knot again.
Keep doing this until you've finished a row.
The knots should look like they are
hugging the strands.

Once you've finished a row, end with a double knot.
Trim ends but leave a half-inch tail.
Hide the tails at the back by twisting, tucking
and hand-stitching in place.

Take a new, loose strand and repeat process.
I made 10 rows, you can make more or less.

TADA!
How do you like my handcrafted necklace?

Knot the dangling ends for a clean look.
This is meant to be worn like a medal
{so make sure there's enough room to
fit it over your head}, but you can
use a necklace closure that you can
buy at a craft store.

TADA!
I think I want to make more in other colors!

23 March 2011

Classic Tees


Giving old books a make-over...
that's the mission on my blog this week.

How many of your books are hanging out on a shelf {or worse,
sitting in a lonely box}, waiting for some attention?

Alright, I'm guilty, too.

I saw these awesome t-shirts.
They're sold at The Strand Bookstore:


The Classics as t-shirt designs.
What a great idea!

I'd like to turn my favorite books as a child into t-shirts like these. Or maybe make t-shirts for friends using their all-time favorite book! Maybe print them on iron-on transfer paper and apply them to a blank shirt with a hot iron. I haven't tried, though -- afraid of any intellectual property rights that I might step on.

Now, keeping your beloved tome close to you has a whole new meaning.

09 June 2010

Flower Pendant


This week on my blog, I'm turning dryer lint from blah to TADA!

Ever since Rane wrote me an e-mail & proposed this challenge,
I tried to remember to collect lint each time I did the laundry.

And in the past two days, I've shown you how to make these
fabric balls that I turned into push pins & into a colorful
necklace...all out of dryer lint & old t-shirts!

I've got a few extra fabric balls that I sewed together:

TADA! I made a cute flower!

Add a pin to the back to make a brooch, or...

Sew a jump ring to the back of the flower & thread to a chain.
Now you've got a fun flower pendant!

Kindly take note that dryer lint is flammable.
Take extra care when wearing this necklace.
Otherwise, replace dryer lint with fiber fill
taken from an old, ready-to-throw pillow.

07 June 2010

Blah to TADA! Challenge: Dryer Lint


Thanks for stopping by today!
It's been a while and I think I'm ready for a new challenge.
Rane wrote me a few months back:

Hi ya Claire!! I have a true challenge for you! What can you do with dryer lint? Every week I throw this away and always wonder could it be used for something?

I hear ya Rane!
So this week, let's make a detour to the laundry room
en route to the craft room.

Like most of you, I throw away lint from the dryer.

I only recently started keeping it in this bag.

I must admit, lint isn't very attractive.
But it reminds me of fiber fill.

I got myself a few fabric scraps:

I cut them into circles.

Then sewed a running stitch around.

I pulled the thread slightly so the fabric bunched up.
Then stuffed it with dryer lint!

Pulled the thread all the way to
seal the edge & then knotted the thread.

Here's the result:

TADA! I made little fabric balls
out of dryer lint & scrap fabric.

Then I attached them on the head of
these tacks with hot glue:

Note: The tacks get hot when hot glue is applied -- this
may burn your fingers. To avoid this, pin the tacks to a cork board,
add a bead of hot glue, then add the fabric ball.
Allow to dry and pull away any excess glue.

Another TADA! -- push pins!

These will dress up any cork board at home,
in school or at the office.

See you again tomorrow!


21 May 2010

Trying My Hand at Applique'


Hey, hey it's Friday! Aren't you glad the weekend's here?

I've been sewing like a mad woman thanks to this fabulous book
and its equally fabulous book launch showing off actual
crafts and several on-site projects.

Among the many things in the book, applique' is one thing I'd like to learn.
It most likely originated as a means to patch holes in clothing,
but is now used for decorative purposes for bed linens...

and drapery...

clothing...

and pillows!

These projects are a little too ambitious for me,
so allow me to practice first.

I found an old shirt.

Then I cut out a starfish shape from
another old shirt.
{Can you tell that summer's on my mind right now?}

Position & pin the starfish.

Stitch in place, folding the fabric inside as you sew,
for a clean edge.

TADA! -- my first attempt at applique!
I know, it could be much neater.

Hope you like my sweet summer silly starfish shirt!
Now go and have yourselves a fun weekend.