15 June 2010

Lots of Kisses


It's all about makeup this week.
Old, beyond the expiration date makeup...

Such as lipstick and lip gloss.
Lipstick & gloss should be thrown out after 2 years.

But you know we won't do that just yet!

We have to create some kisses & make them last.

Here's how:
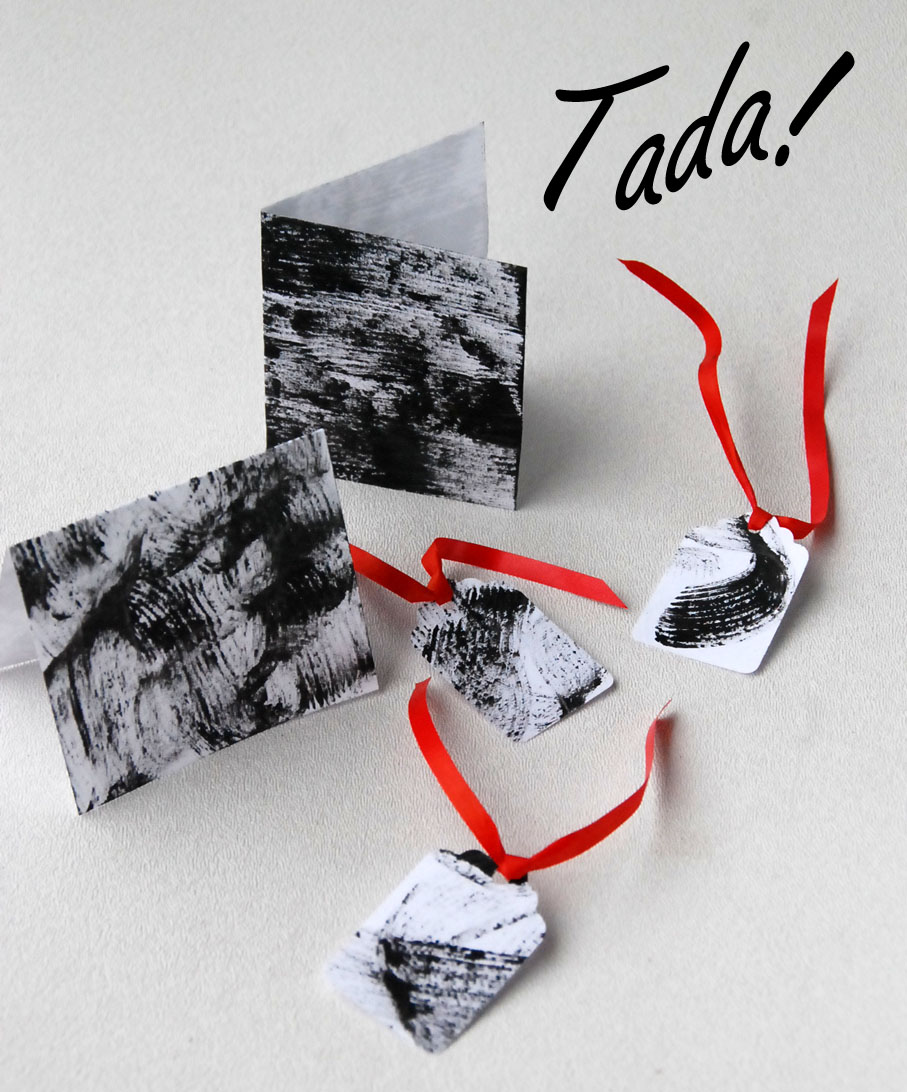
Apply lipstick & make kiss marks on slips of paper.
If the lipstick is past its prime {we don't want any infections},
get a lip brush and paint some sexy lips on paper.

TADA! You can send kisses to everyone you love!

Insert some kisses in the next greeting card you send.

Fill a box with kisses and mail it to your boyfriend
who lives far away (make your long distance relationship work!).

Seal an envelope With A Kiss.

Friends can send kisses to a loved one
fighting cancer -- she can hang this by her bed
and always know that she's loved.

So what are you waiting for?
Send out those kisses!
Mwah!

14 June 2010

Makeup!


I hope you all had a nice weekend!

Today, I want to talk to you about makeup. Honestly, I'm not a big makeup fan. I'm really just a blush & gloss girl. But when formal occasions come up, I need to whip out the eyeshadow, mascara and lipstick.

I had a ball while streamlining my make-up bag...not because I want to put on some, but because I have to get rid of many tubes, pots and compacts. And you know me, these won't go directly to the trash, they'll go from blah to TADA!

The first on the list is mascara.
Experts say, you can only keep mascara for 3 to 4 months.

If you can no longer wear it,
treat it like paint!

TADA! I made my own gift wrapper!

Simply smear it on tissue paper for your
own version of modern art.

Allow to dry for at least 24 hours.

Then use it as gift wrapping paper!

Add a ribbon in a contrasting color.

Smear some on card stock.

And make matching gift tags!


11 June 2010

Building a Nest


I can't believe it -- it's already Friday!
This week flew by so quickly.

This week, I accepted Rane's challenge to turn
blah dryer lint into a TADA!

I came up with a few ideas that made
this more, ummm, visually appealing.

Without further ado, here's my final idea:

Remember this Rit Dye?
It came with the Martha Stewart goody bag.
Haven't used it yet and I think today's a
good day.

I put a cap-full of dye in a plastic tub and
added the dryer lint (about 2 cups).
Mix using a skewer or chopsticks.
Let it soak for a few hours.

The lint is like cotton, making it easy to absorb
the dye. The final shade will depend on the
color of the lint & length of soaking time.

When satisfied with the color, remove dryer lint
from the dye solution. Use rubber gloves!
Wring out all the liquid.
Let it dry on sheets of newspaper.

Once dry, put the dryer lint into a plastic tub and
pour in some white glue (about 1/4 cup).
Mix using a skewer or chopsticks.

With rubber gloves on, mold into desired shapes.

I created little nests & used these plastic cookie trays as a mold.
Allow to dry for a couple of days.

TADA! I made these nests out of dryer lint!

I added some colorful birds that I got from
a little shop in Chinatown.

The feathers, I picked up in the park
during a summer walk.

The eggs are painted paper mache'.

I think I'll use them as place settings
(just add the name of the guest) for a dinner party.
They double as a centerpiece & party favors, too!

Have an eggs-cellent weekend folks!

10 June 2010

Light My Fire


Rane, one of the blah to TADA!'s lovely readers
challenged me to transform blah dryer lint into a TADA!
I hope I haven't disappointed her so far.

As I've mentioned in the previous posts,
dryer lint is highly flammable,
so it's important to take care when re-using it.

But today, we'll take advantage of its flaming super power by
crafting a fire starter kit.

Fill a box or tin with dryer lint.
Add a set of matches or a lighter,
and TADA! -- simple materials to
get a fire going for your next camping trip.

Put the box of lint & matches in a
resealable plastic bag to prevent
it from getting wet.

Happy camping!

09 June 2010

Flower Pendant


This week on my blog, I'm turning dryer lint from blah to TADA!

Ever since Rane wrote me an e-mail & proposed this challenge,
I tried to remember to collect lint each time I did the laundry.

And in the past two days, I've shown you how to make these
fabric balls that I turned into push pins & into a colorful
necklace...all out of dryer lint & old t-shirts!

I've got a few extra fabric balls that I sewed together:

TADA! I made a cute flower!

Add a pin to the back to make a brooch, or...

Sew a jump ring to the back of the flower & thread to a chain.
Now you've got a fun flower pendant!

Kindly take note that dryer lint is flammable.
Take extra care when wearing this necklace.
Otherwise, replace dryer lint with fiber fill
taken from an old, ready-to-throw pillow.

08 June 2010

Lots of Lint


Rane is a fabulous gal who threw a challenge my way:
Turn dryer lint from blah to TADA!

So I've been collecting lint in this bag every time
I did the laundry.

Similar to yesterday's craft, I made more fabric balls:

Step 1: Cut circles from fabric scraps (these are old t-shirts).

Step 2: Sew a running stitch all around.

Step 3: Pull the thread so the fabric becomes a little bowl.
Stuff the "bowl" with dryer lint.

Step 4: Pull the thread all the way, knot the end &
cut the thread.

Make as many fabric balls as you need.

String them together with crochet thread,
sandwiching a gold bead in between
each fabric ball.

TADA! I've a got a statement necklace
and I hardly spent anything!

I have to point out that dryer lint is flammable.
I know you won't be cooking, grilling or dancing around
a bonfire with this necklace around you, but do take
extra care!


07 June 2010

Blah to TADA! Challenge: Dryer Lint


Thanks for stopping by today!
It's been a while and I think I'm ready for a new challenge.
Rane wrote me a few months back:

Hi ya Claire!! I have a true challenge for you! What can you do with dryer lint? Every week I throw this away and always wonder could it be used for something?

I hear ya Rane!
So this week, let's make a detour to the laundry room
en route to the craft room.

Like most of you, I throw away lint from the dryer.

I only recently started keeping it in this bag.

I must admit, lint isn't very attractive.
But it reminds me of fiber fill.

I got myself a few fabric scraps:

I cut them into circles.

Then sewed a running stitch around.

I pulled the thread slightly so the fabric bunched up.
Then stuffed it with dryer lint!

Pulled the thread all the way to
seal the edge & then knotted the thread.

Here's the result:

TADA! I made little fabric balls
out of dryer lint & scrap fabric.

Then I attached them on the head of
these tacks with hot glue:

Note: The tacks get hot when hot glue is applied -- this
may burn your fingers. To avoid this, pin the tacks to a cork board,
add a bead of hot glue, then add the fabric ball.
Allow to dry and pull away any excess glue.

Another TADA! -- push pins!

These will dress up any cork board at home,
in school or at the office.

See you again tomorrow!