15 July 2020

Day 100

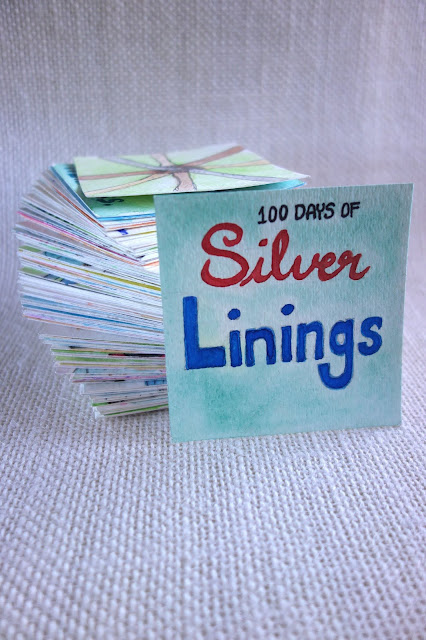
Hello everyone! I have an extra blog post this week because it's Day 100 of #100DayProject...TADA!


"The 100 Day Project " is an on-line art project: choose a project, do it for 100 days, and show off your progress on Instagram

blah to TADA
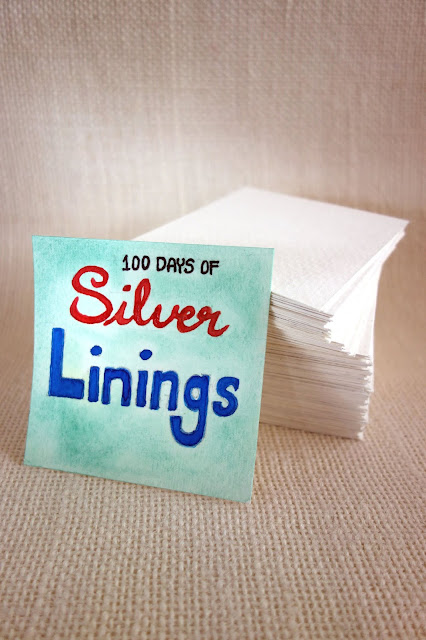
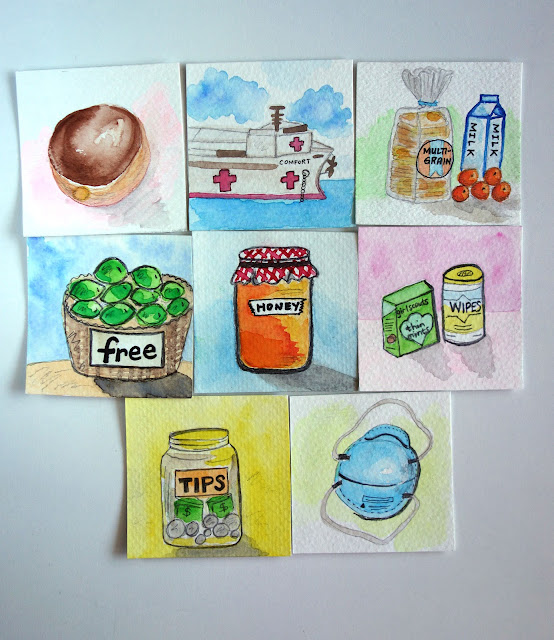
Given our current situation, I chose the theme, "100 Days of Silver Linings". I needed a distractraction from uncertainty, something to allow me a bit of productivity, and hallmarks of hope amidst the heartache.  

blah to TADA
I trimmed watercolor paper into 3-inch by 3-inch squares until I had 100 blank canvases. The front is for the artwork.

blah to TADA
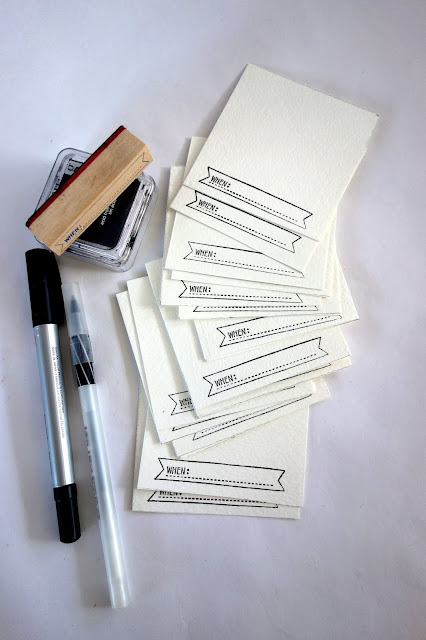
And the back is where I write down the story behind each sketch.

It's important to document them so that I won't ever forget. 

#100DayProject, #100DaysofSilverLinings, watercolor, watercolor painting, brush lettering, quotes, kindness, covid crafts, quarantine crafts, Coronavirus, stories of hope, stories of kindness
I used my favorite tools that I've owned for many years.

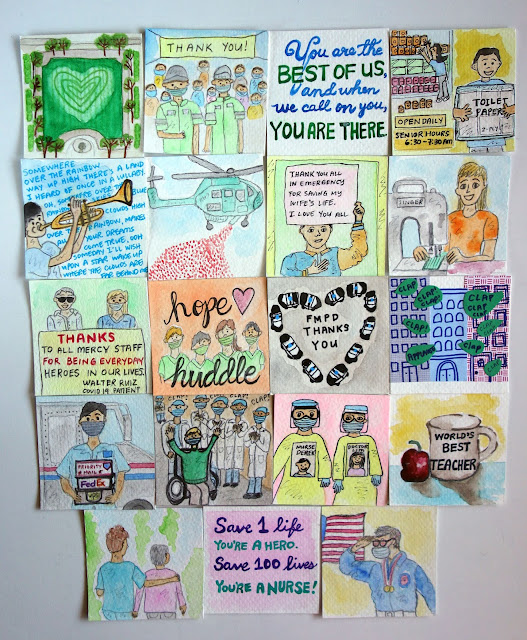
I hunted for stories of hope and kindness everywhere -- on social media and in the news (no matter how bad the headlines were, the broadcast always ended with a positive story). 

blah to TADA
Here are the random acts of kindness from all over the world: people wanting to reach out to their neighbor whether they knew them or not.

blah to TADA
Expressions of gratitude to the brave first responders, health care heroes and essential workers. 

blah to TADA
Words of strength.

blah to TADA
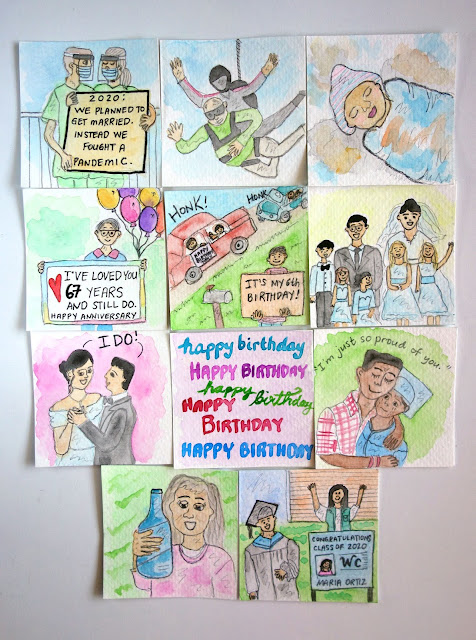
How do you celebrate big events and milestones while social distancing? We found creative ways!

blah to TADA
Solidarity in light shows, multi-city flybys, a Space X launch, Fourth of July fireworks, and on-line entertainment.  

blah to TADA
In June, the pandemic and peaceful protests crossed paths.

Thankfully, there have been small changes brought about by these protests like a greater awareness of the prejudices black lives go through on a daily basis. Reforms to some police departments have also been implemented. And the creative community has been supportive of black-owned businesses and are rallying in amplifying black voices. It's a long way to go but it's a start.
 
blah to TADA
These are several ways we are trying to navigate what we've never experienced before. 

blah to TADA
There were days when it was difficult to sketch because all the good news was overshadowed by the bad. But there were times I would make 3 sketches a day because the stories I came across were very uplifting.

blah to TADA
And now that I've completed my 100 Day Project, I won't stop there. I'll keep searching for these stories.

blah to TADA
We're still fighting the virus but we're all in this together.

blah to TADA
Let's each do our part.

blah to TADA
Let's be extra kind.

blah to TADA
And let's remain hopeful that things will get better very soon.

13 July 2020

Salt Dough Pendants

I am so glad you were able to stop by today!

The genesis of this craft came when I found these tools in my baking bin:

They are miniature cookie cutters and embossing sheets.  

They are traditionally used for making cookies or fondant shapes for cakes. 

I wanted to make something more long lasting so I thought about salt doughI've worked with salt dough in the past to make this, this, and this.

Salt dough is an easy recipe: In a bowl, add 1 cup of all purpose flour, 1/2 cup salt, and 1/2 cup water. If you like, add a light tint using 4 drops of food color. Mix them together until it forms a dough. If it's too sticky, mix in more flour, a teaspoon at a time.

When not in use, it's best to store the salt dough in an airtight container to keep it from drying out.

Put the dough on a board and flatten it with a rolling pin, about 1/4 inch thick.

This is an optional step. I'm doing it because I have these embossing sheets. I placed the sheet on the dough (embossed side facing the dough) and used a rolling pin to add some even pressure. 

The dough now has an imprint...TADA!

Make a few butterflies and dragonflies using the cookie cutters.

Using an off-set spatula, transfer these to a baking tray lined with parchment paper or a silicone mat.

Poke a prominent hole on top using a toothpick. Make sure the hole goes all the way through so it doesn't close while baking.  

Bake these for two hours in a oven set at 200 degrees Fahrenheit.  

Here's what the butterfly looks like after it's been baked and cooled (I'm not sure where the little dots came from).

Add a jump ring through the hole and attach it to a bracelet (this one is made of stretchy cord and assorted beads).

Here's what the dragonfly looks like after it's been baked.

Doesn't it bring more life to this bracelet? 

I also made a flower using a cookie cutter.

Here's the flower after some time in the oven.  

I added it to a bracelet made of semi-precious stones.

We can also make some beads out of salt dough scraps. Just roll them into marbles.

Poke a hole through using the end of a paintbrush or skewer.

Bake this in the oven for 2 hours (oven set at 200 degrees Fahrenheit).

After baking, they look like these.

I used one bead as an accent to this pink bracelet...TADA!

I hope this project has gotten you excited to work with salt dough!

06 July 2020

Personalizing Plain Cards

Today I've got a quick craft idea to share.

I found these cards and envelopes on clearance and I bought them instantly because it was such a good deal!

They're cute as is but I wanted to make them look less generic. 

I still have these chipboard letters left from a previous project. 

TADA! By simply adding a letter (the initial of the recipient) to each card, they now feel more personal and well thought-out.  


An easy paper craft that turns blah to TADA!

29 June 2020

Treasures from the Trash: A TV Stand

In our apartment building, there's a compactor room where we put our trash and recyclables. Sometimes, my neighbors leave furniture there.

Here's what I found on one occasion: a TV stand!

It was in good shape and I would've taken it home if I had some space to spare.

Then I would turn it from blah to TADA!  Let me borrow some images from Pinterest to show you how:

Made to order - Handmade Rustic Corner Table / TV Stand with Shelf in White. **Please note I currently wont be able to take on any more orders until after Christmas, but please dont hesitate to contact me if you have any questions or enquiries. Kind regards, Remy** Made from 100%
via Pinterest
I would wrap wood around the TV stand to give it a rustic look.

via Pinterest

This one's wrapped in wood, too, but with an added back panel to hang the TV. I like it!

fix for cheap tv stand
via Pinterest
Maybe I can paint it in a uniform shade and add some legs to make it look more classic.

I'll also explore adding doors for hidden storage:

Ikea Restyle: Mid Century TV Stand | A Beautiful Mess | Bloglovin̢۪
via Pinterest

amber interior design
via Pinterest

via Pinterest

I can also turn it into another kind of furniture:
via Pinterest
Like a pillow-top bench with built-in shoe storage...TADA!

office and craft room storage, printer cart
via Pinterest

I can also paint it in a fun color, attach some casters, and use it as an arts and crafts shelf...TADA!

Thanks for dreaming with me!