
Howdy! So nice to see you today!

This week, I'm taking you on a shopping trip
to the Housing Works Bookstore Cafe
in New York City.
I can spend many hours here to savor a snack
and browse through the shelves.

This is what I bought -- I'm trying out the crafts
with my blah to TADA! touch.
On Page 37, the author has a recipe
for clay jewelry.
Here's what we'll need:

3/4 cup flour
1/2 cup cornstarch
1/2 cup salt
1 tbsp warm water or as needed {I used 8 tablespoons}
liquid tempera paint & paint brush

Mix together the flour, cornstarch & salt.
Add water gradually until the mixture
forms a soft dough.
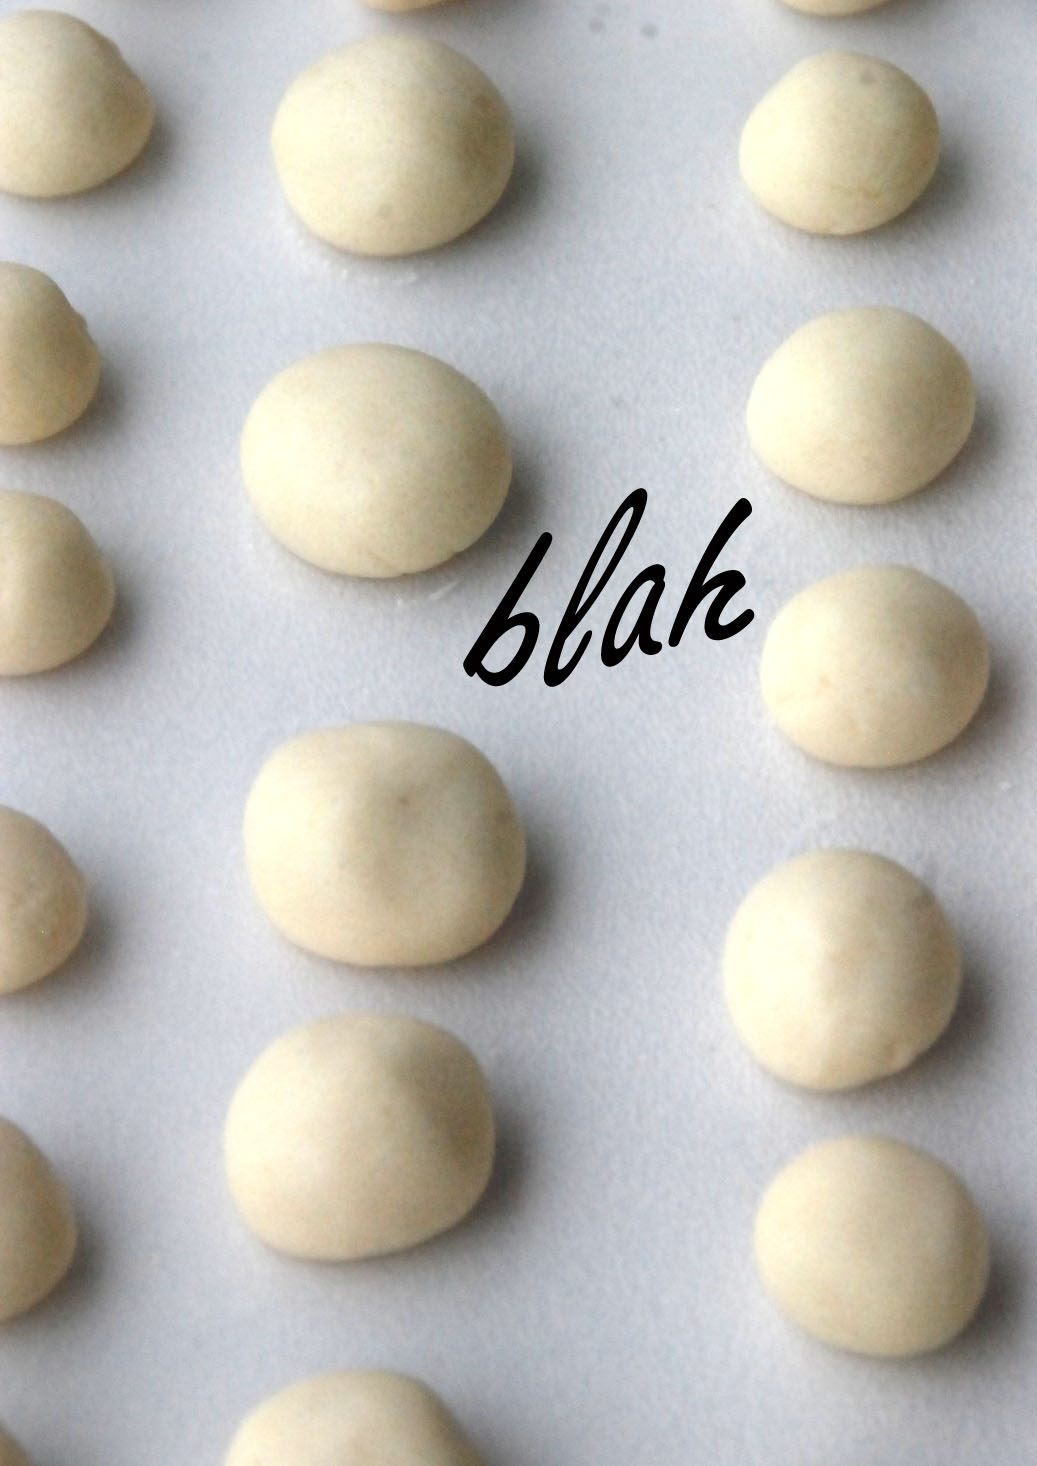
Roll the mixture into balls to make beads.

Allow the beads to dry for a few hours,
then poke a hole using a skewer.
Allow to dry.
The smaller the beads,
the faster the drying time.
{It took me about a week to get
the beads to fully dry & harden.}

Here's what they look like.

Now, it's time to paint!

To quickly get paint all over the bead, use this
trick of putting each bead on a skewer.
You'll need two to three coats of paint.
Make sure to paint the bottom hole too,
once the bead is removed from the skewer.
Let this dry for a few hours.

TADA! Your very own handmade beads!
String them on thread (regular or elastic).

And make your own jewelry like a necklace or bracelet!

This is a fun summer activity for kids
that they can proudly wear.
Thanks for sharing this idea! My daughters would probably LOVE this! :)
ReplyDeleteWonderful recipe! How about adding food coloring water first? So you have a good basic color, homogeneous or marble-look-alike, depending on how the dough, and when the beads are dry you can add a few details, like flowers, butterflies or simply "paint" with sheer and glittered nail polish.
ReplyDeleteHello Lanie! Oh, your girls will definitely love making their own jewelry. Have fun!
ReplyDeleteYou are right Melafragola -- the next time I make this, I'll add food color. That marble idea sounds fantastic! Thanks for such wonderful tips!
Thanks for visiting today!
oh wow! I had no idea this could be done!!! amazing Claire =D
ReplyDeleteThank you for always being so sweet Nuit! :)
ReplyDeleteClaire,
ReplyDeleteYou are so creative! I am loving your site. The concept is unique and brilliant.
xo Marcie
Oh Marcie! Thanks so much! I hope you'll find a lot of stuff to make & create. :)
ReplyDeleteKids? I love this! I wasn't sure about it, but with that ribbon it looks great.
ReplyDeleteThanks for the comment Miss Destined For Now!
ReplyDeleteI guess you're referring to the rough texture when the dough dries and the imperfection of the round shape. I think these add to the character :)
The Necklace is so beautiful, the colour is just lovely!
ReplyDeletexoxo
Alien
http://alienslabyrinth.blogspot.com
Welcome to my blog Aline! Thank you for stopping by & for linking me to yours :)
ReplyDeletethis look SOOO great! love love love it!
ReplyDelete-elizabeth
Welcome to my blog Elizabeth! Thanks for your sweet comment!
ReplyDeleteThis is a great idea. Thanks for sharing :)
ReplyDeleteI love it
ReplyDeleteLove the idea, and I love how you put the necklace together with fabric. Don't the beads chip easily though? I would caution the wearer to take very good care of them so they don't get weird angles and spots on them.
ReplyDeleteYou're right, Maggie! The shaping of these beads can be a little rustic. Thanks for stopping by!
ReplyDeleteNice...I like the combination of beads& fabric
ReplyDeleteThanks Anitha!
ReplyDeleteCan we make any shape with this clay or is this only for jewellery? Can we make trinket dish with this clay?
ReplyDeleteYes you can! You can shape it into a trinket dish and let it dry on a curved surface like a bowl or inside a muffin tray. :) Thanks lal!
ReplyDeleteHi I was wondering if it is safe to put the clay in the oven! I made clay rings yesterday and they are kind of hard but I was wondering if I could speed up the process by placing them in the oven! Thanks :) -Amiya
ReplyDeleteThank you for your question, Amiya. I've never tried but maybe you can experiment with a few pieces. I suggest a low temperature oven to avoid cracks and breakage. In case I'm able to try it, I'll let you know if it's successful.
DeleteHi if I want to bake it how long should It take. Thank you
ReplyDeleteI think it's not bakeable
DeleteHi Claire,
ReplyDeleteWhat would be the best way to give them a shiny finish?
That's a good question! I might experiment with clear nail polish or maybe Mod Podge Gloss. I hope it works!
Delete