How are you doing today?
One of the ways I try to stay creative is through a sketchbook practice -- filling pages of my sketchbook with drawings or paintings of mundane observations.
How are you doing today?
One of the ways I try to stay creative is through a sketchbook practice -- filling pages of my sketchbook with drawings or paintings of mundane observations.
I'm so glad you are here!
Over the years, I've created butterfly-inspired crafts like this butterfly wall hanging, butterfly scent sachet, and butterfly watercolor painting. I've made it a tradition to make a butterfly craft at the end of every January. You see, I lost my Mom in January 31, 2017. She makes her presence felt through monarch butterflies -- during my walks in the park, when I see one in a book, on TV, or printed on fabric. Making these helps me honor her memory and is a form of healing for me, too.
Last year, I made this butterfly embroidery. I love the simplicity of the black thread on white fabric. But I thought we can still turn it from blah to TADA!

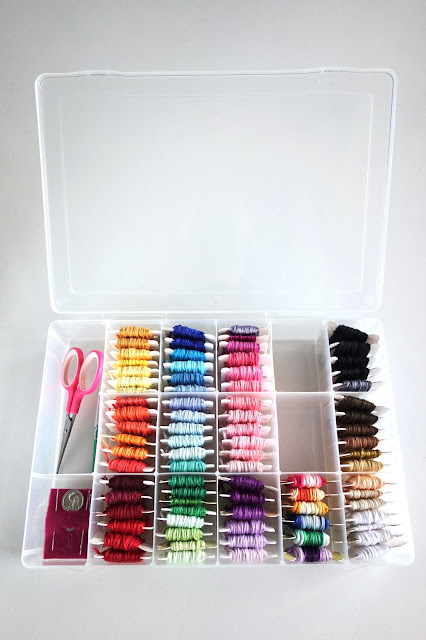
I took out my embroidery thread selection.
I was drawn to the shades of pink and purple embroidery floss.
Slowly, I filled in the little blank spaces, similar to a coloring book but using thread.
But I learned another exciting way to dress up a blank sketchbook page.
It's called FODDER or Collage Fodder.
Fodder School (yes, it exists!) defines collage fodder as "anything that can be used in the creation of a collage. Collage fodder can be collected (think old vintage book pages or ticket stubs) or handmade (think gelli prints or handmade pattern papers)."
I've done a lot of the paper collecting over the years, filing them randomly in plastic folders. The "handmade fodder" part really got my attention.
I was introduced to the collage fodder concept when I attended Sketchbook Revival hosted by Karen Abend and Fodder School teacher Tiffany Simply Sharpe.
The first step is to make the focal point. In this case it would be a mushroom.
We started painting mushrooms (I don't think I've ever drawn mushrooms in great detail before). I chose this color palette: green, blue green, purple and fuchsia. Then when the paintings were dry, I outlined the edges with a fine-tipped black marker.
Tiffany used watercolor paper. To make it my own, I repurposed an empty cardboard box, turning it from blah to TADA! The back side won't be seen anyway because it will be glued down.
Cut around the mushrooms to remove the excess white border.
The second step is to assemble the background using a collection of paper remnants, fabric, packing tape, magazine tear sheets, gift tissue and gift wrap. Perhaps you have old magazines and catalogs or a library of collected papers? These are a good place to start.
Using the page of the sketchbook, try out different layouts before committing to anything. Tiffany calls this the audition process.
The third step is to glue things in place (I used a glue stick).
The final step is to add some journaling or finishing touches like designs from cling stamps and an ink pad.