19 September 2021

Tin Transformations Part 2

Howdy everyone!

I have a thing for tin containers. I've talked about it last week and transformed many others in the past (you can read about them here, here, and here).


What's not to love? They're sturdy, provide an air tight-seal, and are very useful for storage. 


This particular one was once filled with yummy baked goods. It's now empty and I've cleaned it up with a dry cloth.


Then I painted it with several coats of acrylic, letting the tin dry in between coats.


Here is my tin in mysterious matte black. But it still looks a little blah.


I saw this mural on the door of a restaurant's ladies room. I found it so cheerful! I think it reminded me of a sunny place like California, Florida or maybe even Spain.  


Inspired by these oranges, I painted some on the lid of my tin. 


Because pencil is invisible on blank paint, I sketched using white acrylic paint.


Then I added color -- this watercolor palette worked quite well.


I added some shading and detail with more paint.


Just a hint of an orange orchard.


Designate it for crafting supplies. Make it into a sewing kit. Or use it to wrap gifts instead of the traditional box and wrapping paper.


And that is how I turned a tin container from blah to TADA!

If you enjoy these crafty projects, please subscribe to my newsletter so you don't miss a post.

12 September 2021

Tin Transformations Part 1

Hello guys! 

I like to reuse packaging for different purposes like gift wrapping, Easter baskets, hostess gifts, or holiday boxes.  

Whenever I come across an almost-empty container, I try to dream up ways on how they can be recycled. 


Such is the case for this tiny tin, once a container for cranberry-flavored lip balm.


I cleaned it with a damp cloth and dried it really well to avoid any rust-formation.


I painted it with black acrylic to cover the label. Now, I am left with a blank slate.

The American Goldfinch is common at feeders, where it takes primarily sunflower and nyjer. Spring males are brilliant yellow and shiny black with a bit of white. Females and all winter birds are more dull but identifiable by their conical bill; pointed, notched tail, wingbars, and lack of streaking. www.youtube.com/...
via Pinterest

I had just watched the movie "The Goldfinch", based on the book by Donna Tartt. And the story is inspired by an actual painting

I thought I'd challenge myself to paint a goldfinch.


First, I made a sketch with white acrylic paint.


Then I added detail with more paint...TADA!


I can use this little tin to store my sewing pins and small craft materials.


And that is how I turned an empty tin form blah to TADA!

If you'd like more crafty ideas delivered to your inbox, please subscribe here

05 September 2021

Treasures from the Trash: A Bench

I love a good bench! It's welcoming and it says "come sit a while", "chill", "hang-out." 

I love it even more when it's free!

I found this by the curbside. While the leather is peeling, its overall shape is intact. Paint and new upholstery are all it needs for its transformation from blah to TADA!

I would choose a neutral-colored fabric for the cushion and update the legs in a dark stain: 

West Elm bench
via West Elm 

All Modern, Valera Button Tufted Upholstered Bench
via All Modern


Veronica Ivory Linen Bench, BHG.com
via bhg.com

Here are possible ways to use the bench:

entryway lighting ideas, Station Home
via Station Home
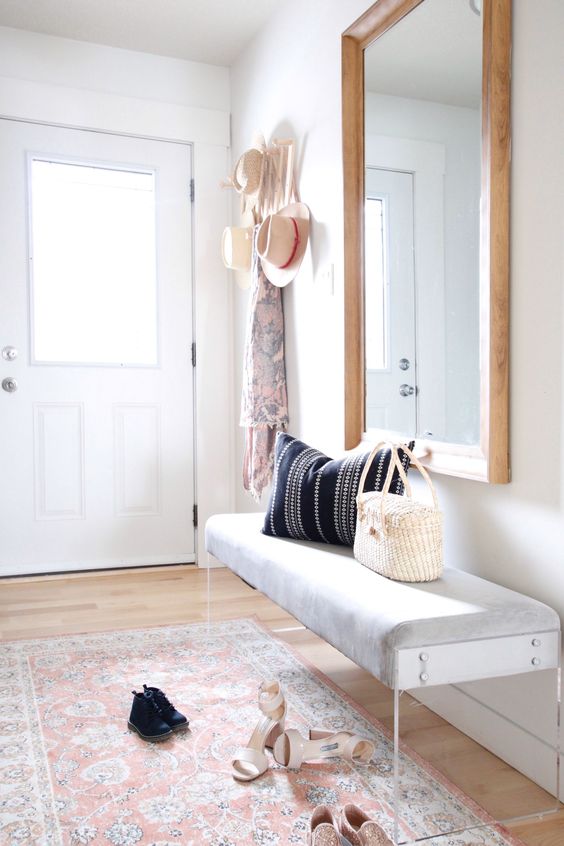
Put it by the entry way where the family can easily wear their shoes before heading out.

Tablet Charme Blonde Rectangular Ottoman - Ottomans - Article | Modern, Mid-Century and Scandinavian Furniture
via Article.com
When guests come, they can deposit their bags here instead of on the floor or on the living room couch. 

Black Wave Poster, Ocean Wave Print, Black and White Minimalist Sea Wave Wall Art, Surf Wave Portrait, Surfer gift, surf vintage poster
via Etsy

I like it leaning against a wall for extra seating in the living room.


my scandinavian home: The home of a Danish interior designer
via My Scandinavian Home

Or position it by a sunny window, making a cozy reading nook.


bed, bedroom, bench in bedroom, uses for benches, Trendir.com
via Trendir.com

In sleeping quarters, a common way to use it is below the bed for seating and extra storage. 

30+ Amazing Closets Design And Decor Ideas For Women #decoratingideas #decoratinghomecheap #decoration, Warna Home
via WarnaHome

If you have a walk-in closet, a bench comes in handy when planning outfits and packing for trips...or just sitting and admiring your pretty clothes!

Wall-mounted Ikea 'Alex' drawers & 'Sigurd' bench, Leva and Bo
via Leva & Bo

Use it for a dressing table, spacious enough for "mommy and me" afternoons or make-up sessions with your best friend.   


modern neutral dining room | house tour on coco kelley
via Coco and Kelly

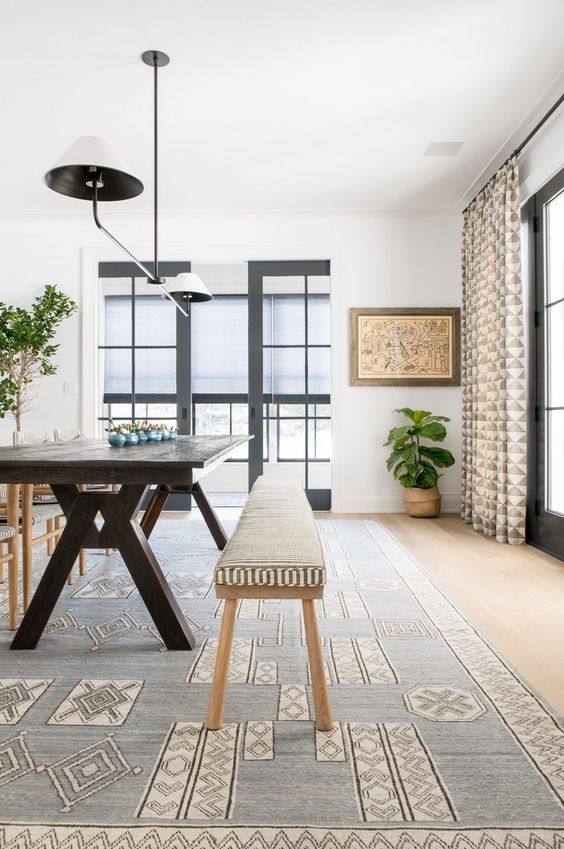
It also provides a more laid back vibe in the dining room...TADA!

If you found a bench like this one, what would you do with it? 


29 August 2021

Covered Buttons

Hey, hey, it's all about covered buttons today.


If you have no clue what I'm talking about, here are covered buttons made from vintage Kimono fabric. Aren't the prints pretty? The crafter made the buttons into rings...TADA! 

I think this is a clever way to use up any fabric scraps that you might have.

To make them, here's what you'll need:


(1) Fabric Scraps - always save remnants from your sewing projects and collect them in a box or drawer. You'll find many opportunities to turn them from blah to TADA!


(2) A covered button kit (I bought this at a sewing supply store)


(3) A pair of scissors  to cut the fabric (the circle pattern comes with the kit)


Just by following the instructions on the kit (check out the tutorial here), you can make these buttons in no time. 

This is a fun way to use your new buttons:


Take a few bobby pins, ideally the ones with a flat disk (also from the craft store)...


Then with a glue gun, attach the covered buttons onto the disk and let the glue dry for a few hours.


And here we have dainty hairpins for young and old...TADA!


In a previous post, I made some crochet flowers and used the covered button as a cute accent. 


At the back I sewed on a hair elastic and my crochet flower became a ponytail holder...TADA!

Hooray for covered buttons!

If you'd like to subscribe to my blog/newsletter, you may subscribe here.


22 August 2021

An Origami Crane

Hey everyone, how nice to see you today!

I'm a big fan of packaging design. Many times, I've bought the item just because it came in a beautifully designed box or bottle. I'm also partial to the ones that can be recycled and reused.

A friend of mine vacationed in Tokyo and gave me a few bags of Kitkat. Unlike the chocolate or white chocolate varieties popular in the U.S., Japan has an excellent assortment of flavors! 

This is the Matcha or Green Tea flavor. I happen to love Matcha so this was right up my alley. It might, however, be an acquired taste for some who haven't had Matcha flavored drinks or desserts. 

Anyway, back to the packaging. I can't read Japanese but I loved this little detail: we can repurpose the package as Origami paper. 

Origami is the Japanese art of folding paper into decorative shapes like boxes, flowers, and hearts.

The use of photos really help convey a message. Plus, if we hover our phones over the QR code...  

...we're immediately taken to their website.

And we're given instructions on how to fold an Origami crane. Really fun and interactive!

I opened up the package by cutting the sides.

Then I trimmed it into an 8 inch x 8 inch square.

Using the instructions, I began folding, folding, folding...

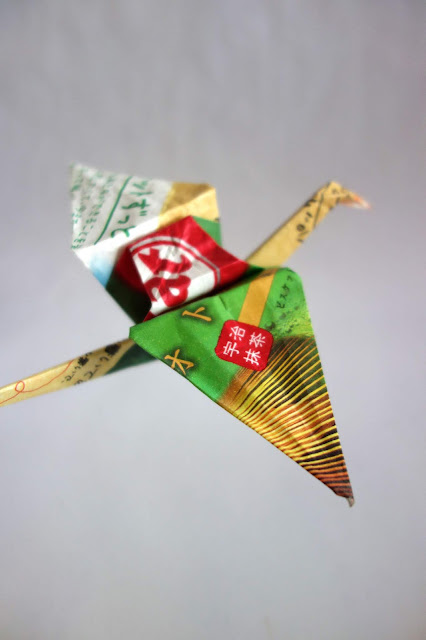
Until I made a crane...TADA!

Legend has it that if one folds one thousand cranes, his/her wish will come true. This is just a baby step in that direction.

But I'm quite pleased that this package meant for the trash, I was able to turn from blah to TADA!

Make an Origami Crane using recycled paper
If you'd like to make your own Origami crane using paper you have on hand, check this and this out.

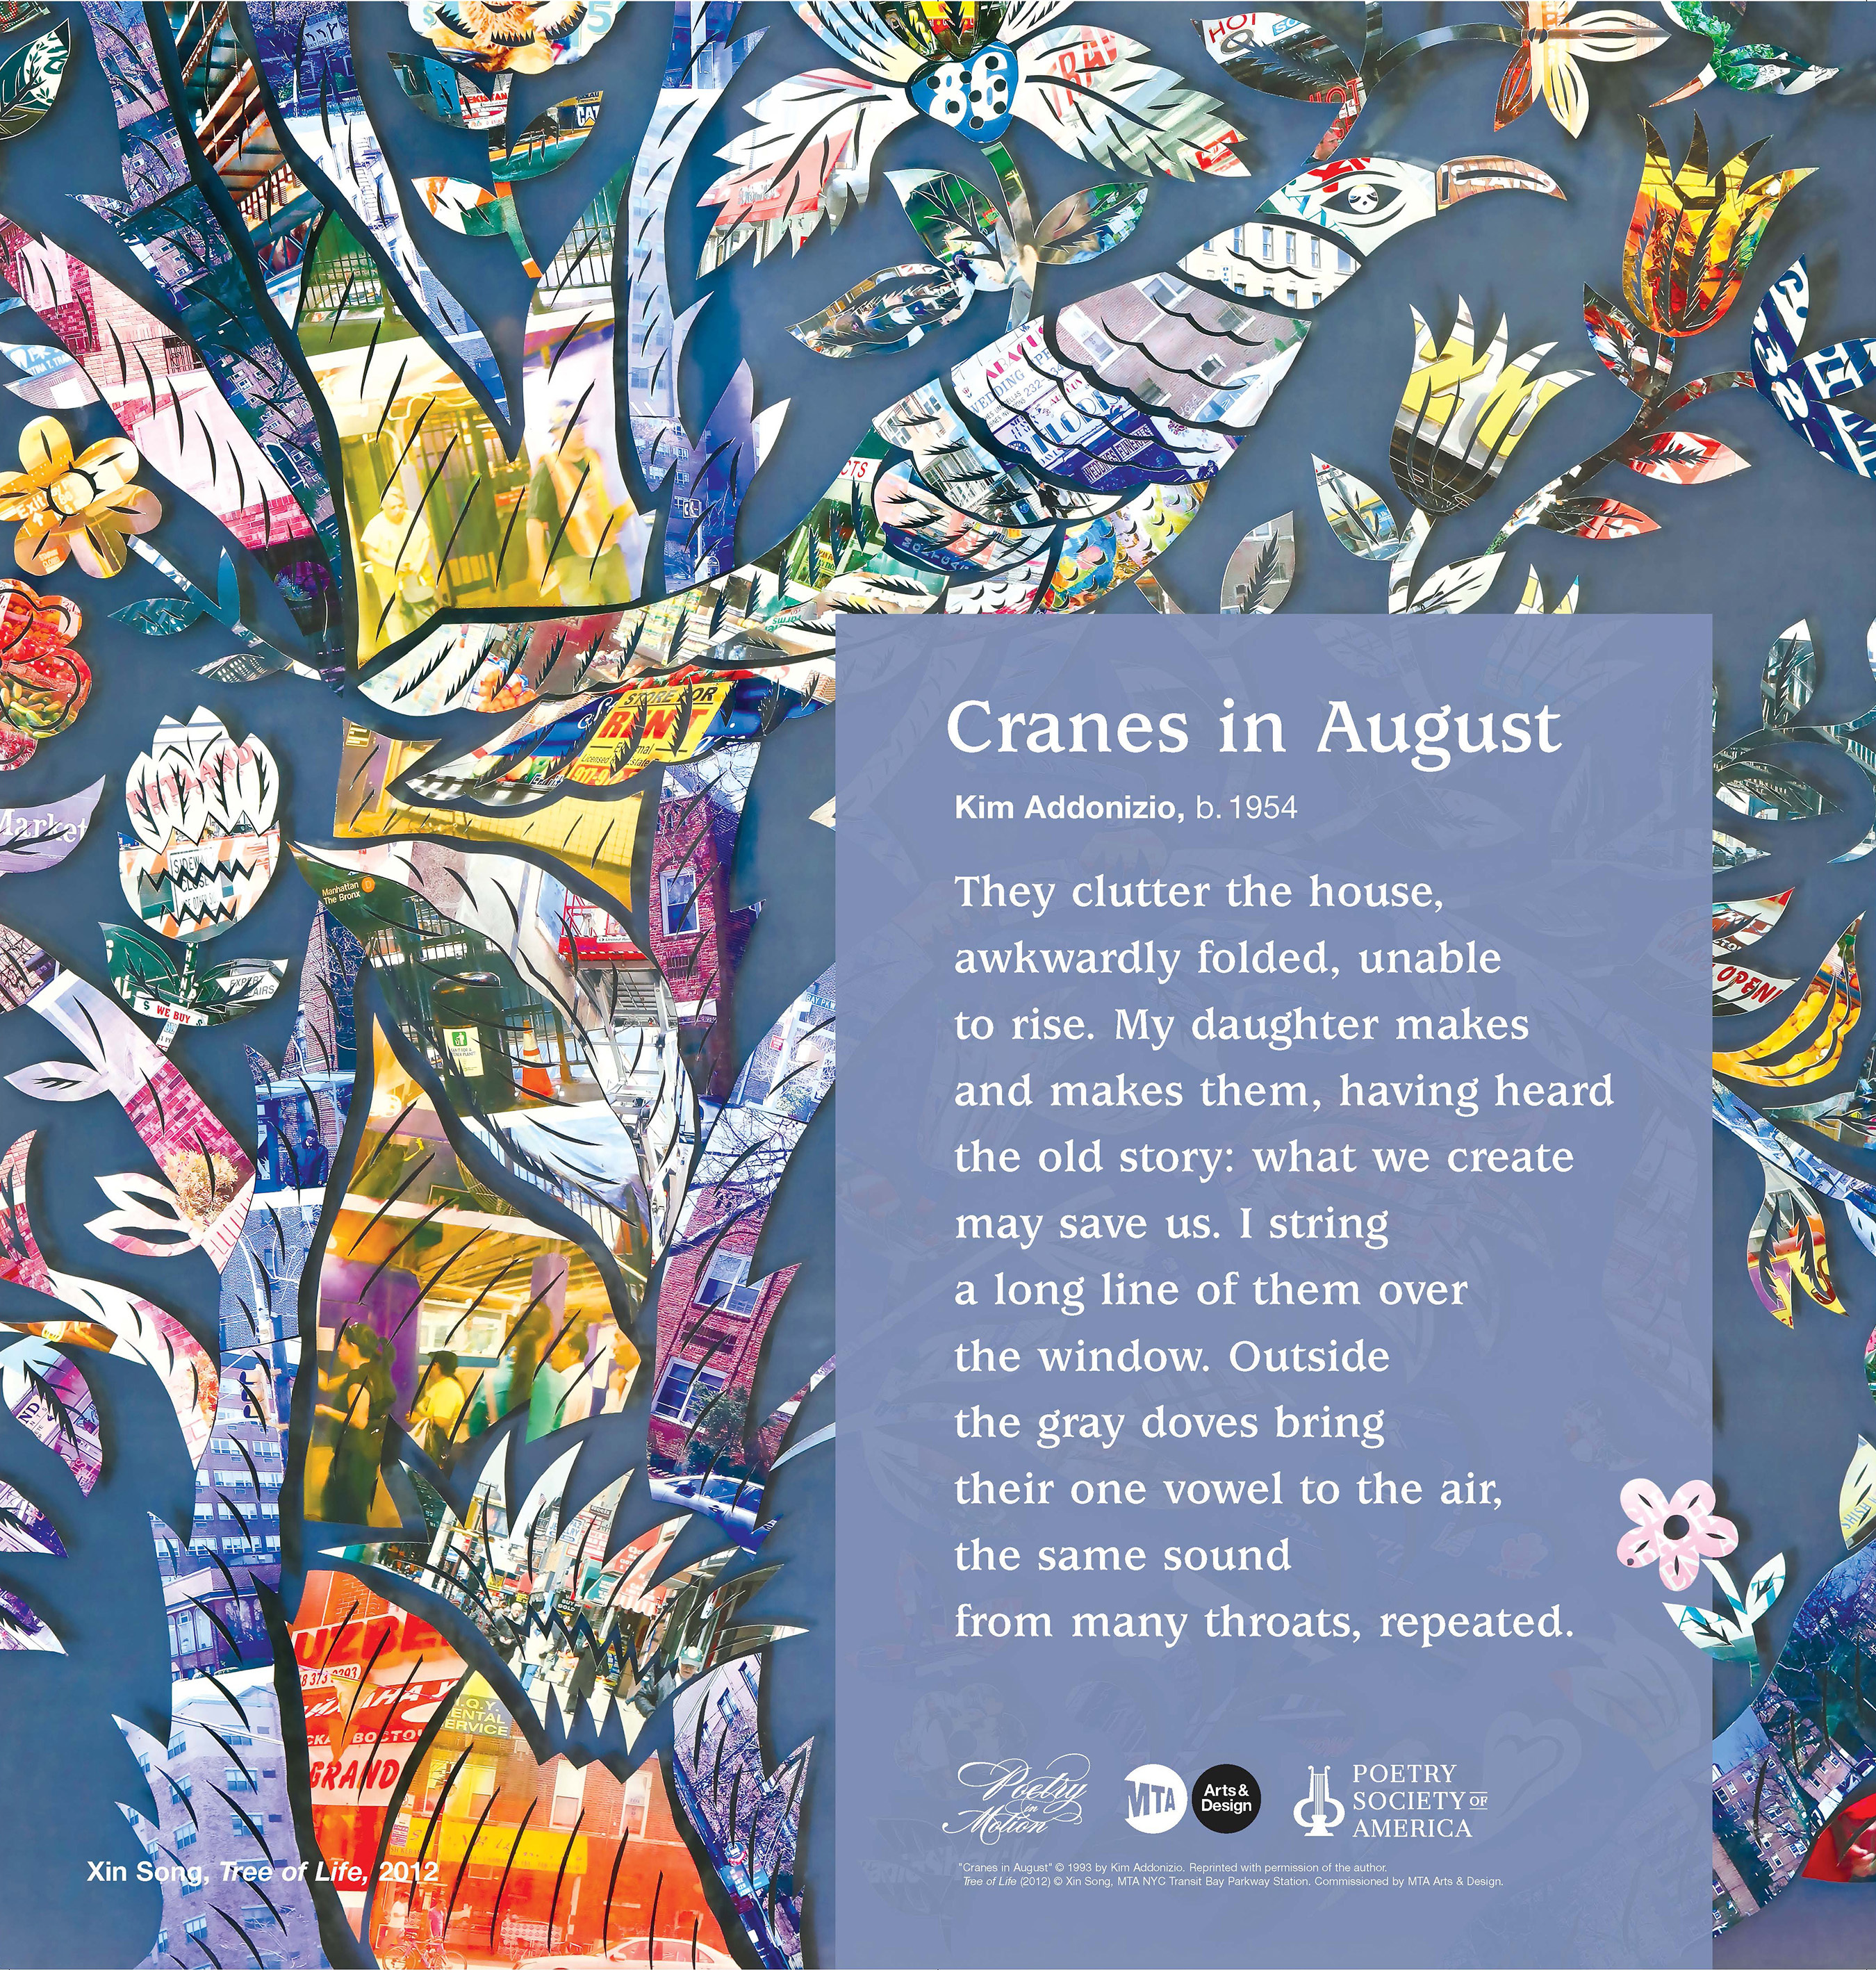
via Poetry Society of America
And because we're on the topic of origami cranes, I'm sharing this poem that I spotted on the New York subway in 2019. I love the line, "What we create may save us."

Have a good week!

15 August 2021

Adventures in Book Binding

Hi guys! How are you today?

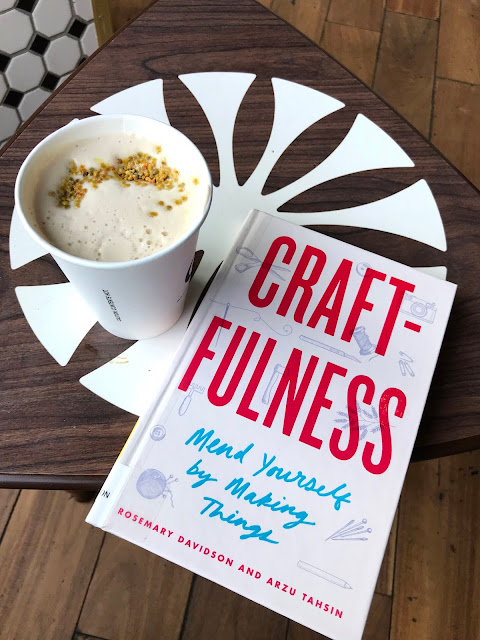
I was at the library and this book presented itself to me:

chai latte, Modcup, Modcup Coffee
It's called "Craftfulness" and I absolutely agree with the subtitle, "Mend Yourself by Making Things." Crafting has been a constant anchor for me especially in the lowest points of life. It has helped distract me from loneliness after loss and kept me focused during periods of anxiousness. Even as a child recuperating at home from a long sickness (like the measles), I would turn to crafting and it helped me get better.

"Craftfulness" gives scientific proof that crafting is beneficial to one's emotional well being. It's a form of therapy and the process is as rewarding as the results:

"Process, not product, is the soul of a craft practice. Whether you knit, crochet, sculpt, weave, quilt, tat, draw, or bind books—working toward small, attainable goals gives us a sense of purpose, accomplishment, and control that is proven to positively impact our mental health and happiness."

The book also has a bunch of crafty tutorials like this one for a Stitched Pamphlet Book.

Let me show you how I made it.

I selected some pretty scrapbook paper for the cover. 

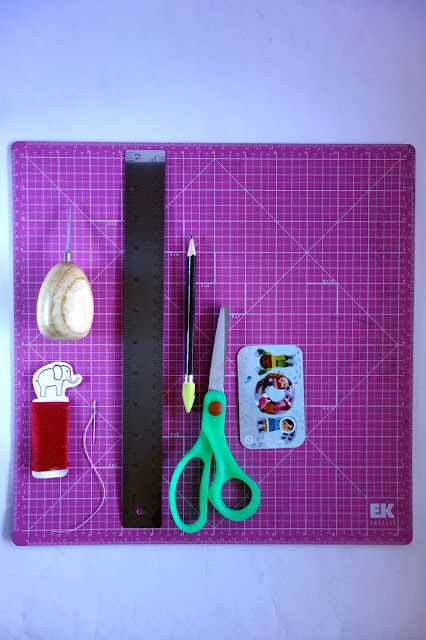
awl, needle and thread, self-healing mat, ruler, scissors, pencil, bone folder, craft materials
Here are the other tools I used: a self-healing mat, awl (a bookbinding tool used to make holes in paper and leather; a thick needle can do the job, too), thread and needle, ruler, pencil, scissors and a bone folder (this helps reinforce the creases when folding pages; an expired  gift card works just as well).

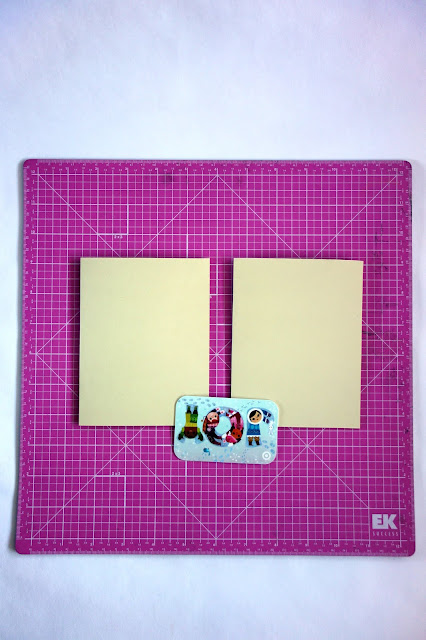
self-healing mat, card stock
For the inner pages, I chose card stock (this is 8.5 inches by 11 inches).

self-healing mat, card stock, bone folder, how to repurpose an expired gift card
I folded the card stock in half and ran the bone folder/plastic gift card tightly along the fold to make a good crease.

self-healing mat, scissors, card stock
I cut the paper in half, using the crease as my guide.

self-healing mat, card stock, bone folder, how to repurpose an empty gift card
Then I folded each one in the middle, and reinforced the crease with a bone folder/plastic gift card.  

self-healing mat, scissors, card stock, bone folder, how to repurpose an empty gift card, craft materials
I kept repeating the process until I had the number of pages I needed (8 pages made from 4 sets of card stock).  

self-healing mat, scissors, card stock, scrapbook paper, craft materials
I trimmed the scrapbook paper to make the cover. It's about the size of the inner pages with a quarter inch added to each side so that it covers the pages when the book is eventually folded.  

self-healing mat, card stock, scrapbook paper, craft materials
Stack the pages on top of each other and end with the cover, neatly lining up the edges together.

card stock, self-healing mat, craft materials
Open the book to the centerfold.

pencil, ruler, self-healing mat, card stock, craft materials
Using a pencil and ruler, mark the center and add two more dots on each end, about half-an-inch from the edge.

self-healing mat, awl, card stock, craft materials
With the awl or a thick needle, make a hole on each mark, making sure the needle goes all the way through the cover page.

self-healing mat, scrapbook paper, needle, thread
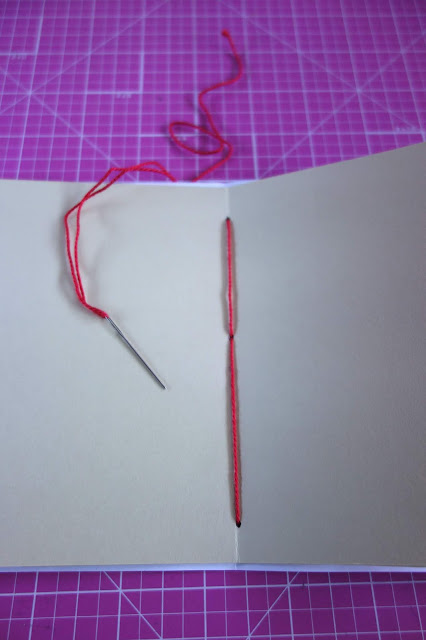
Bind the pages together with a needle and thick thread. Start from the outside (cover page) leaving a long tail on one of the corner holes.

self-healing mat, needle and thread, card stock, craft materials
Then bring the needle inside, connecting the dots together with the thread.

Bring the needle back outside, ending in the corner hole opposite where the initial tail can be found. Make a few knots and finish with a bow.  

And here is our handmade book...TADA!

This is another version made from blue card stock.

In the book Craftfulness, filmmaker Lisa Gornick chooses drawing as her craft. She says:

 "Advice to people who want to start drawing? Buy a lovely sketchbook, ink pen. This will be your secret place, your special gift to yourself. Perfectionism is not required, make any mark, fill up that book, keep it a secret to yourself. Don't stop 'til you finish that book. Whatever is in your head. Nothing is wrong, no judgement. At the end of the book then ask yourself again what you think about drawing." 

I think I'll do just that with my new notebooks -- playfully draw in them!

sewing, bookbinding, security envelopes, how to recycle paper, blue notebooks
Here are a few more booklets I made using the paper scraps. I also used empty security envelopes for the covers and played around with the binding patterns. 

graph paper, notebook paper, how to recycle paper into small notebooks
For the inner pages, I used the leftover empty pages from my notebooks and turned them from blah to TADA!

scissors, thread, pencil, awl, paper, craft materials, security envelopes, sewing, bookbinding
How about you, have you ever tried your hand at bookbinding? And do you agree that crafting can be healing?

Don't miss my future blog posts! Please subscribe here